
So you want to make sourdough bread, but you don’t have a Dutch oven. Good news: you don’t need one. Every sourdough tutorial treats a Dutch oven like the key to success.
But you can bake a crusty, tangy loaf without it, and it’s easier than you think.
I made my first sourdough in a regular baking pan with a tray of water in the oven. Was it perfect? Not really.
Was it delicious and satisfying? Absolutely. So let’s skip the pricey gear and dive into baking real bread.
What a Dutch Oven Actually Does (And Why You Don’t Need It)
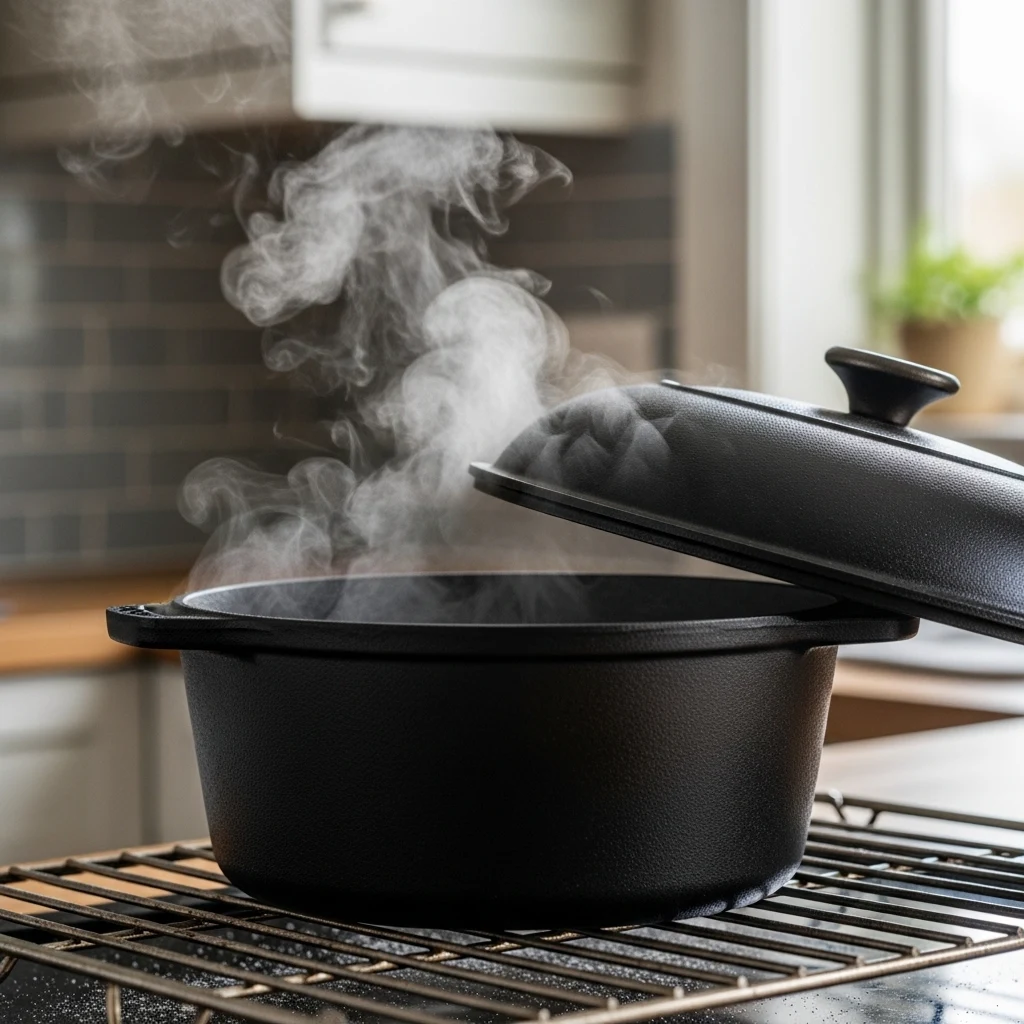
Before we talk about alternatives, it helps to understand what a Dutch oven actually does in sourdough baking.
When you place your dough inside a preheated Dutch oven and put the lid on, it traps steam.
That steam keeps the surface of the dough moist and flexible during the first phase of baking, which allows the bread to expand fully before the crust sets.
After you remove the lid, the dry heat kicks in and gives you that gorgeous, crackly crust.
So the real secret isn’t the Dutch oven itself. The secret is steam. Once you know that, a whole world of alternatives opens up.
The Best Dutch Oven Alternatives for Sourdough
Here’s where things get interesting. You have several solid options depending on what you already own.
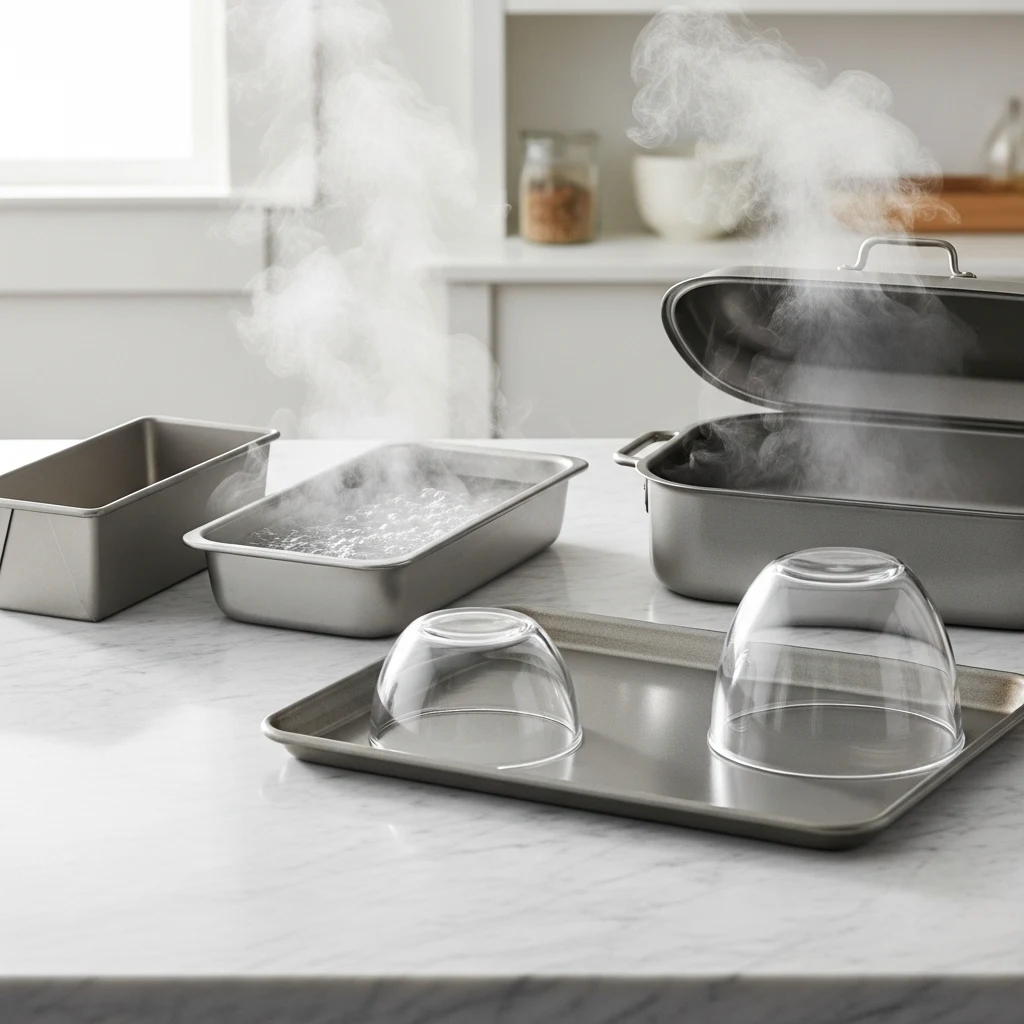
1. A Loaf Pan With a Steam Tray
This is probably the most beginner-friendly method out there.
You bake your shaped dough in a standard 9×5 inch loaf pan and create steam separately by placing a metal baking dish on the oven floor and pouring boiling water into it right when you load the bread.
What you need:
- A standard loaf pan (metal works best)
- A metal baking tray or old roasting pan for the steam
- Boiling water
This method gives you a consistently shaped loaf that slices beautifully. It’s not as rustic as a round boule, but it’s 100% delicious and great for sandwiches.
2. A Baking Sheet With an Inverted Bowl
Want that classic round loaf shape? Bake your dough on a flat baking sheet and cover it with a large, oven-safe mixing bowl for the first 20 minutes.
The bowl traps steam just like a Dutch oven lid would. After that, you lift the bowl off and let the crust develop. Simple, effective, and it uses things you probably already own.
Things to keep in mind:
- Make sure your bowl is fully oven-safe up to at least 450 degrees Fahrenheit
- The bowl should be large enough to cover the dough without touching it
- Use parchment paper under the dough for easy transfer
3. A Covered Roasting Pan
Got one of those big roasting pans with a lid? That’s basically a Dutch oven in a trench coat.
Preheat it in the oven just like you would a Dutch oven, carefully drop your dough inside, and bake with the lid on for the first 20 minutes, then remove the lid for the final 20 to 25 minutes.
This method produces results that are remarkably close to the traditional Dutch oven method. If you own a roasting pan, this is your best bet.
Shop Digital Kitchen Scales on Amazon
Your Beginner Sourdough Recipe (No Dutch Oven Required)
Alright, let’s get to the actual bread. This recipe is designed to be forgiving and straightforward. You don’t need to be a professional baker to pull this off.
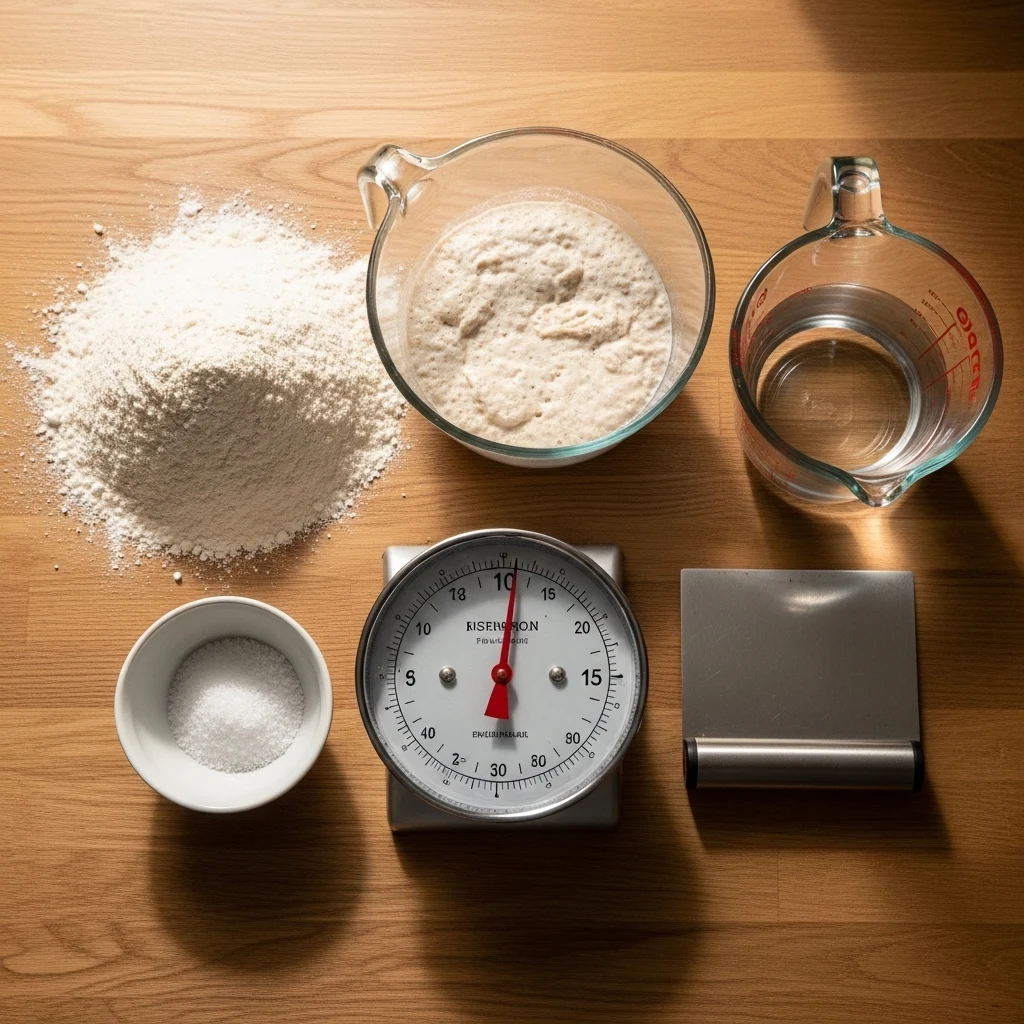
Ingredients
- 450g bread flour (all-purpose works too, but bread flour gives better structure)
- 325g lukewarm water
- 90g active sourdough starter (fed and bubbly, not straight from the fridge)
- 9g fine sea salt
Equipment
- Large mixing bowl
- Kitchen scale
- Bench scraper (optional but helpful)
- Banneton or a bowl lined with a floured tea towel
- Your chosen baking vessel (loaf pan, baking sheet with bowl, or roasting pan)
Step-by-Step Instructions
Step 1: Mix Your Dough
Combine your water and starter in a large bowl and mix until the starter dissolves. Add your flour and mix until no dry flour remains. Cover and let it rest for 30 to 45 minutes.
This resting period is called the autolyse, and it starts gluten development before you even add the salt. Think of it as giving your dough a head start.
After the rest, sprinkle in your salt and work it into the dough by squeezing and folding it with your hands.
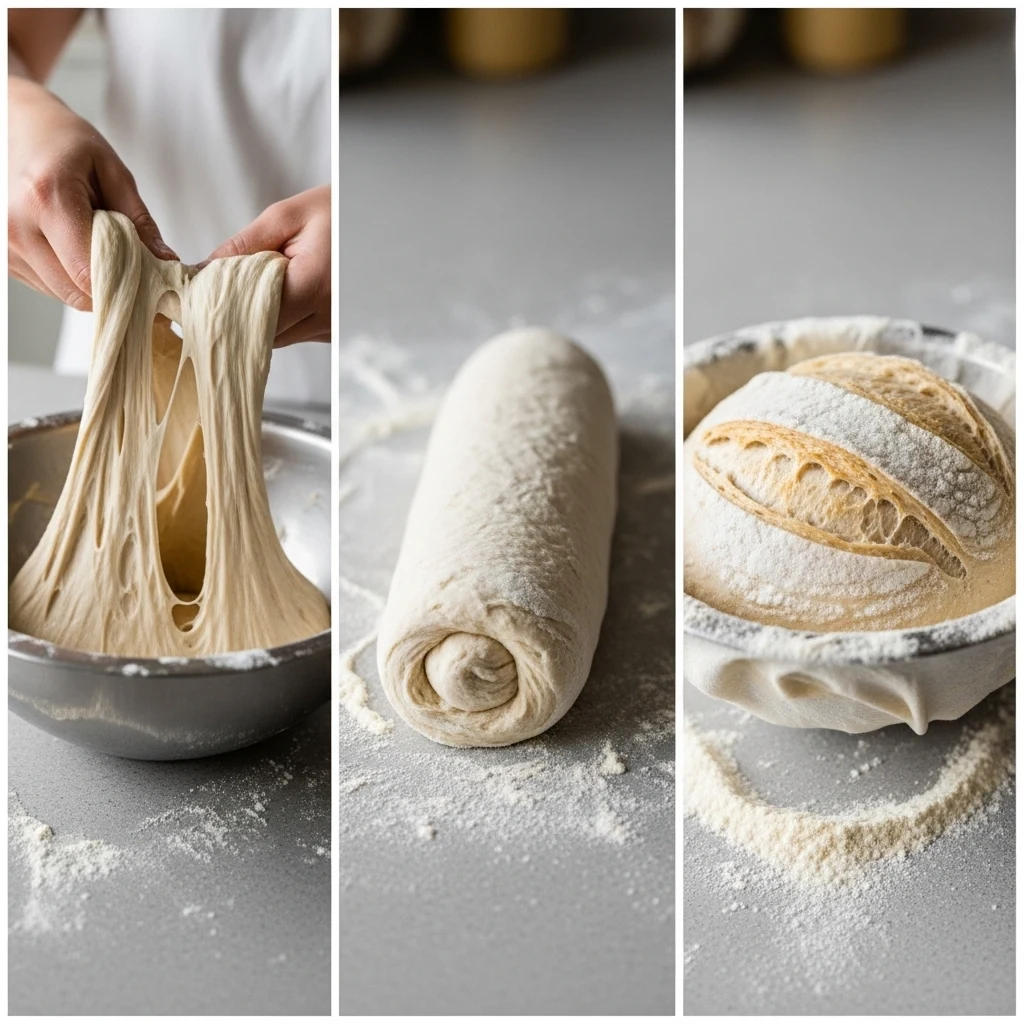
Step 2: Bulk Fermentation and Stretch and Folds
This is where the magic happens, and also where most beginners get a little impatient (guilty). Cover your dough and let it ferment at room temperature for 4 to 6 hours.
During this time, perform 4 sets of stretch and folds, spaced 30 minutes apart during the first two hours.
To do a stretch and fold, grab one side of the dough, stretch it up as high as it will go without tearing, and fold it over the center. Rotate the bowl 90 degrees and repeat.
Do this four times per set. This builds strength and structure in your dough without kneading.
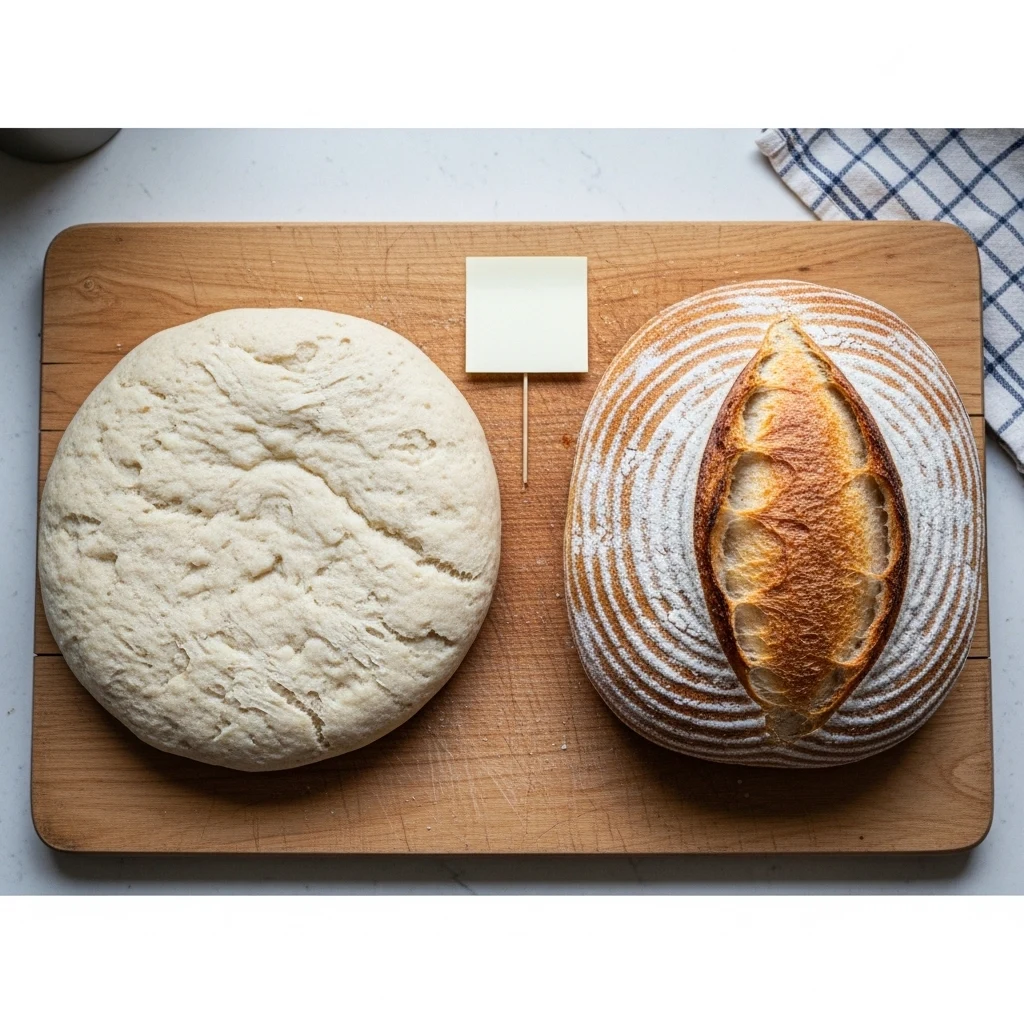
Your dough is ready to shape when it has grown by about 50 to 75 percent and looks puffy and airy.
Step 3: Shape Your Loaf
Turn your dough out onto a lightly floured surface. If you’re baking in a loaf pan, shape it into a tight log.
If you’re going for a round boule on a baking sheet, shape it into a ball by pulling the sides underneath to create tension on the surface.
Shaping well matters. A properly shaped loaf holds its structure during baking and gives you a better rise. Don’t rush this step.
Step 4: Cold Proofing Overnight
Place your shaped dough into a floured banneton or a bowl lined with a well-floured tea towel.
Cover it with plastic wrap or a shower cap (yes, seriously, bakers use shower caps) and refrigerate overnight, anywhere from 8 to 16 hours.
Cold proofing slows fermentation, develops deeper flavor, and makes the dough easier to score. It also means you can bake fresh bread in the morning, which sounds like an excellent plan.
Step 5: Preheat Your Oven (And Your Vessel)
About 45 minutes before you plan to bake, preheat your oven to 450 degrees Fahrenheit (230 degrees Celsius).
If you’re using a roasting pan, covered baking sheet setup, or any oven-safe vessel, put it in the oven to preheat as well. A hot baking surface gives your bread a better initial rise called oven spring.
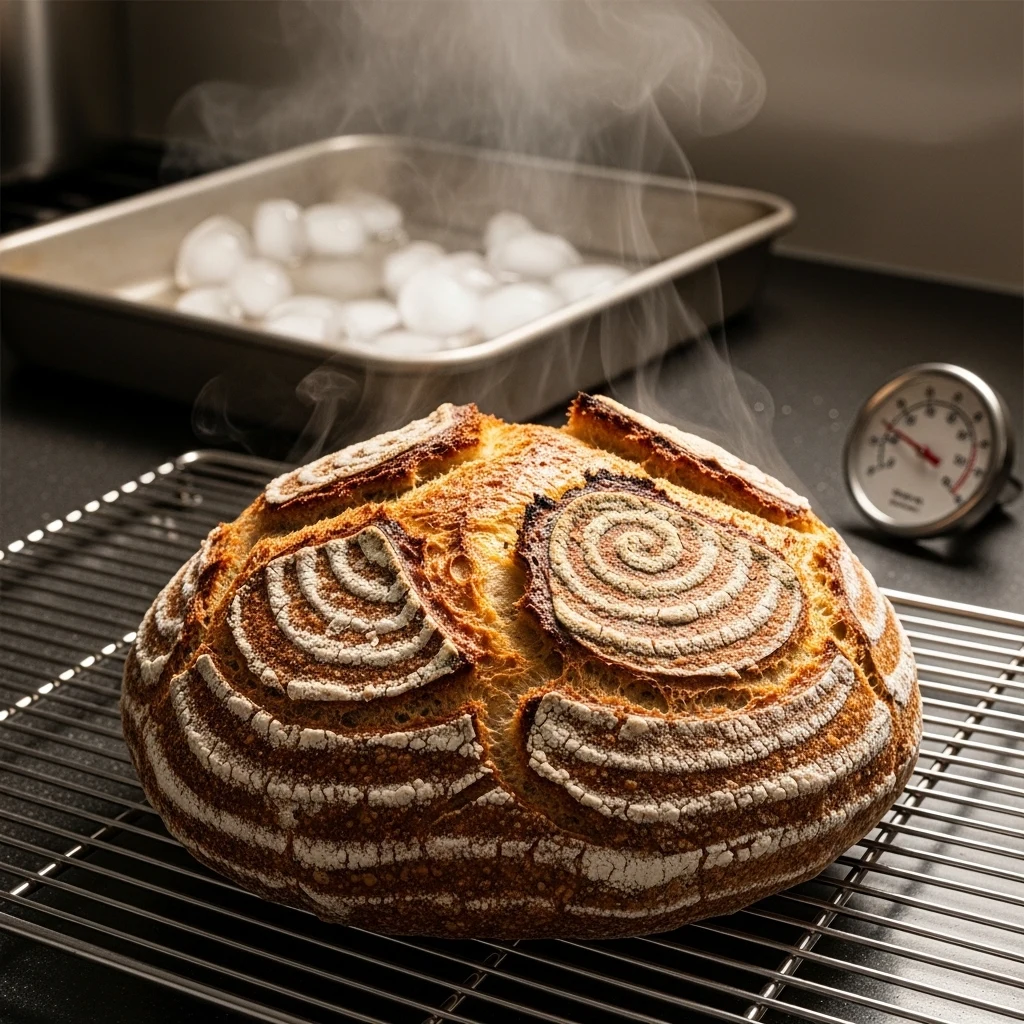
If you’re using the steam tray method, place your empty metal tray on the bottom rack while preheating.
Step 6: Score and Bake
Take your dough straight from the fridge, flip it out onto parchment paper, and score the top with a sharp knife or bread lame.
Scoring controls where the bread expands and prevents ugly random tears. A simple straight slash down the center works perfectly for beginners.
Baking times:
- First 20 minutes: Bake covered (or with your steam tray filled with boiling water) at 450 degrees Fahrenheit
- Final 20 to 25 minutes: Remove the cover or steam tray and continue baking until the crust is deep golden brown
The internal temperature should reach 200 to 210 degrees Fahrenheit when the bread is fully baked. Invest in a cheap instant-read thermometer if you want to take the guesswork out of it.
Step 7: Let It Cool (The Hardest Part)
Let your bread cool on a wire rack for at least one hour before slicing. Yes, one full hour.
Cutting into hot sourdough causes the crumb to become gummy because the interior is still finishing its cooking process through residual heat. I know it’s torture, but it’s worth it.
Tips for Getting a Better Crust Without a Dutch Oven
Getting a truly crispy sourdough crust without a Dutch oven takes a little extra attention. Here are a few things that make a real difference.
- Preheat longer than you think: Give your oven a full 45 minutes to reach temperature. Ovens lie about when they’re ready.
- Use a baking stone or steel if you have one: These retain heat and give you better oven spring from the bottom.
- Add ice cubes instead of water to your steam tray: Ice cubes release steam more slowly, which keeps moisture in the oven longer.
- Don’t open the oven during the first 20 minutes: Every time you open that door, you lose steam and heat.
Common Beginner Mistakes (And How to Avoid Them)
Because nobody wants to bake a frisbee.
- Using starter straight from the fridge: Always feed your starter and wait until it’s active and bubbly before using it. A sluggish starter means a dense loaf.
- Skipping the cold proof: Room temperature proofing can work, but overnight cold proofing produces better flavor and a more manageable dough.
- Under-proofed dough: If your dough hasn’t risen enough during bulk fermentation, you’ll get a tight, dense crumb. Be patient.
- Not flouring your banneton enough: Dough that sticks to your proofing basket is a heartbreaking experience. Be generous with the flour.
Final Thoughts

Sourdough bread without a Dutch oven is completely achievable, and honestly, once you understand that steam is the real hero of the process, you stop worrying about equipment entirely.
You work with what you have, you learn how your oven behaves, and you adjust from there.
Your first loaf might not be Instagram-worthy. That’s fine.
Eat it anyway, because even imperfect sourdough tastes like something you genuinely made from scratch, and that never gets old. Now go feed that starter and get baking.
Can I Make Sourdough Bread Without a Dutch Oven?
Yes, you can make sourdough bread without a Dutch oven. The Dutch oven traps steam while baking. This keeps the dough moist and helps it rise before the crust hardens.
You can mimic this by placing a metal tray of boiling water on the bottom rack of your oven.
Alternatively, cover your dough with a large oven-safe bowl for the first 20 minutes. Both methods create steam for a well-risen loaf with a crackly crust.
What Can I Use Instead of a Dutch Oven for Sourdough?
You have several easy ways to bake sourdough at home. A standard loaf pan with a steam tray on the oven floor is great for beginners.
You can also use a flat baking sheet and cover your dough with a large, oven-safe mixing bowl to trap steam. If you have a roasting pan with a lid, it works like a Dutch oven.
The important part is to create steam during the first 20 minutes of baking. Then, remove the cover to get a golden, crispy crust.
What Is the Best Flour for Beginner Sourdough Bread?
Bread flour is the best choice for beginner sourdough. It has more protein than all-purpose flour, which helps develop stronger gluten.
Stronger gluten gives your dough better structure, an open crumb, and a nice rise. However, all-purpose flour is fine if that’s what you have.
You can even mix the two types. Avoid cake flour or self-rising flour. These won’t provide the structure your sourdough needs.
How Do I Know When My Sourdough Is Ready to Bake?
Your sourdough dough is ready to bake when it has risen by 50 to 75 percent during bulk fermentation. It should look puffy and pass the poke test.
To do the poke test, gently press your finger about half an inch into the dough. If the indentation springs back slowly and partially, your dough is ready.
If it springs back right away, it needs more time. If it doesn’t spring back at all, it may be over-proofed.
Why Does My Sourdough Bread Come Out Dense?
Dense sourdough bread often indicates a few common problems. Your starter may not have been active enough, meaning it wasn’t fed properly or hadn’t peaked.
Under-proofing during bulk fermentation is another common issue. This happens when the dough doesn’t have enough time to develop gas and structure.
Rushing or skipping the stretch and fold process can lead to weak gluten and a tight crumb.
Lastly, using cold water or baking in a poorly preheated oven can stop your bread from getting the oven spring it needs.