
Those sad, blackened bananas on your counter? They’re not trash. They’re your ticket to the best banana bread ever. And guess what?
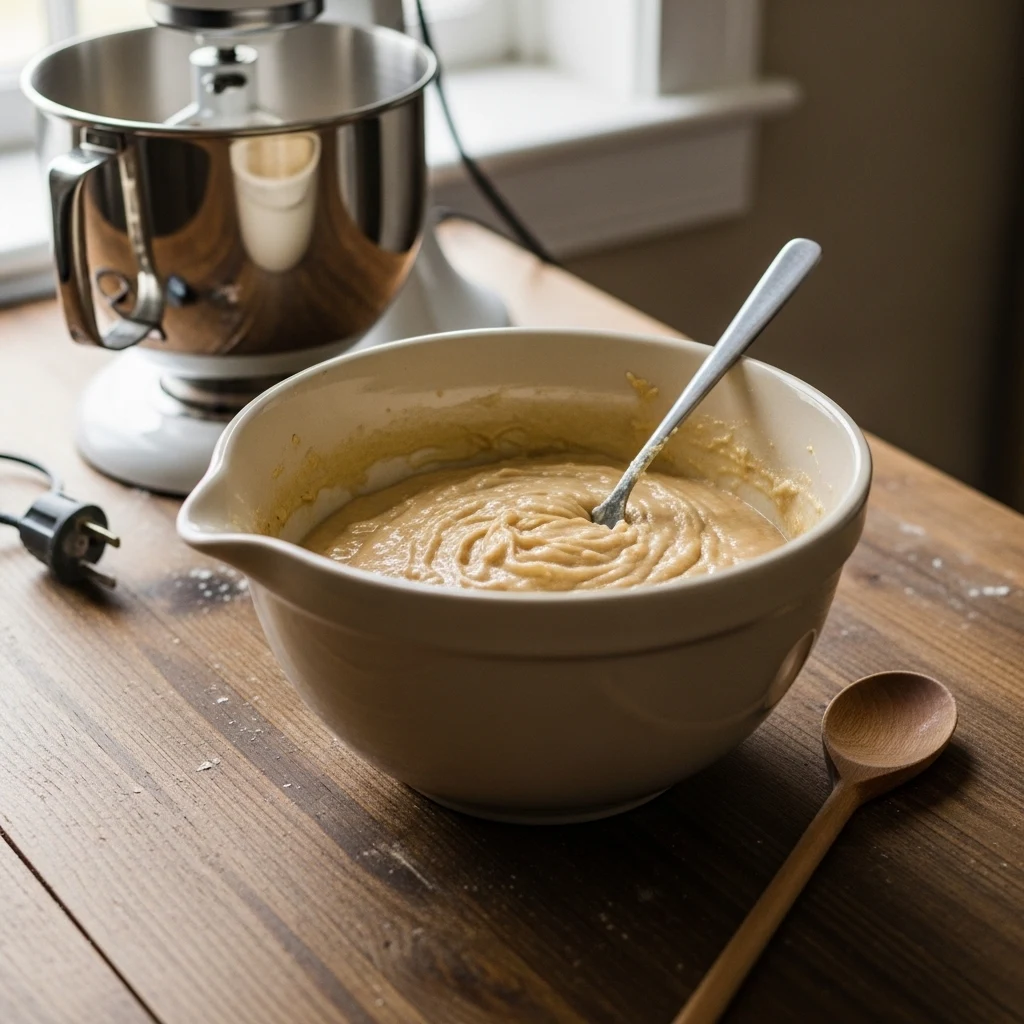
You don’t need a stand mixer or any fancy tools. Just a bowl, a fork, and about ten minutes.
This recipe is for anyone who wants moist, flavorful banana bread without the fuss. No complicated steps, no special tools, no drama. Just honest banana bread the way it should be made.
Why You Don’t Need a Mixer for Banana Bread
Let’s get this out of the way first because some people genuinely believe a mixer is non-negotiable for baking. It’s not, especially not here.
Banana bread is what bakers call a “quick bread.” That means it uses baking soda or baking powder as its leavening agent instead of yeast.
Because there’s no yeast involved, you don’t need to develop gluten by beating the dough into submission.
In fact, overmixing banana bread batter is one of the most common mistakes people make, and it leads to a tough, dense loaf.
A fork and a bowl actually give you more control. You can feel when the batter is just combined, which is exactly where you want to stop.
A mixer can take you past that point before you even realize it.
So yes, no mixer is not a compromise. It’s genuinely the better approach.
Shop Mixing Bowls and Kitchen Forks on Amazon
The Bananas: The Single Most Important Ingredient
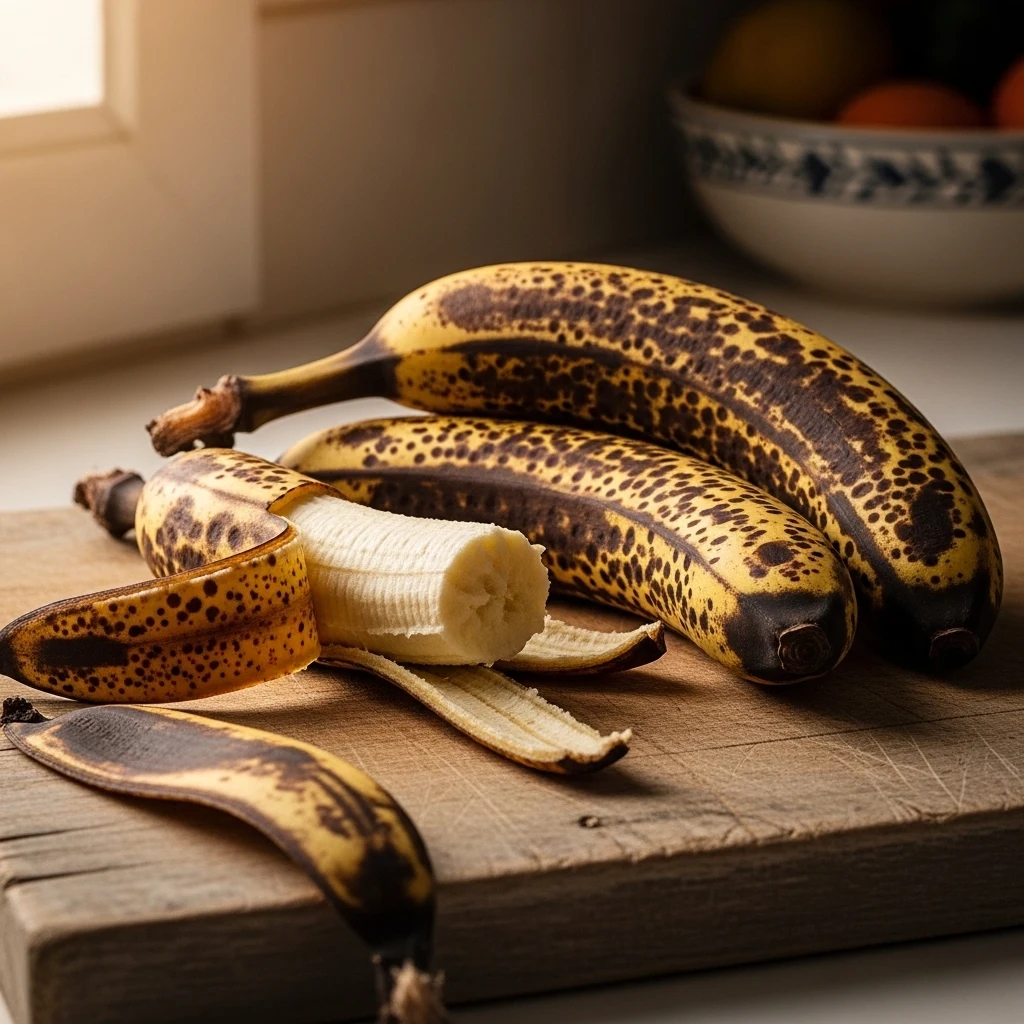
You’ve probably heard that ripe bananas are best for banana bread. But let’s be more specific because “ripe” covers a wide range.
You want overripe bananas. The ones with black or heavily spotted peels. The ones that smell intensely sweet and almost fermented.
Those bananas have converted most of their starch into sugar, which means your bread will be sweeter, more flavorful, and more moist without you doing anything extra.
How to Ripen Bananas Fast
If you only have yellow bananas and you refuse to wait (completely understandable), here are two reliable shortcuts:
- Oven method: Place unpeeled bananas on a baking sheet and roast them at 300 degrees Fahrenheit for about 15 to 20 minutes until the skins turn black. Let them cool before using.
- Freezer method: Freeze overripe bananas in their peels. When you’re ready to bake, thaw them completely. They’ll be soft, sweet, and perfect.
The oven method is faster. The freezer method is more convenient if you plan ahead. Either way, you end up with bananas that make genuinely great bread.
Find a Quality Baking Sheet on Amazon
The Full Ingredient List

Here’s what you need for one standard 9×5 inch loaf:
- 3 large overripe bananas (about 1 and 1/2 cups mashed)
- 1/3 cup melted butter (unsalted works best)
- 3/4 cup granulated sugar (reduce to 1/2 cup if your bananas are very sweet)
- 1 large egg, beaten
- 1 teaspoon vanilla extract
- 1 teaspoon baking soda
- A pinch of salt
- 1 and 1/2 cups all-purpose flour
That’s it. No buttermilk, no sour cream, no yogurt, nothing complicated. The moisture comes entirely from the bananas and the butter, and when you use truly overripe bananas, that’s more than enough.
Step-by-Step Instructions (No Mixer Required)
Step 1: Prep Your Pan and Oven
Preheat your oven to 350 degrees Fahrenheit (175 degrees Celsius). Grease a 9×5 inch loaf pan with butter or cooking spray, then dust it lightly with flour.
This two-step process ensures the loaf releases cleanly. You can also line the pan with parchment paper if you prefer, leaving some overhang on the sides for easy lifting.
Shop Loaf Pans and Parchment Paper on Amazon
Step 2: Mash the Bananas
Peel your bananas and drop them into a large mixing bowl. Grab a fork and mash them thoroughly. You want a mostly smooth paste with just a few small lumps for texture.
The more thoroughly you mash, the more evenly the banana flavor distributes throughout the loaf. This step usually takes about two minutes and feels oddly satisfying.
Step 3: Mix in the Wet Ingredients
Pour the melted butter directly into the mashed bananas and stir with your fork. Add the sugar and mix until combined.
Add the beaten egg and vanilla extract and stir again. At this point, your mixture should look smooth, glossy, and smell incredible.
Step 4: Add the Leavening and Salt
Sprinkle the baking soda and salt over the wet mixture and stir them in.
Some bakers mix the dry ingredients separately, but for a simple one-bowl recipe like this, stirring them directly into the wet mixture works perfectly well.
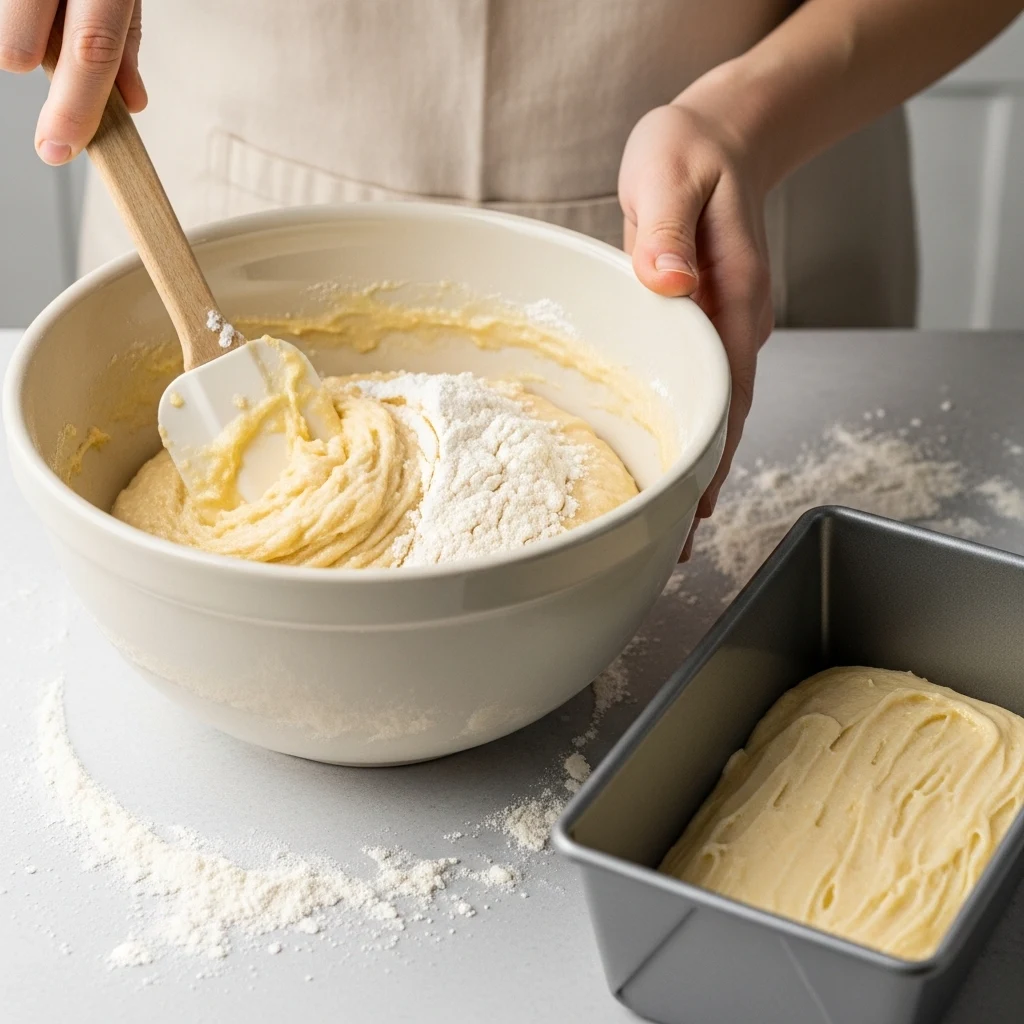
Step 5: Fold in the Flour
Add the flour all at once. Switch from your fork to a spatula or wooden spoon and fold the flour in with gentle strokes. Stop mixing the moment you no longer see streaks of flour.
Seriously, stop right there. A few lumps in the batter are completely fine. Overmixing at this stage activates the gluten in the flour and turns your bread dense and chewy instead of tender and moist.
Step 6: Bake
Pour the batter into your prepared loaf pan and smooth the top with your spatula. Bake at 350 degrees Fahrenheit for 55 to 65 minutes.
Start checking at the 55-minute mark by inserting a toothpick into the center of the loaf. When it comes out clean or with just a few moist crumbs (not wet batter), the bread is done.
Do not open the oven door before the 50-minute mark. Opening it too early causes the center to collapse, and then you’ve got a sad, sunken loaf. Patience is the move here.
Grab a Set of Toothpicks or a Cake Tester on Amazon
Step 7: Cool Before Slicing
Let the bread cool in the pan for about 10 minutes, then turn it out onto a wire rack to cool completely. Can you slice it while it’s still warm? Technically, yes.
Should you? Probably not. Warm banana bread is more crumbly and harder to cut cleanly. Give it at least 30 minutes on the rack before you cut into it.
Shop Wire Cooling Racks on Amazon
What Makes This Banana Bread So Moist

Moisture in banana bread comes down to a few key factors, and this recipe hits all of them.
Overripe bananas release more liquid and natural sugar than firm ones. Melted butter coats the flour proteins and limits gluten development, which keeps the crumb tender.
Not overmixing preserves that tenderness. And not overbaking is the final piece of the puzzle. More loaves have been ruined by an extra ten minutes in the oven than by any other mistake.
If you want to push the moisture level even further, you can add two tablespoons of sour cream or plain yogurt to the wet ingredients.
It doesn’t change the flavor dramatically, but it does add a subtle tang and an even more tender crumb.
Optional Add-ins to Customize Your Loaf
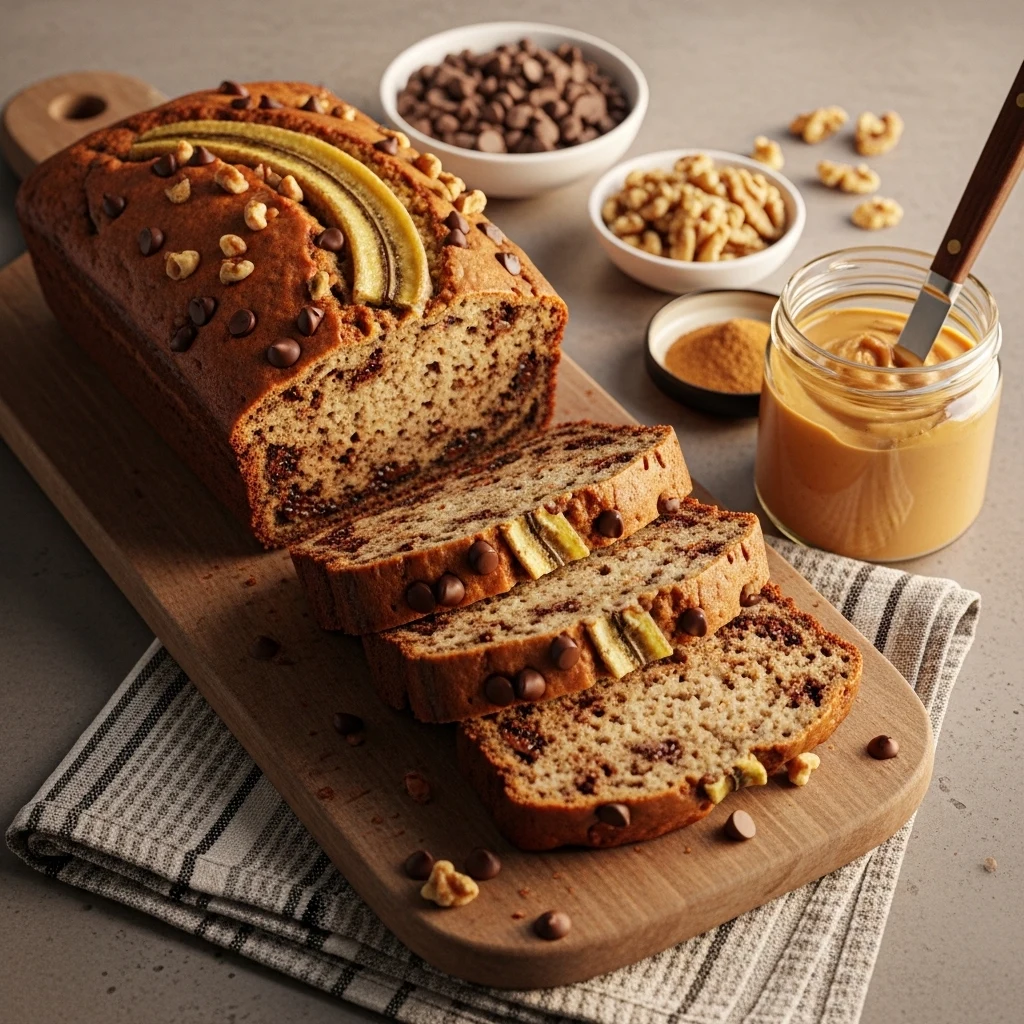
The base recipe stands completely on its own, but banana bread is also a great canvas for other flavors. Here are some additions that genuinely work:
- Chocolate chips: Fold in 1/2 cup of semi-sweet chocolate chips with the flour. Classic and honestly hard to argue with.
- Chopped walnuts or pecans: Add 1/2 cup for crunch and a slightly earthy flavor that balances the sweetness.
- Cinnamon and nutmeg: A teaspoon of cinnamon and a pinch of nutmeg give the bread a warm, spiced depth.
- Peanut butter swirl: Drop spoonfuls of peanut butter on top of the batter and swirl with a knife before baking.
You do not need to use all of these at once. Pick one or two that sound good to you and go from there.
How to Store Banana Bread
Banana bread stays moist and delicious for longer than you might expect, as long as you store it correctly.
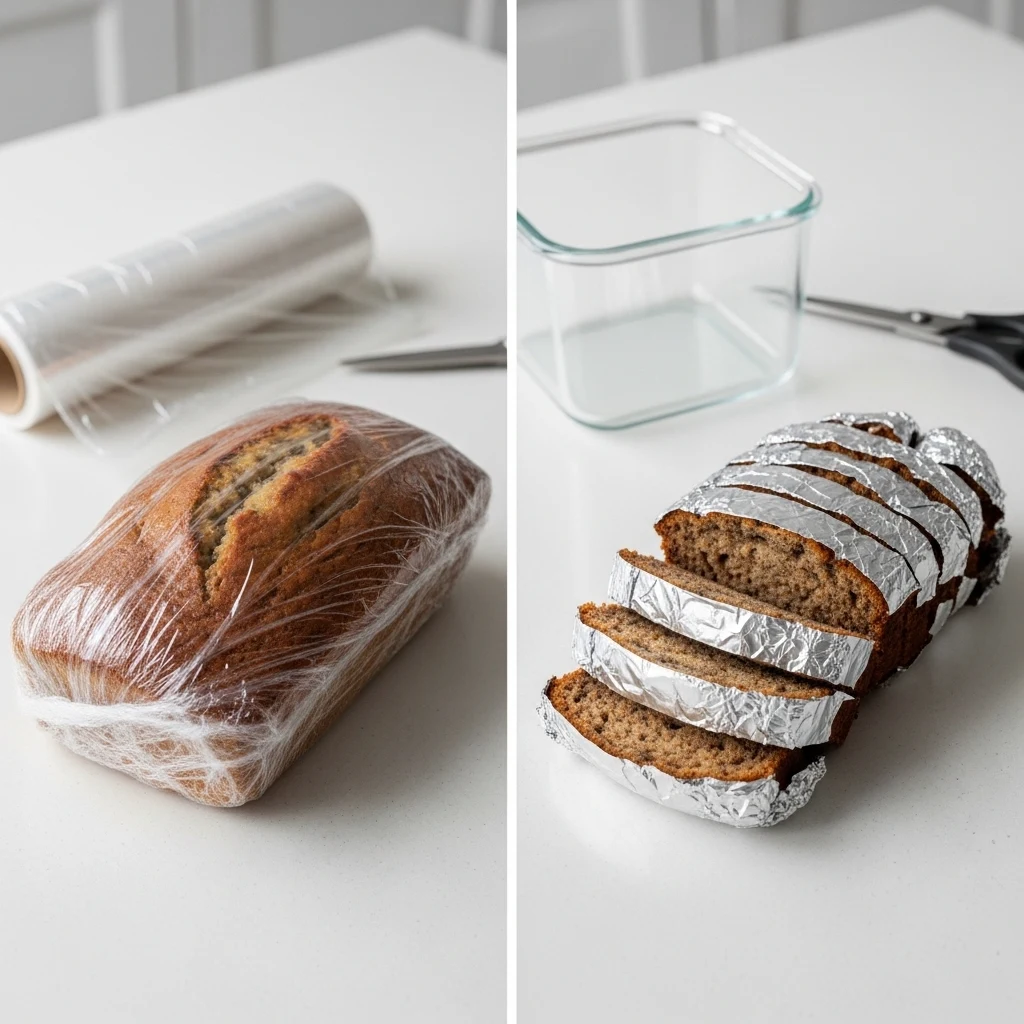
At room temperature, wrap the loaf tightly in plastic wrap or store it in an airtight container. It keeps well for up to 3 days.
In the refrigerator, it lasts up to a week, though the texture gets slightly denser when cold. You can bring it back to room temperature or warm individual slices in the microwave for about 15 seconds.
For longer storage, banana bread freezes beautifully. Wrap the whole loaf or individual slices in plastic wrap, then in foil, and freeze for up to 3 months.
Thaw slices at room temperature or pop them straight into the toaster from frozen.
Find Airtight Food Storage Containers on Amazon
Common Mistakes and How to Avoid Them
Even a simple recipe like this has a few common pitfalls worth knowing about.
Using underripe bananas produces a bland loaf with less moisture. Always wait for those black-spotted peels.
Overmixing the batter is the second most common mistake and leads to a tough, bready texture instead of a soft, cake-like crumb. Opening the oven too early causes the center to sink.
And not checking for doneness with a toothpick means you’re guessing, and guessing leads to either underbaked gumminess or overbaked dryness.
Follow the steps, resist the urge to peek too early, and you will end up with a loaf worth bragging about.
The Bottom Line
Easy moist banana bread with no mixer is not a simplified version of something better. It is genuinely the best way to make this recipe.
The no-mixer approach keeps the batter tender, the process stays simple, and the result is a loaf that tastes like it took way more effort than it actually did.
Next time your bananas go black, do not feel guilty about it. Feel excited. You’ve got banana bread coming, and now you know exactly how to make it perfect.
Can I Make Banana Bread Without a Mixer?
Absolutely. Banana bread is a quick bread. It uses baking soda for rise instead of yeast. You don’t need to develop gluten like with yeasted dough. A fork and a bowl are all you need.
In fact, using a mixer can lead to overmixing. This makes the bread tough and dense instead of soft and tender.
What Happens If My Bananas Are Not Ripe Enough?
Your bread will be less sweet, moist, and flavorful. Underripe bananas have a lot of starch that hasn’t turned to sugar yet. This means they won’t add much depth to the batter.
If your bananas are still yellow, roast them unpeeled at 300 degrees Fahrenheit for 15 to 20 minutes. The skins will blacken, which helps them ripen and adds the sweetness you need.
Why Did My Banana Bread Come Out Dense?
The main reason is overmixing. When you stir banana bread batter too much, the flour activates gluten. This can make the loaf tough instead of tender.
Mix just until the flour is incorporated, then stop. A few lumps in the batter are fine and will bake out.
How Do I Know When Banana Bread Is Fully Baked?
At the 55-minute mark, insert a toothpick into the center of the loaf. If it comes out clean or with a few moist crumbs, the bread is ready.
If it has wet batter, let the loaf bake for another five to ten minutes, then test again. Don’t open the oven door before 50 minutes. A sudden drop in temperature can make the center sink.
Can I Freeze Banana Bread and How Long Does It Last?
Yes, banana bread freezes well. Wrap the whole loaf or individual slices tightly in plastic wrap. Then, add a layer of aluminum foil on top.
Stored this way, it lasts in the freezer for up to three months with little quality loss. To enjoy a slice, thaw it at room temperature for about an hour or toast it directly from frozen.