
Fall décor can feel a bit repetitive. You see pumpkins, candles, and maybe a plaid table runner if you’re feeling fancy.
But what if you could create something that feels unique and natural?
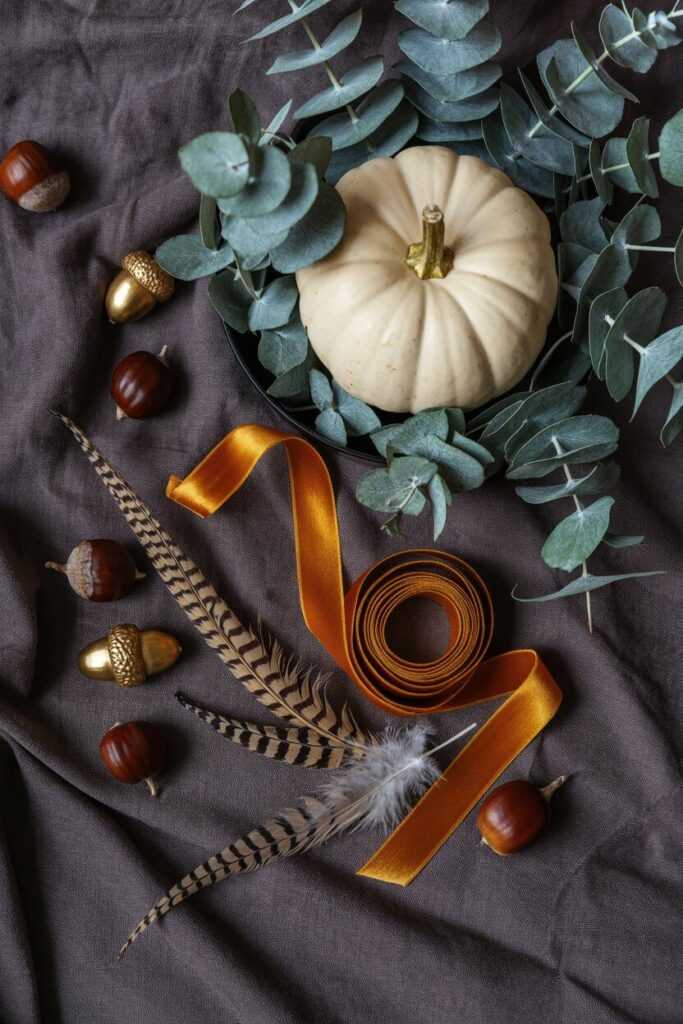
That’s where this Easy Pumpkin Eucalyptus Centerpiece DIY comes in. It’s rustic, elegant, and smells amazing—yes, eucalyptus really does that.
The best part? You don’t need floral design skills or a fancy craft room to make it.
I’ve made this centerpiece several times for family dinners. Each time, someone asks where I “bought” it.
That’s how good it looks! If you have a pumpkin, a few sprigs of eucalyptus, and about 20 minutes, you’re all set.
Ready to make your fall table look like it’s from a cozy farmhouse magazine? Let’s get started!
What You’ll Need
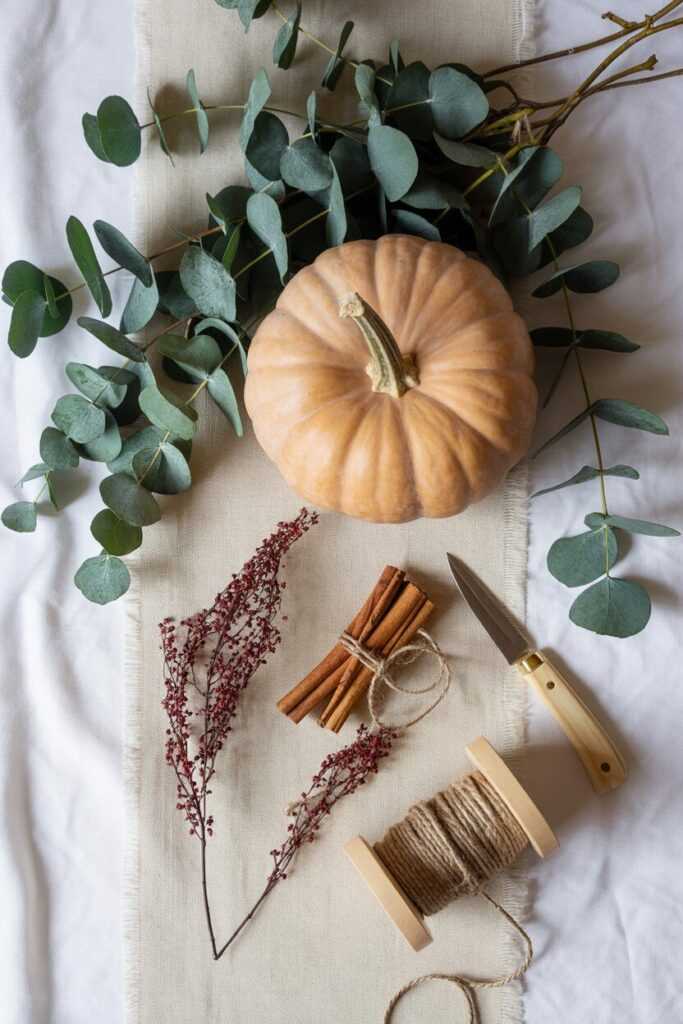
Before we start slicing pumpkins or arranging greens, let’s get your supplies together. You’ll need:
- A medium or large pumpkin (real or faux)
- Fresh or dried eucalyptus (silver dollar or seeded looks best)
- Floral foam or a small vase/jar
- Scissors or pruning shears
- Optional extras: candles, pinecones, baby’s breath, or berries
That’s it. Super simple. Most of these items are things you can find at your local grocery store, craft store, or even your backyard if you’re lucky.
Check out the featured centerpiece essentials available on Amazon today
Step 1: Choose Your Pumpkin Wisely
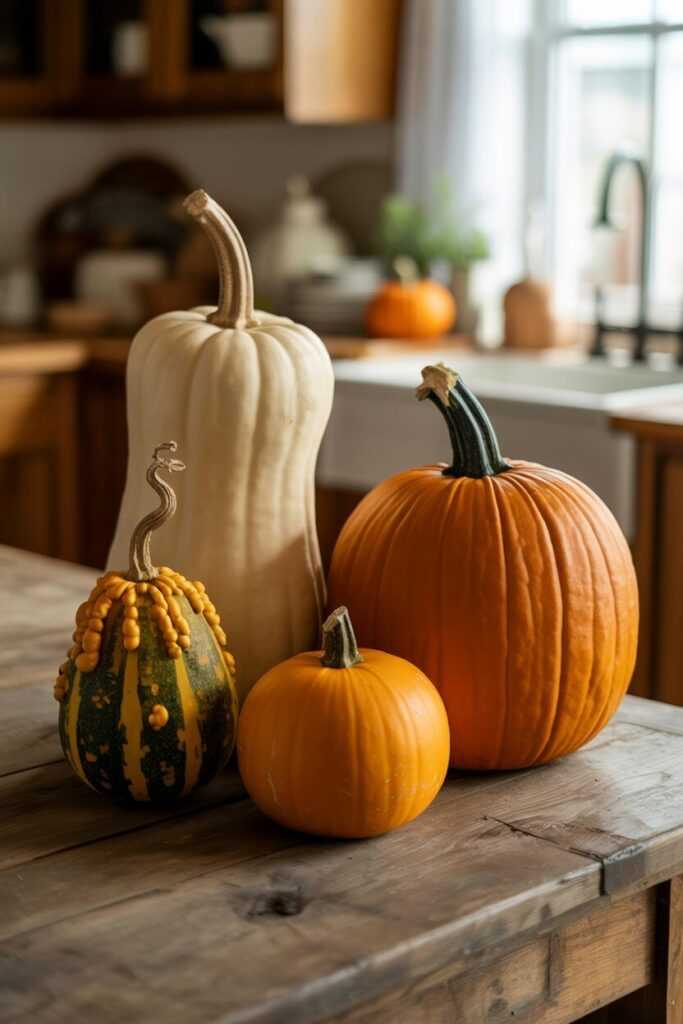
Ever picked out a pumpkin and realized later it looked like it had been through a bar fight? Yeah, let’s avoid that.
Choose one that’s evenly shaped, has a flat bottom, and isn’t too tall. A squat, round pumpkin usually looks best because it sits nicely on a table without tipping over.
Real pumpkins give a natural, rustic vibe, but faux pumpkins are amazing if you want something reusable.
IMO, faux pumpkins are the best long-term investment if you plan to make this centerpiece again next year.
If you’re using a real pumpkin, cut off the top (just enough to make a wide opening).
Scoop out the seeds and pulp like you would for a jack-o’-lantern. Pro tip: save the seeds and roast them later. You’ll thank me.
Step 2: Prep the Base
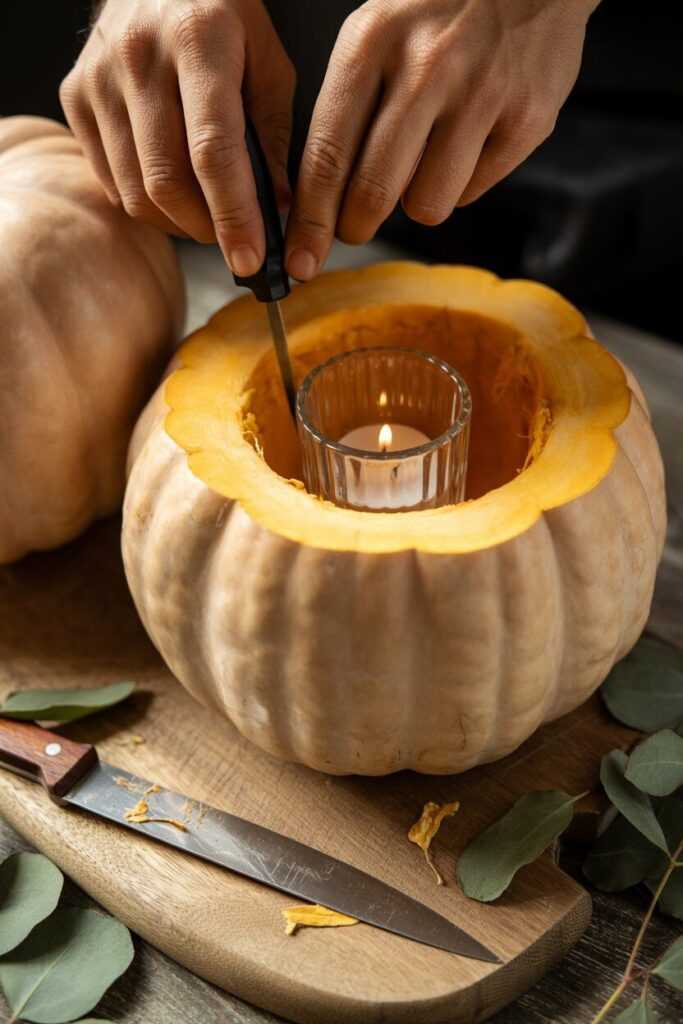
Now comes the fun part. Inside the pumpkin, you’ll need a way to keep your eucalyptus stems hydrated. You’ve got two options:
- Floral Foam: Soak it in water for about 15 minutes until it’s fully saturated. Then place it inside the pumpkin cavity.
- Small Jar or Vase: Pop it inside the pumpkin and fill it with water.
Either way works perfectly. The jar method is a bit cleaner, but floral foam gives you more control when arranging the stems.
Personally, I use floral foam because I like being able to poke stems in at weird angles without the whole thing wobbling like Jell-O.
Shop these beautiful pumpkin and eucalyptus picks directly on Amazon
Step 3: Arrange Your Eucalyptus
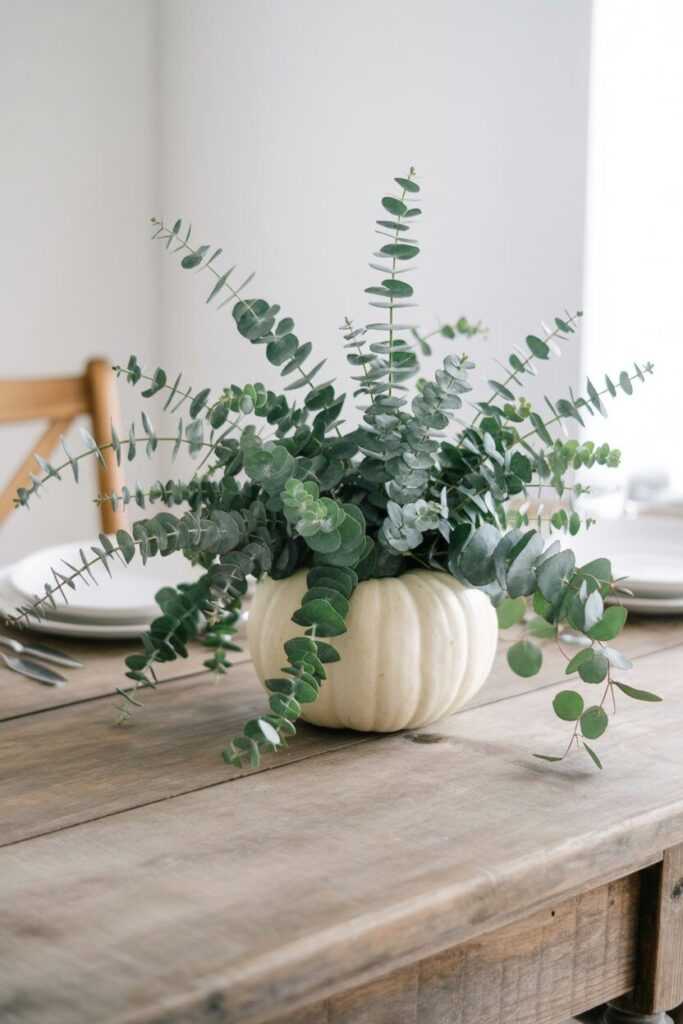
Here’s where your inner artist comes out. Start by adding the eucalyptus around the edges, letting the stems drape over the sides of the pumpkin.
This creates that effortlessly full, cascading look that screams “I spent hours on this,” even though you didn’t.
Layer different eucalyptus types if you can. The combination of silver dollar and seeded eucalyptus adds texture and dimension.
Keep turning the pumpkin as you work, so it looks balanced from every angle. You don’t want one side looking like a botanical explosion while the other side looks bald.
Step 4: Add Accent Pieces
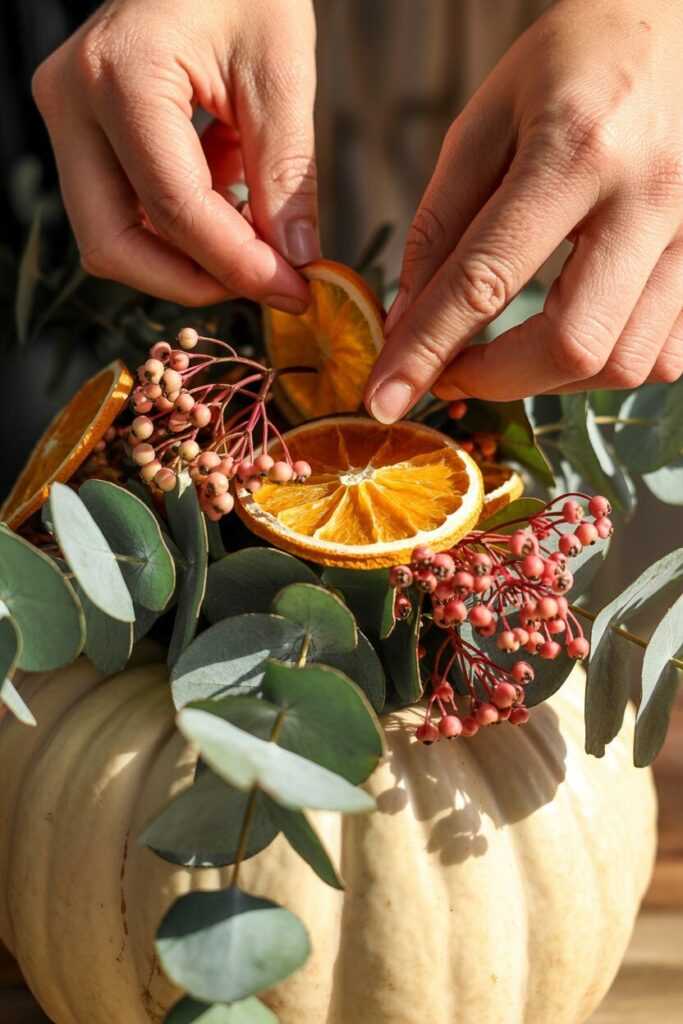
Once your eucalyptus is in place, it’s time to play stylist. Add a few accent pieces to give the centerpiece character:
- Mini pumpkins or gourds: Nestle them among the eucalyptus for extra color.
- Candles: Use small pillar or tea light candles for a warm, cozy glow.
- Berries or pinecones: Great for a woodland touch.
- Baby’s breath: Adds a delicate, airy feel that softens the overall look.
Just don’t go overboard. The goal here is effortless charm, not “fall threw up on my table.”
Find all your DIY centerpiece must-haves conveniently on Amazon
Step 5: Keep It Fresh
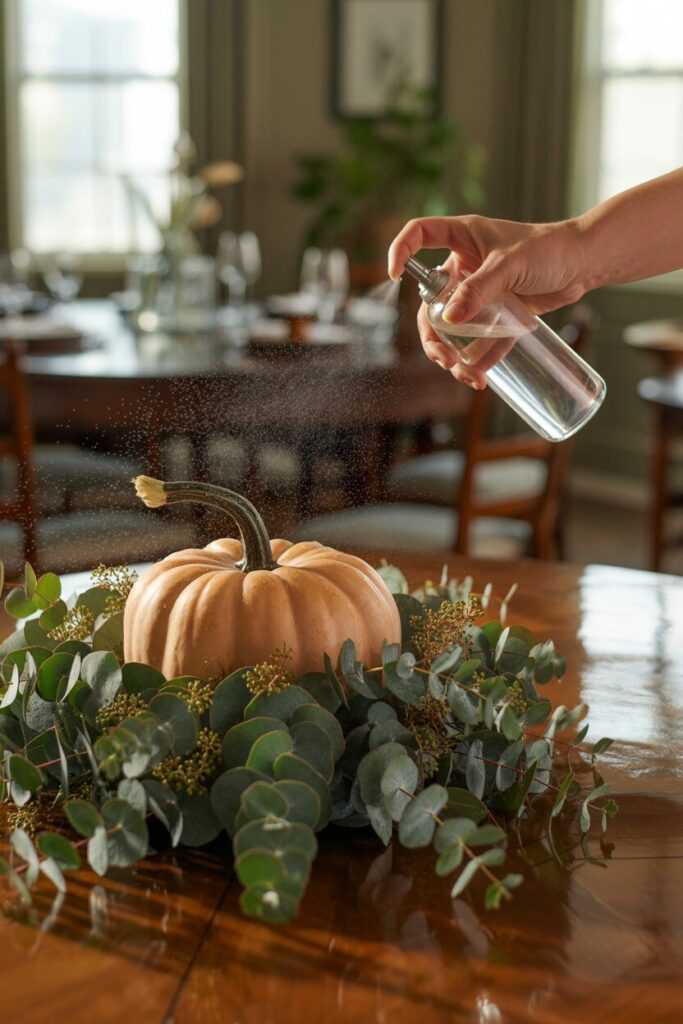
If you’re using fresh eucalyptus, it’ll last about one week before it starts drying out. But guess what? Dried eucalyptus looks just as pretty.
The leaves fade into soft, muted greens and grays that still fit the fall vibe.
To keep things looking fresh longer:
- Mist the leaves lightly every couple of days.
- Keep the arrangement away from direct sunlight and heat sources.
- If the leaves start looking tired, swap in new sprigs or mix in dried ones for contrast.
That’s it. Maintenance level: super chill.
Step 6: Experiment With Variations
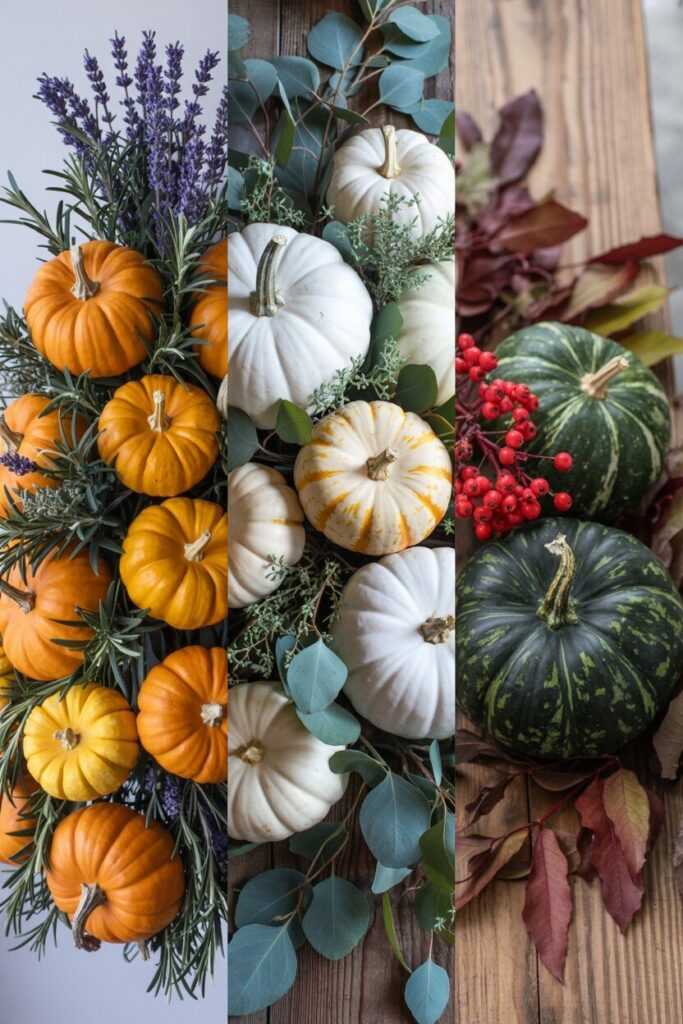
Once you’ve nailed the basic pumpkin eucalyptus centerpiece, it’s time to experiment. Seriously, this DIY is so versatile it’s almost unfair.
Here are some fun variations:
1. White Pumpkin Elegance
Use a white pumpkin instead of orange. Add eucalyptus, white roses, and cream candles. It’s minimal, modern, and absolutely stunning.
2. Rustic Harvest Look
Pair orange pumpkins with deep green eucalyptus, wheat stalks, and mini pinecones. It gives that cozy farmhouse feel everyone loves.
3. Halloween Twist
Paint your pumpkin black (yes, really) and use silver eucalyptus. Add a few black taper candles and you’ve got a moody, sophisticated Halloween setup.
4. Winter Transition
Once fall ends, replace the pumpkin with a silver or gold bowl, but keep the eucalyptus and add pine sprigs. Boom—instant winter centerpiece.
See? One idea, endless possibilities.
Why Eucalyptus and Pumpkin Work So Well
You might be wondering, why does eucalyptus pair so perfectly with pumpkins? Good question.
Eucalyptus adds softness, fragrance, and a touch of green that balances the earthy orange tones of the pumpkin. It creates that perfect blend of rustic and refined.
Also, the scent of eucalyptus subtly fills the room. It’s calming, refreshing, and miles better than those fake pumpkin spice candles that make your nose twitch.
Ever noticed that fake pumpkin scent smells like someone mixed sugar and regret? Yeah, eucalyptus doesn’t do that.
Styling Tips for Maximum Wow Factor
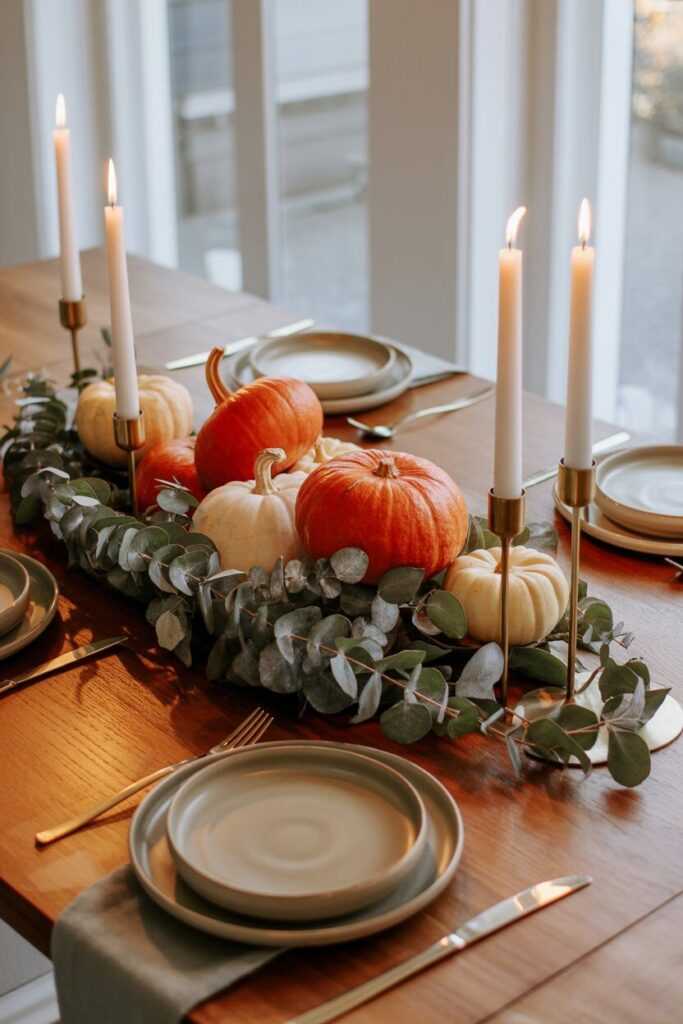
Okay, so you’ve got your centerpiece ready. Now what? Let’s make sure it shines on your table.
1. Use a neutral table runner.
A linen or burlap runner helps the centerpiece stand out without stealing the show.
2. Add some height.
Place the pumpkin on a wooden cutting board or cake stand. It gives dimension and makes the whole setup look more intentional.
3. Surround with candles.
Candlelight + eucalyptus = cozy perfection. Just keep the flames away from the leaves unless you’re going for “fall bonfire” vibes.
4. Keep it cohesive.
Match your napkins, plates, or placemats to the color palette of your centerpiece. A soft mix of greens, creams, and golds works beautifully.
Trust me, with these styling tweaks, even your most hard-to-impress guests will ask for your “decor secret.”
Troubleshooting Common Mistakes
Not every DIY goes smoothly, right? Here’s how to handle the hiccups:
- Pumpkin leaking? Line the inside with plastic wrap before adding foam or jars.
- Eucalyptus won’t stay put? Use floral wire or tape to secure tricky stems.
- Arrangement looks flat? Add taller stems in the center and shorter ones around the edges for depth.
- Color clash? Stick to one tone family—either cool greens with white pumpkins or warm greens with orange pumpkins.
DIYs are all about learning through small mishaps. Every “oops” moment gets you closer to mastering your own style.
Why You’ll Love This Project
Let’s be real: some DIYs look easy on Pinterest but end up being nightmares. This one isn’t like that.
The Easy Pumpkin Eucalyptus Centerpiece is beginner-friendly, budget-conscious, and ridiculously forgiving.
Even if your arrangement isn’t perfect, it will still look amazing because the materials themselves are so naturally beautiful.
You can finish it in about 20 minutes. That’s less time than it takes to binge-watch an episode of your favorite show.
Plus, it’s customizable. Want something modern? Go with a white pumpkin and sleek greens. Feeling rustic? Stick with orange pumpkins and earthy textures.
And when you tell guests you made it yourself, their jaws will drop. You can just shrug and say, “Yeah, I threw it together this morning.” We both know you’ll secretly enjoy that reaction.
A Few Creative Add-Ons
Want to make it even more personalized? Try these extras:
- Name tags: Stick a small name card into the arrangement for dinner parties.
- Twinkle lights: Add fairy lights around the base for evening glow.
- Scent boost: Drop a few eucalyptus essential oil drops into the foam for stronger fragrance.
- Mini arrangements: Use mini pumpkins for smaller tables or sideboards.
These small details make your setup feel intentional and Instagram-worthy without going overboard.
Final Thoughts
At the end of the day, this Easy Pumpkin Eucalyptus Centerpiece DIY isn’t just about crafting something pretty. It’s about creating a moment.
There’s something special about gathering around a table that you’ve dressed up yourself.
The scent of eucalyptus, the soft glow of candles, the cozy autumn colors—it all comes together to make your space feel warm and inviting.
So, grab that pumpkin, a handful of eucalyptus, and let your creativity take over. Don’t worry about perfection.
The charm lies in the imperfections—the slightly uneven leaves, the quirky stem angles, the “I totally eyeballed this” energy. That’s what makes it yours.
And when someone asks where you got that gorgeous centerpiece, just smile and say, “Oh, this old thing? Made it myself.”
How Long Does a Pumpkin Eucalyptus Centerpiece Last?
If you’re using a real pumpkin and fresh eucalyptus, expect your centerpiece to last about one week. After that, it may show signs of age.
The pumpkin might soften, and the eucalyptus will start to dry. But don’t toss it yet. Dried eucalyptus can look lovely, with muted tones that suit a cozy fall setup.
To make it last longer, keep the centerpiece out of direct sunlight and away from heat sources like candles or radiators.
Lightly mist the eucalyptus every few days. If you’re using floral foam, make sure it stays damp. These simple steps can help your display last closer to two weeks.
Can I Use a Faux Pumpkin Instead of a Real One?
Absolutely! Many DIY fans prefer faux pumpkins. They are durable and reusable. Faux pumpkins are cleaner too.
You don’t have to scoop out seeds or worry about rot. They hold floral foam well and can be stored for next season.
If you pick a faux pumpkin, you’ll find them in materials like foam, plastic, or resin. They often come pre-painted in stylish shades like white, cream, or copper.
They make great centerpieces that look fresh year after year, without the hassle. Plus, you can still use real eucalyptus for a natural scent and texture.
What Type of Eucalyptus Works Best for This DIY?
The two most popular types of eucalyptus for this DIY are silver dollar and seeded eucalyptus. Silver dollar eucalyptus has large, round leaves that give a soft, romantic look.
Seeded eucalyptus adds beautiful texture and depth. Mixing both creates a balanced, natural feel that enhances your centerpiece.
For a minimalist vibe, use only silver dollar eucalyptus for a clean, modern look. If you prefer a fuller, rustic style, add seeded eucalyptus or a few sprigs of baby’s breath.
No matter what you choose, make sure the stems are fresh and cut at an angle. This helps them absorb water better.
How Can I Keep My Eucalyptus Looking Fresh Longer?
To keep your eucalyptus lush and vibrant, hydration is essential. If you’re using floral foam in the pumpkin, soak it well in water before arranging your stems.
Re-wet the foam every few days to keep it moist. For a jar or vase, change the water every few days to stop bacteria from growing.
You can also mist the leaves lightly with a spray bottle. This adds humidity and helps maintain their color. Another tip? Store the arrangement in a cool place when not in use.
Warm air dries eucalyptus quickly, while cooler temperatures help it keep its natural texture and scent longer.
What Other Decorations Can I Add to My Pumpkin Centerpiece?
You can be creative with this DIY centerpiece. Great additions include mini pumpkins, candles, pinecones, dried berries, or baby’s breath for charm.
Keep your color palette cohesive with soft greens, creams, and golds for a warm, elegant look.
For a little sparkle, wrap a string of fairy lights around the base or tuck them into the eucalyptus. This creates a soft evening glow.
During the holidays, easily transform the centerpiece by swapping in winter greenery, cranberries, or a few ornaments. It’s a flexible design that looks great all season.