
If you’re like me, you love decorating your kitchen for Christmas. There’s something magical about rustic charm, twinkling lights, and cozy scents.
To enhance that cozy vibe, try making DIY Christmas Advent jars. They’re easy to create, add warmth to your kitchen décor, and look like they belong on Pinterest.
I’ve made these jars for several Christmases, and they never fail to impress.
Each year, I change a few details—new ribbons, different tags, or fresh colors—and they always look great.
If you want your farmhouse kitchen to have that nostalgic, homemade Christmas feel, keep reading.
I’ll guide you on how to make these jars, what to fill them with, and share design ideas to make yours unique.
Why Farmhouse Advent Jars Are a Game Changer
So, why not just buy an advent calendar from the store? Simple. Those store-bought ones might be convenient, but they lack personality.
DIY advent jars bring creativity, warmth, and your unique touch into the mix.
They let you design something that matches your home’s aesthetic, whether you love the rustic wood-and-white farmhouse look or something more modern with metal and glass.
Besides, making them is half the fun. You get to personalize each jar, maybe even sneak in a few surprises that actually mean something to your family.
Ever tucked a handwritten note or a mini candy cane into one? Trust me, it hits differently when your loved ones find it.
What You’ll Need for Your DIY Advent Jars
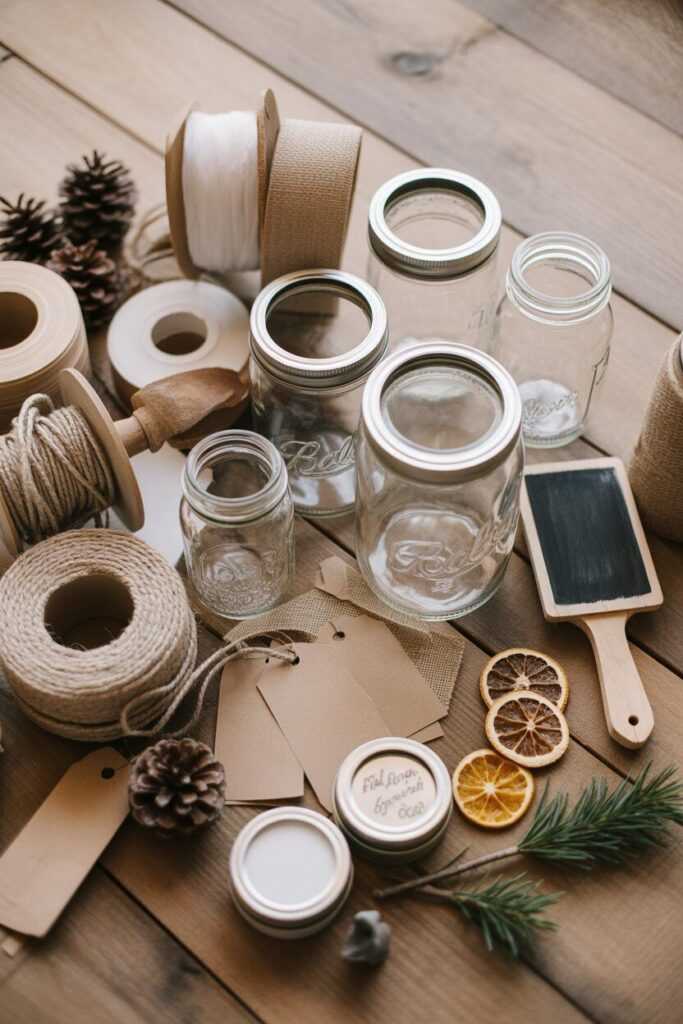
Before we jump into crafting mode, let’s make sure you have everything ready.
You don’t need fancy tools—just a few everyday supplies and a sprinkle of creativity. Here’s what you’ll want to gather:
- 24 small jars or mini mason jars (one for each day leading up to Christmas)
- Twine, jute, or rustic ribbon for that farmhouse touch
- Number tags (you can make these from kraft paper or buy pre-made ones)
- Hot glue gun or super glue
- Chalk paint or spray paint in soft tones like white, beige, or muted green
- Small decorative accents like pinecones, cinnamon sticks, or faux berries
- Your choice of jar fillers (small treats, notes, trinkets, or tiny ornaments)
Keep things simple and organic. The more natural and textured your materials look, the better they’ll fit that farmhouse vibe.
Discover the featured farmhouse jars and festive finds on Amazon today
Step-by-Step: How to Make Farmhouse Christmas Advent Jars
Step 1: Paint and Prep Your Jars
Start by cleaning the jars thoroughly—no one wants dusty surprises on day one. Once they’re dry, give them a light coat of chalk paint.
Soft whites, muted greens, or even pale grey work beautifully. If you’re going for a more rustic look, leave some jars unpainted so the glass adds contrast.
You can distress the painted ones a bit using sandpaper around the edges for that vintage, “found in grandma’s pantry” look. Once dry, it’s time for the fun part—decorating.
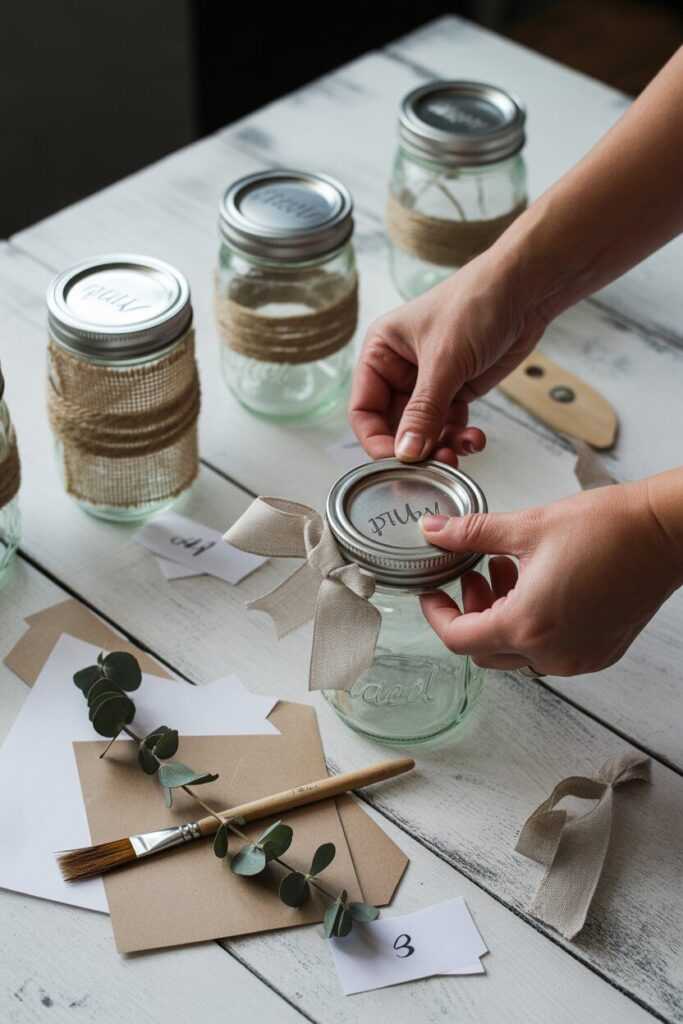
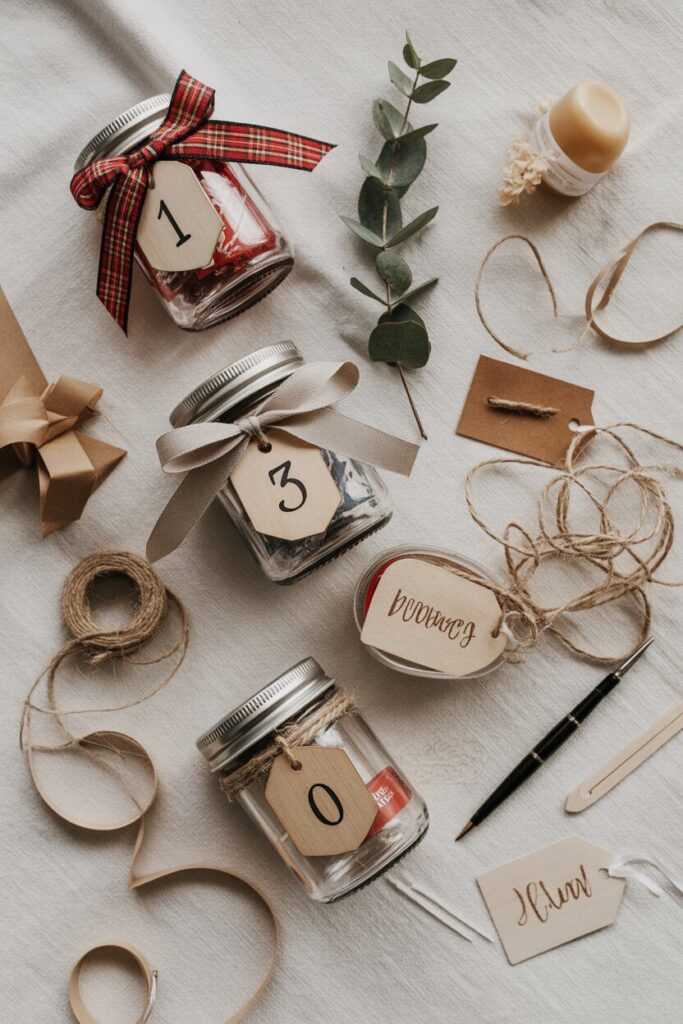
Step 2: Add Ribbons and Tags
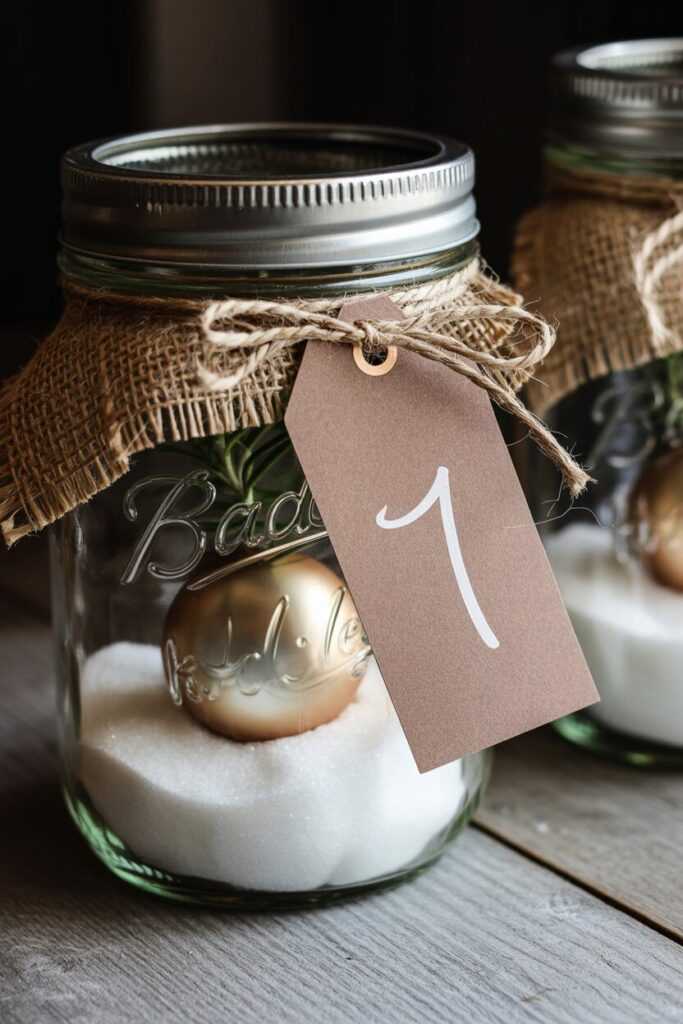
Wrap some twine or jute around the lid or neck of each jar. Tie it into a simple bow, then attach a number tag to mark the countdown days from 1 to 24.
If you’re using kraft paper tags, write the numbers by hand. The slightly imperfect handwriting actually makes it look more authentic.
Want to make it extra festive? Add a tiny piece of greenery or a small pinecone next to the tag. It’s those small touches that make people stop and say, “Okay, this looks amazing.”
Step 3: Fill Them Up
Now comes the best part—deciding what to put inside each jar. This is where you can let your creativity shine. Here are a few filler ideas that work perfectly for farmhouse-style advent jars:
- Mini candy canes, wrapped chocolates, or homemade cookies
- Tiny ornaments or Christmas charms
- Handwritten love notes or daily affirmations
- Little crafts or kids’ activity cards
- Mini candles or scented wax melts
I like to mix it up—some days, there’s a sweet treat; others, a thoughtful message or small trinket. That variety keeps everyone excited to open the next one.
How to Display Your Advent Jars
So you’ve made your jars. Now, where do you put them? There are endless ways to display them in your farmhouse kitchen. Let’s look at a few ideas that really bring the décor together.
1. On a Wooden Tray
Grab a rustic wooden tray or crate and arrange the jars neatly inside. Add a few sprigs of pine, faux snow, or string lights to fill the gaps. It’s a low-effort setup that instantly looks Pinterest-worthy.
2. Hanging from a Ladder Shelf
If you have a ladder-style shelf or even an old wooden ladder, tie the jars along each step using jute or ribbon.
It looks effortlessly charming, and it draws the eye upward, creating a cozy focal point.
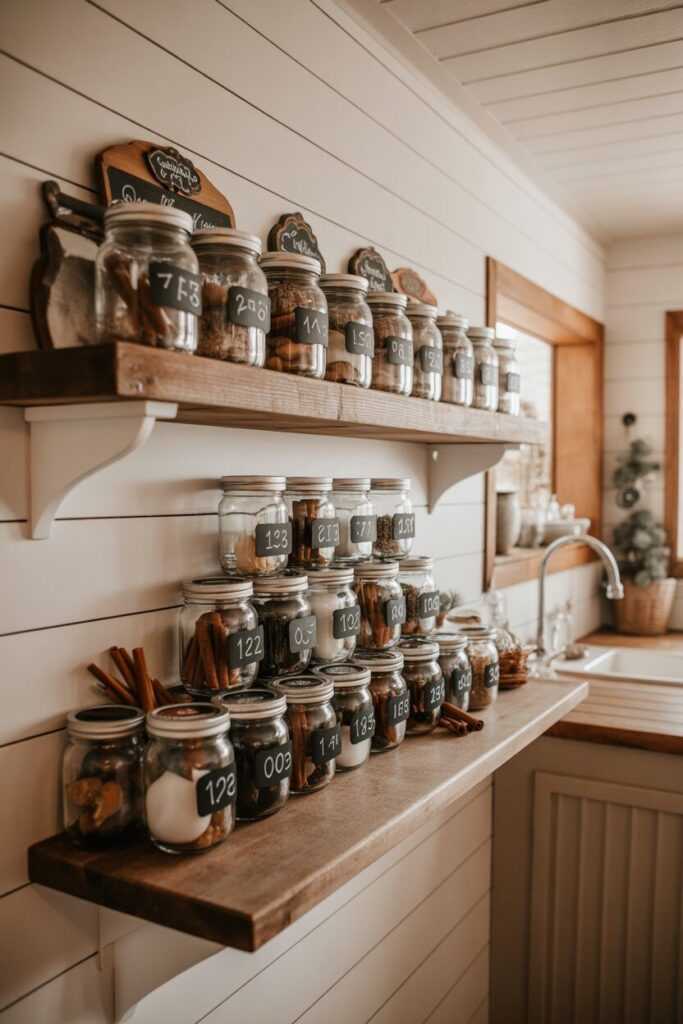
3. On the Kitchen Counter
Line the jars along your counter or open shelving. Mix them with candles, mini wreaths, or Christmas mugs for a layered look. The key is to keep it casual but coordinated.
4. In a Tiered Tray Display
For smaller kitchens, a tiered tray works beautifully. It keeps the jars compact but still visually interesting.
You can switch up the layout daily as you open each jar to keep the setup looking fresh.
Shop these charming DIY Christmas jar essentials now on Amazon
Adding That Signature Farmhouse Touch
You know what separates a good DIY from a wow, did you make that? moment? The details.
Adding those subtle farmhouse touches makes your advent jars look like they belong in a cozy country kitchen straight out of a magazine.
Here are a few ideas:
- Incorporate textures like burlap, linen, or wood in your display.
- Stick to neutral tones—white, cream, soft green, brown, and touches of red.
- Add natural elements such as pinecones, twigs, or cinnamon sticks.
- Include vintage accents like old milk bottles, enamel mugs, or rustic trays nearby.
And if you really want to go all-in, lightly dust the jar lids with faux snow or sprinkle some glitter for that frosty Christmas sparkle.
Just don’t overdo it unless you enjoy cleaning glitter until Easter.
Personalizing Your Jars for Family and Guests
One of the best things about advent jars is how easy they are to personalize. You can tailor each one to your family’s interests or create themed sets for different age groups.
For example:
- For kids: Fill the jars with small toys, puzzles, or Christmas-themed stickers.
- For your partner: Include notes, date-night ideas, or their favorite snacks.
- For guests: Make a smaller 12-day version filled with homemade goodies as take-home gifts.
It’s all about the thoughtfulness behind it.
When people see that you put genuine effort into making something so simple yet meaningful, they’ll remember it long after the holiday season ends.
Check out our favorite farmhouse advent jar picks available on Amazon
Mixing Modern and Farmhouse Styles
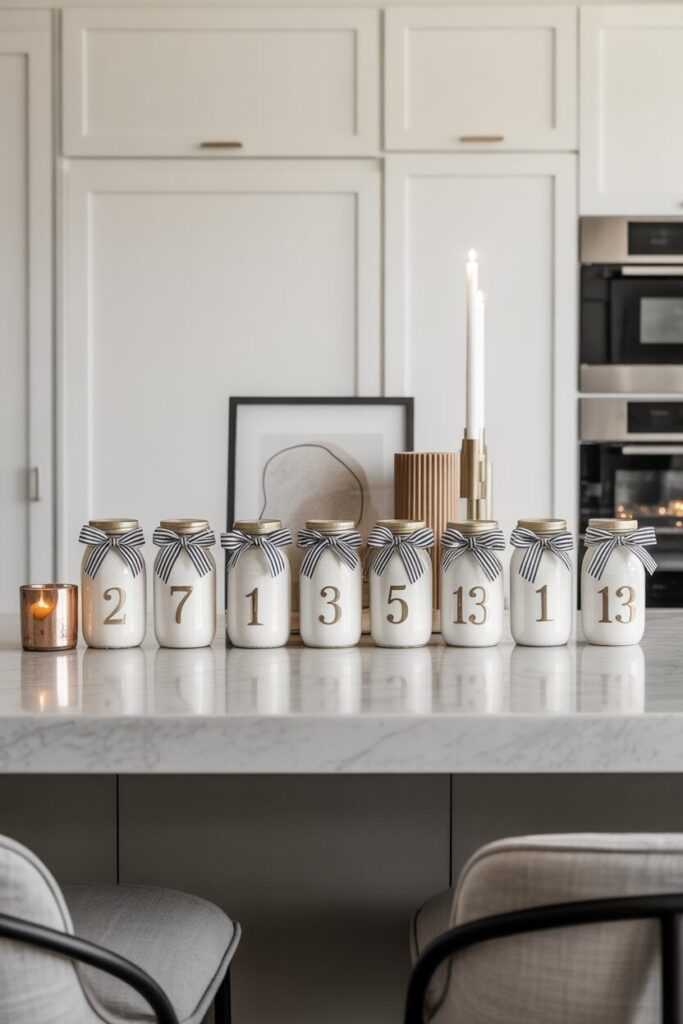
If your kitchen leans more modern farmhouse than purely rustic, you can still pull this off beautifully. Think minimalist jars with clean lines, matte finishes, and subtle accents.
A few metallic touches like gold or bronze number tags can add just enough shine without ruining that cozy aesthetic.
Pair your jars with soft fairy lights, eucalyptus garlands, or even a few ceramic houses for a more polished look.
The beauty of farmhouse décor is its flexibility—you can mix textures and tones while keeping everything warm and inviting.
Tips for Making the Process Easy and Fun
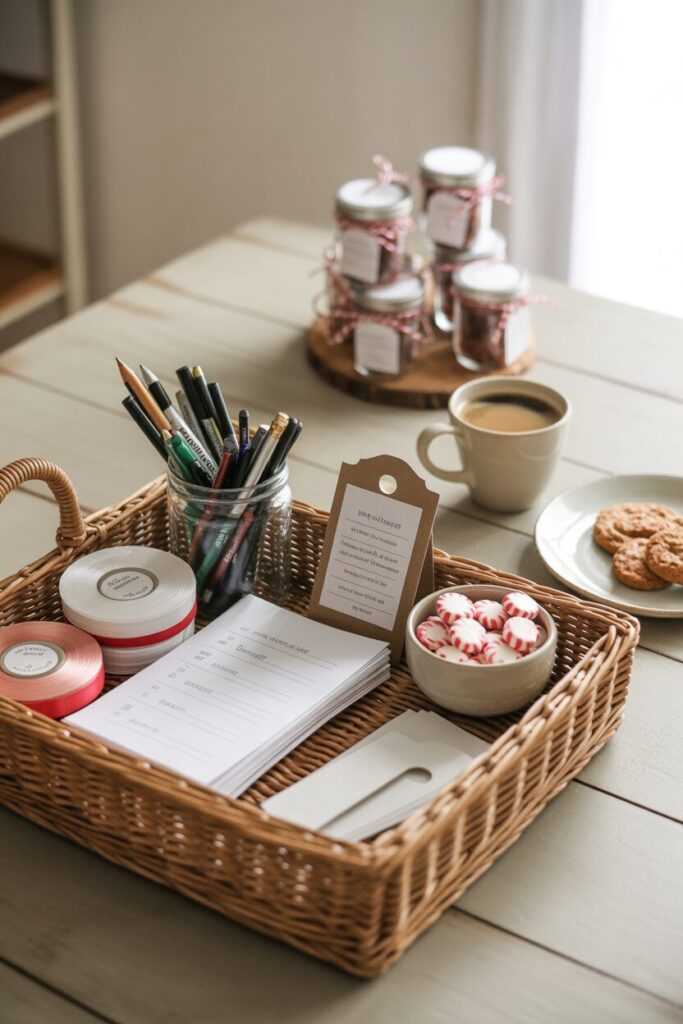
Let’s be real—DIY projects can go from “fun idea” to “why did I start this?” pretty fast. So here are a few tips to keep things simple:
- Work in batches. Paint and decorate a few jars at a time to avoid burnout.
- Use what you already have. Old jars, leftover ribbons, or extra tags work perfectly.
- Get the family involved. Turn it into a little weekend project. Kids especially love helping with numbering and filling the jars.
- Plan the contents ahead. Write down what goes in each jar before you start filling so you don’t end up repeating items.
- Keep it balanced. Mix sweet treats with meaningful notes or fun surprises.
It’s not about perfection—it’s about creating something personal and heartfelt. Even if a jar tilts or the paint smudges a bit, it just adds character.
Why This Project Fits So Well in a Farmhouse Kitchen
Farmhouse style celebrates warmth, simplicity, and authenticity—three things that perfectly align with the spirit of Christmas.
DIY advent jars embody those values. They transform ordinary materials into something meaningful, all while keeping your kitchen looking festive and lived-in.
Your kitchen becomes more than just a space for cooking; it turns into a cozy corner filled with anticipation and joy.
Every morning, as someone opens a jar, there’s that tiny spark of excitement that reminds everyone why this season feels so special.
And the best part? Once Christmas is over, you can repurpose the jars for other holidays or even everyday décor.
Fill them with spices, coffee beans, or dried herbs and keep that farmhouse charm alive all year round.
Final Thoughts
If you’ve ever wanted a Christmas project that’s easy, beautiful, and deeply personal, farmhouse kitchen DIY Christmas advent jars are it.
They’re simple enough for anyone to make but charming enough to look like you spent hours crafting them.
Plus, they add that perfect blend of nostalgia and creativity that makes your kitchen feel like the true heart of the home during the holidays.
So grab your jars, queue up your favorite Christmas playlist, and start creating something magical.
You’ll love how it turns out—and honestly, so will everyone who walks into your kitchen this season.
What Are Farmhouse Christmas Advent Jars?
Farmhouse Christmas Advent jars are charming, decorated jars for counting down to Christmas. Each jar stands for a day in December, leading up to the 25th.
You can fill them with treats, notes, or small gifts. Unlike paper advent calendars, these jars add a rustic touch to any farmhouse kitchen.
They mix creativity, warmth, and nostalgia in one delightful setup.
Many people enjoy them because they are easy to personalize. You can paint them, add twine or greenery, and choose what goes inside based on your family’s style.
It’s more than just a decoration; it’s an experience that builds excitement each day.
What Should I Put Inside My DIY Advent Jars?
Advent jars are great because you can fill them with nearly anything small.
Popular choices include mini chocolates, candy canes, handwritten notes, Christmas charms, or little surprises. You can mix edible treats with sentimental items for variety.
To make it personal, add daily affirmations, activity prompts, or family inside jokes.
This fun mix keeps everyone excited to open the next jar each morning. The aim is to make each day leading up to Christmas feel special.
How Do I Decorate Advent Jars to Match a Farmhouse Kitchen?
To create a farmhouse kitchen, aim for rustic and cozy vibes. Use twine, burlap, or linen ribbons to wrap jars.
Soft chalk paint in whites, greens, or grays adds a vintage touch. Finish with kraft paper tags, pine sprigs, or small pinecones.
You can group jars on a wooden tray or display them on open shelves with string lights. Keep everything simple and natural.
When unsure, choose neutral tones and organic textures. These elements define timeless farmhouse décor.
Can I Reuse My Christmas Advent Jars Every Year?
Absolutely! That’s one of the best parts of making them yourself.
You can easily reuse high-quality mason jars or glass containers for many Christmas seasons. Just empty, clean, and store them safely after the holidays.
You can refresh their look each year by repainting the lids, changing ribbons, or using a new color scheme.
Some people even use their jars for everyday storage after Christmas. It’s a sustainable and budget-friendly way to keep your decorations meaningful year after year.
Where Should I Display My Advent Jars in the Kitchen?
You have many great ways to display your advent jars. A popular choice is to arrange them on a wooden tray or crate as a centerpiece on your kitchen counter.
You can also line them up on open shelves, hang them from a ladder shelf, or group them on a tiered stand if space is tight.
Wherever you place them, add some finishing touches like greenery, fairy lights, or small ornaments to complete the look.
The goal is to make them pop while fitting in with your Christmas décor. When done well, they bring warmth, festivity, and holiday spirit to your kitchen.