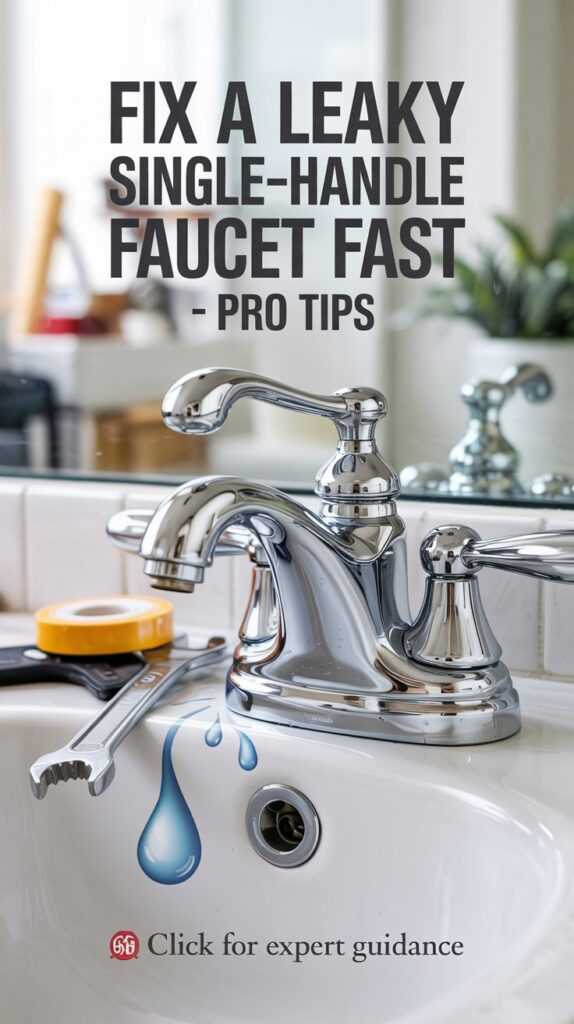
Fix a leaky single-handle faucet fast. Stop that annoying drip before it worsens. A small leak may seem minor, but it can waste water and raise your bills.
It might also lead to bigger plumbing issues. If your faucet drips or doesn’t turn off right, it’s time to act. The good news is fixing it is easier than it seems. With a few basic tools and some guidance, you can repair it yourself. You won’t need to call a plumber.
In this post, we’ll show you simple steps to find the leak’s cause and fix it quickly. Your faucet will work like new again.
Gather Your Tools
Before fixing a leaky single-handle faucet, gather your tools. You’ll need an adjustable wrench, a screwdriver, and plumber’s tape. Having everything ready saves time and makes repairs easier.
An adjustable wrench is key for loosening and tightening nuts and bolts. Ensure it’s adjustable to fit different sizes. This tool helps you work on the faucet without causing damage.
Don’t forget the plumber’s tape. This simple item creates a watertight seal on threaded connections. Using it correctly can prevent future leaks and make your repair last longer.
Turn Off Water
To prevent flooding while fixing a leaky single-handle faucet, shut off the water supply. Find the valves under the sink and turn them to the right until they stop. This stops the water flow.
Before disassembling the faucet, make sure the water supply is completely off. Check both hot and cold water valves under the sink. Turning them off helps avoid spills or accidents.
Always turn off the water supply before fixing a leaky single-handle faucet. Locate the two valves beneath your sink and rotate them clockwise. This simple step can save you from water damage.
Disassemble the Faucet
First, remove the handle. You may need a screwdriver for the screw that secures it. Once the handle is off, place the screw and any small parts in a safe spot to avoid losing them.
Next, take apart the cap and cartridge. Pay attention to how each part fits together. Keeping them in order will help when reassembling the faucet.
If any parts are stuck, gently wiggle them free. Don’t use too much force to prevent damage. Organize all removed parts in sequence for easy reassembly.
Check and Replace Parts
Check your faucet parts often to spot wear and tear early. Look for worn O-rings or cartridges, as they often cause leaks. Replacing these parts can prevent bigger problems and keep your faucet running well.
If you find damaged parts like O-rings or cartridges, replace them right away to stop leaks. Ignoring these issues can waste water and increase your bills. Regular upkeep helps keep your faucet in good shape.
Having spare O-rings and cartridges ready can save you time and trouble. If your single-handle faucet leaks, you can quickly swap out the bad parts. This proactive approach keeps your faucet working well and avoids surprises.
Reassemble and Test
After reassembling the faucet, check that all parts are tight and secure. This helps stop future leaks. When you’re ready, turn the water supply back on. Look for drips or other issues.
As you put the parts back together, pay attention to their order and how they fit. This ensures the faucet works right. Take your time to avoid mistakes that could lead to leaks later.
After reassembly and turning the water on, test the faucet. Turn it on and off a few times. Watch for any water escaping from unusual spots. This could mean something wasn’t tightened enough.
Conclusion
Fixing a leaky single-handle faucet is not as hard as it seems. With the right tools and steps, you can repair it yourself and save money on plumbing. First, turn off the water supply. Then, take your time to follow each step carefully. Soon, you’ll have a working faucet again.
What tools do I need to fix a leaky single-handle faucet?
You need an adjustable wrench, a screwdriver, and plumber’s tape.
Why is it important to gather all the tools before starting the repair?
Having all tools ready will save you time and make the repair process smoother.
How do I turn off the water supply to the faucet?
Locate the valves under the sink and turn them to the right (clockwise) until they stop.
What should I do before disassembling the faucet?
Ensure the water supply is completely turned off by checking both the hot and cold water valves.
How do I remove the handle of the faucet?
You might need a screwdriver to remove the screw that holds the handle in place.
What should I do if the faucet components are stuck?
Gently wiggle them free, avoiding too much force to prevent damage.
Which parts should I inspect for wear and tear?
Inspect O-rings and cartridges, as they are common culprits for leaks.
Why is it important to replace worn-out parts immediately?
Replacing damaged components like O-rings or cartridges can prevent bigger issues and reduce water waste.
What should I do after reassembling the faucet?
Make sure everything is tight and secure, then turn the water supply back on and check for any drips or issues.
How can I test if the faucet repair was successful?
Turn the faucet on and off a few times to check for any signs of water escaping from unusual places.

