
There’s something magical about pulling a golden loaf of artisan bread from your oven.
This bread looks like it’s from a fancy bakery, with a crackly crust and a soft, chewy inside full of air pockets.
The best part? You don’t need to knead anything, spend hours cooking, or have special skills.
This no-knead artisan bread recipe is one of the easiest things to bake. If you can stir a few ingredients and wait overnight, you can make this bread.
Let me guide you through why this method works so well and how to fix any loaf that misbehaves.
Why No Knead Bread Actually Works
You might be wondering: if kneading develops gluten, and gluten is what gives bread its structure, how does skipping it produce such a gorgeous loaf? Great question. The answer is time.
When you knead dough, you are forcing gluten strands to align and strengthen quickly. But when you let dough rest for a long period, those gluten strands develop on their own, slowly and naturally.
The result is actually a more relaxed, open crumb structure, which is exactly what you want in an artisan loaf.
The other secret weapon here is hydration. No knead dough is much wetter than traditional bread dough.
That high moisture content creates steam inside the dough as it bakes, which pushes those beautiful air pockets open and gives you that light, chewy texture that makes you want to eat half the loaf before dinner even starts.
Find All The Baking Tools You Need On Amazon
What You Need Before You Start
Ingredients
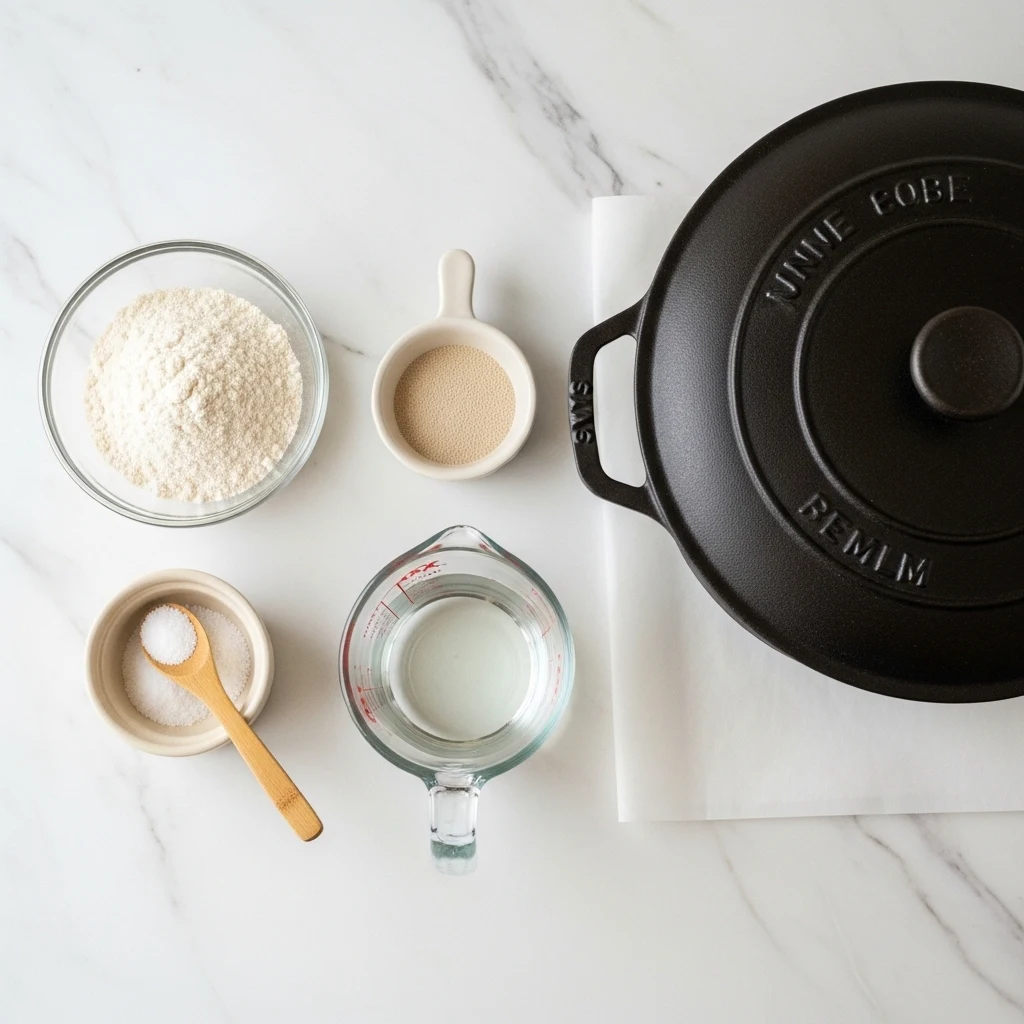
The ingredient list for this bread is almost embarrassingly short. Here is what you need:
- 3 cups (375g) all-purpose flour (bread flour works even better if you have it)
- 1/4 teaspoon instant yeast (yes, really, that tiny amount is enough)
- 1 and 1/2 teaspoons salt
- 1 and 1/2 cups (355ml) warm water (around 100 degrees Fahrenheit or 38 degrees Celsius)
That is it. Four ingredients. No butter, no eggs, no sugar. Just the basics, and they deliver something extraordinary.
Get A Reliable Kitchen Scale On Amazon
Equipment
You do not need a stand mixer or any fancy gadgets. But there is one piece of equipment that makes a real difference: a Dutch oven (also called a cocotte).
It traps steam around the bread during the first part of baking, mimicking the environment of a professional bread oven. If you do not own one, a heavy oven-safe pot with a lid will do the job.
You will also need:
- A large mixing bowl
- A wooden spoon or spatula
- Plastic wrap or a clean kitchen towel
- Parchment paper
- A sharp knife or bread lame for scoring
How to Make No Knead Artisan Bread: Step by Step
Step 1: Mix the Dough (It Takes About 2 Minutes)
Combine your flour, yeast, and salt in a large bowl. Give them a quick stir to distribute everything evenly.
Then pour in the warm water and mix until a shaggy, sticky dough forms. You are not trying to make it smooth at this point. Lumpy and rough is totally fine.
Cover the bowl with plastic wrap or a damp towel and leave it at room temperature. Walk away. Watch something on television. The dough does not need you right now.
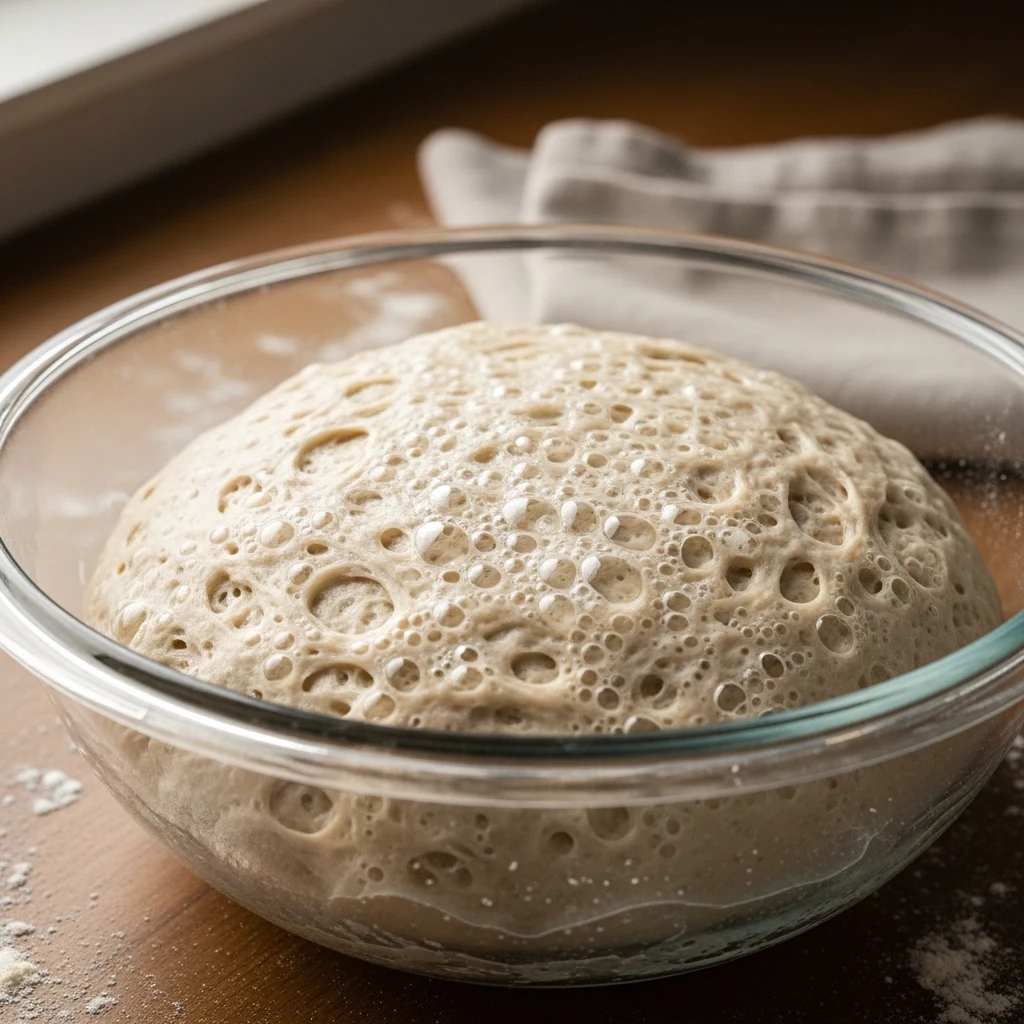
Step 2: The Long Rest (12 to 18 Hours)
This is the part where time does all the heavy lifting. Let the dough rest for a minimum of 12 hours, but 18 hours is the sweet spot.
You will know it is ready when the surface looks bubbly and the dough has roughly doubled in size.
The longer rest also develops more complex flavor. That slightly tangy, yeasty depth you get from a good bakery loaf?
That comes from time, not from any special technique. So resist the urge to rush this step.
Step 3: Shape the Dough (Gently, Please)
Flour a clean surface and turn the dough out onto it. The dough will be sticky, and that is completely normal.
Do not panic and do not add a ton of extra flour. A light dusting on your hands is all you need.
Fold the dough over itself a few times, then shape it into a rough ball by tucking the edges underneath.
Place it on a piece of parchment paper, cover it loosely, and let it rest for another 1 to 2 hours. This second rise gives the dough one more boost of activity before it hits the heat.
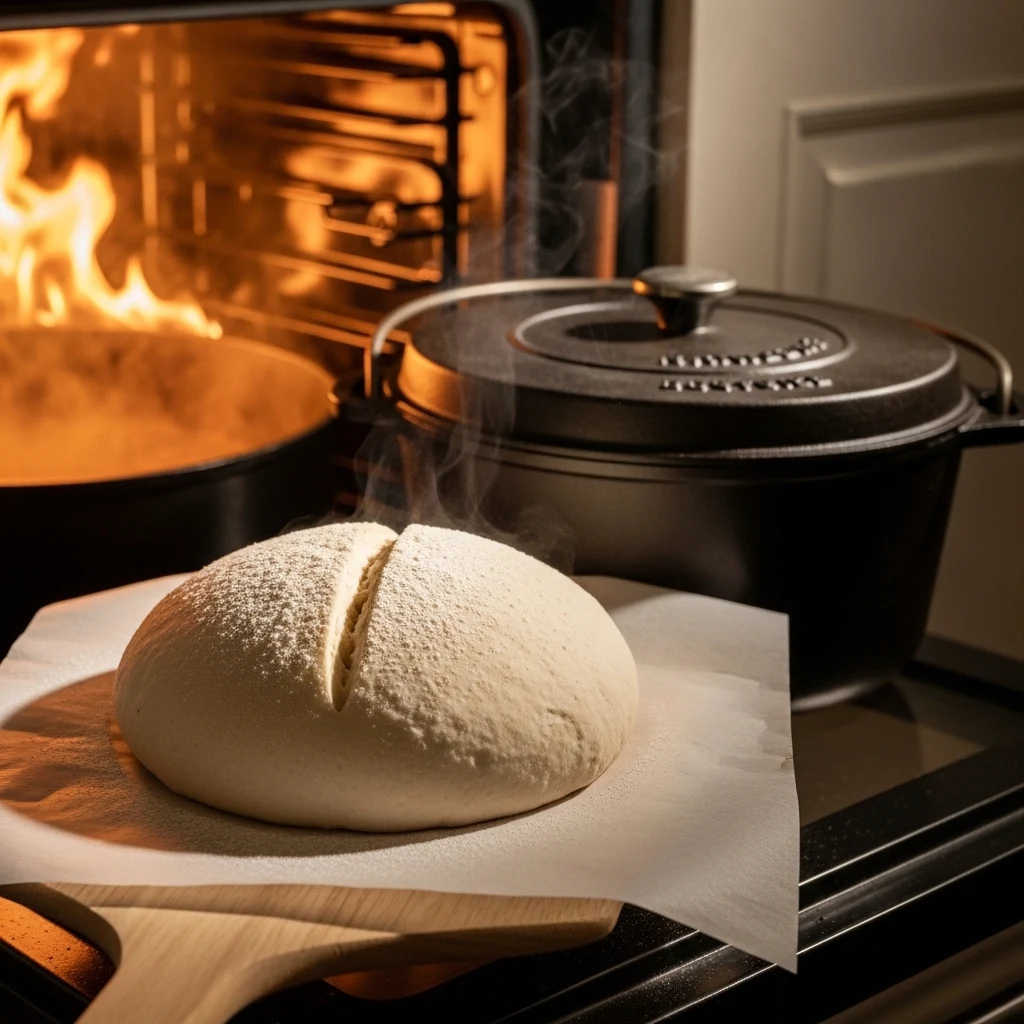
Step 4: Preheat Your Dutch Oven
About 30 minutes before you plan to bake, place your Dutch oven (with the lid on) inside your oven and preheat everything to 450 degrees Fahrenheit (230 degrees Celsius).
You want that pot screaming hot before the dough goes in. This is what creates the initial burst of steam that makes the crust crackle and sing.
Step 5: Bake the Bread
Score the top of your dough with a sharp knife or a bread lame. A single slash down the center works perfectly.
This is not just for looks; it controls where the bread expands so it does not burst randomly on the sides.
Carefully lift the parchment paper with the dough and lower it into the hot Dutch oven. Put the lid on and bake for 30 minutes.
Then remove the lid and bake for another 15 to 20 minutes, until the crust is deeply golden brown. I mean really golden.
Do not pull it out too early because a pale crust means a disappointing crust, and nobody wants that.
Let the bread cool on a wire rack for at least 30 minutes before slicing. I know. Waiting is painful. But cutting into it too soon traps steam inside and makes the interior gummy.
Tips That Actually Make a Difference
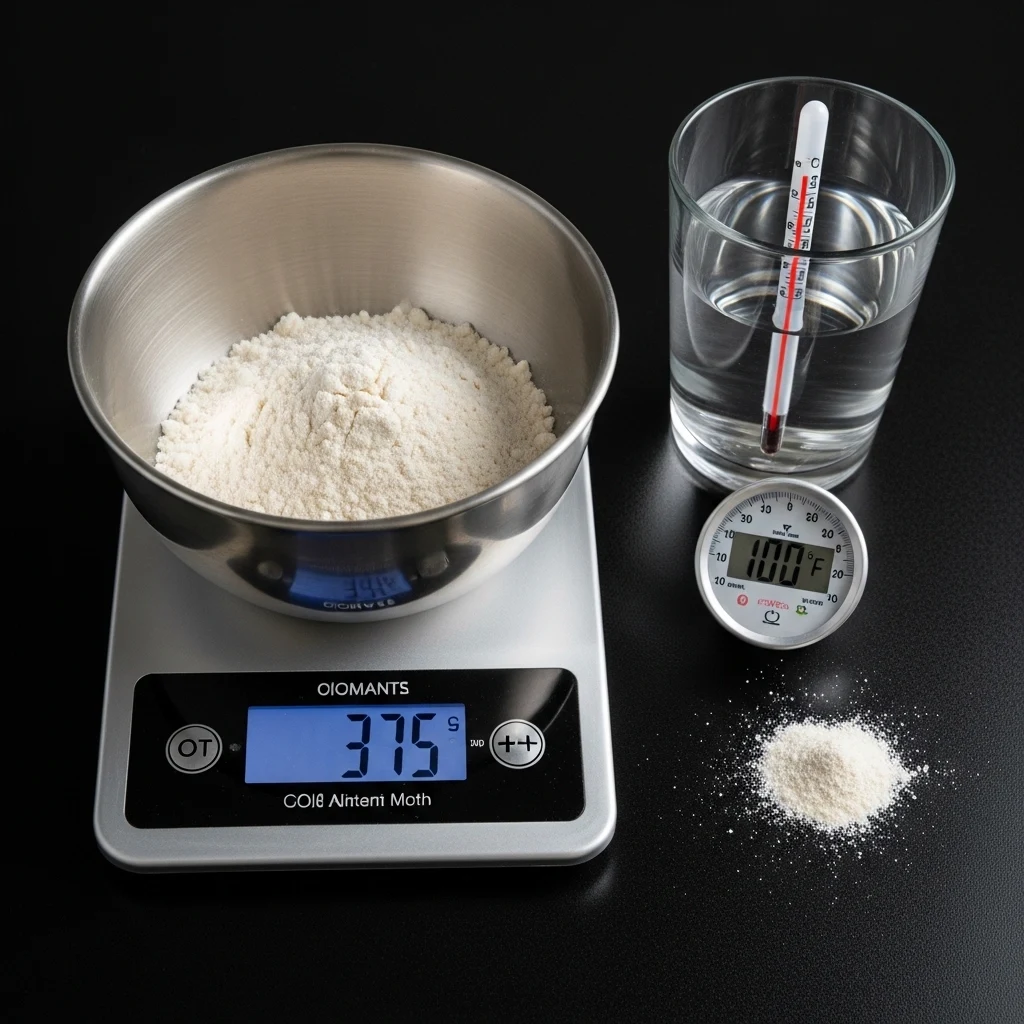
Use a kitchen scale if you have one. Measuring flour by volume can be inconsistent.
Too much flour makes dense bread, and too little makes a dough that spreads everywhere. Weighing gives you reliable results every single time.
Water temperature matters. Too hot and you kill the yeast. Too cold and the yeast just sits there, not doing much. Warm, like comfortable bath water, is exactly right.
Do not skip the preheat. A cold Dutch oven will not give you the oven spring and crackling crust that make this bread special. Thirty minutes of preheating is non-negotiable.
Let the bread fully cool. Slicing too early is one of the most common mistakes home bakers make. That resting time after baking is part of the process, not an optional suggestion.
Common Problems and How to Fix Them
The Bread is Dense and Heavy
This usually means the yeast was not active enough, the water was too hot, or the dough did not get enough rise time.
Make sure your yeast is not expired and that your rise happened in a reasonably warm spot (around 70 degrees Fahrenheit or 21 degrees Celsius is ideal).
The Crust is Soft Instead of Crackling
A soft crust usually means the bread spent too long in a sealed environment after baking.
Once the bread comes out of the oven, let it rest in the open air on a wire rack. The airflow is what helps that crust set up and stay crispy.
The Dough is Way Too Sticky to Handle
No knead dough is always going to be stickier than regular bread dough. That is by design. Flour your hands well and use a bench scraper if you have one.
Resist the urge to dump in more flour because it will throw off the hydration ratio and you will end up with a tighter, denser loaf.
The Bread Spread Out Instead of Rising Up
This happens when the dough is over-proofed or when the shaping was too loose.
Make sure you tuck the dough tightly during shaping and do not let the second rise go too long. Two hours maximum for the second rest.
Flavor Variations Worth Trying
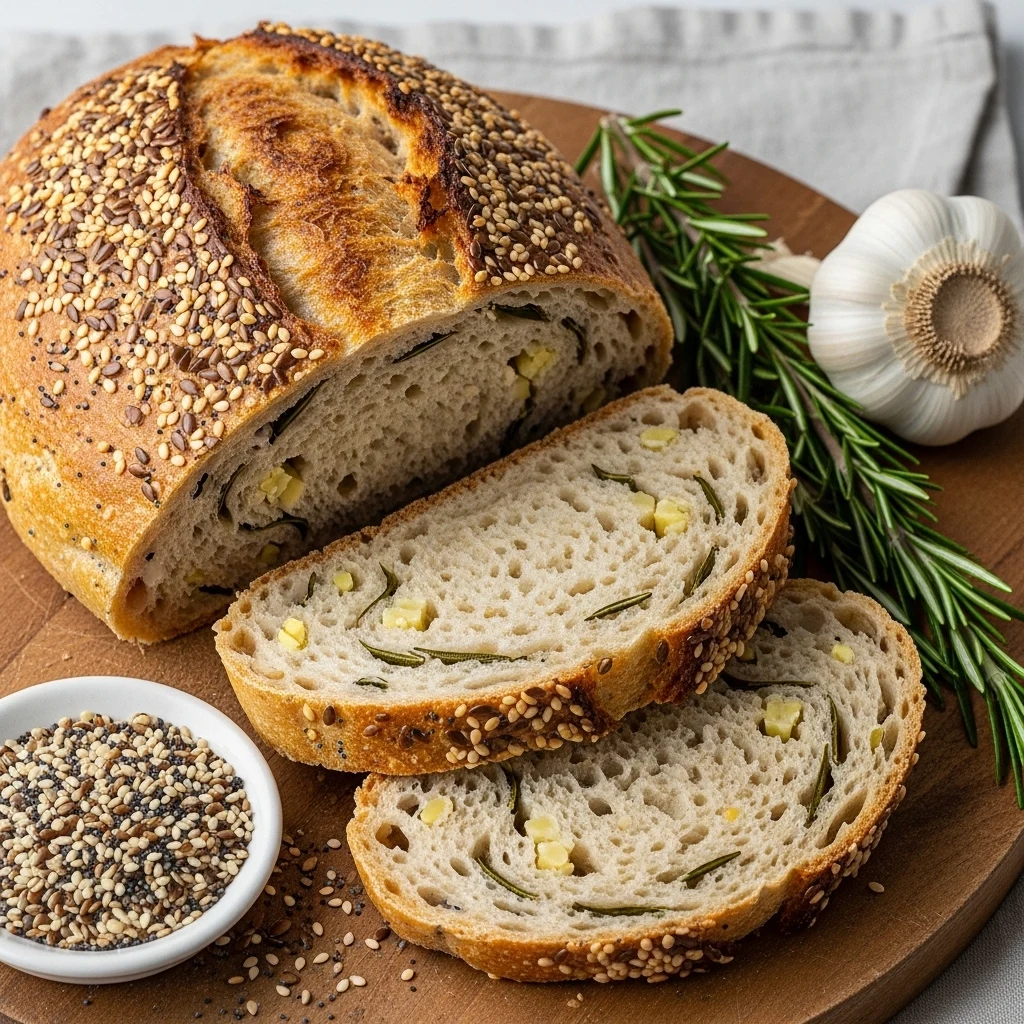
Once you master the basic loaf, the fun really starts. Here are a few additions that work beautifully in this recipe:
- Rosemary and garlic: Fold in two tablespoons of chopped fresh rosemary and three minced garlic cloves during mixing.
- Olives and herbs: Add half a cup of sliced Kalamata olives and a teaspoon of dried oregano.
- Seeded crust: Brush the top with a little water before baking and press on a mixture of sesame seeds, poppy seeds, and flaxseeds.
- Whole wheat version: Replace one cup of all-purpose flour with whole wheat flour for a nuttier, heartier loaf.
Stock Up On Baking Essentials On Amazon
Storing Your Bread
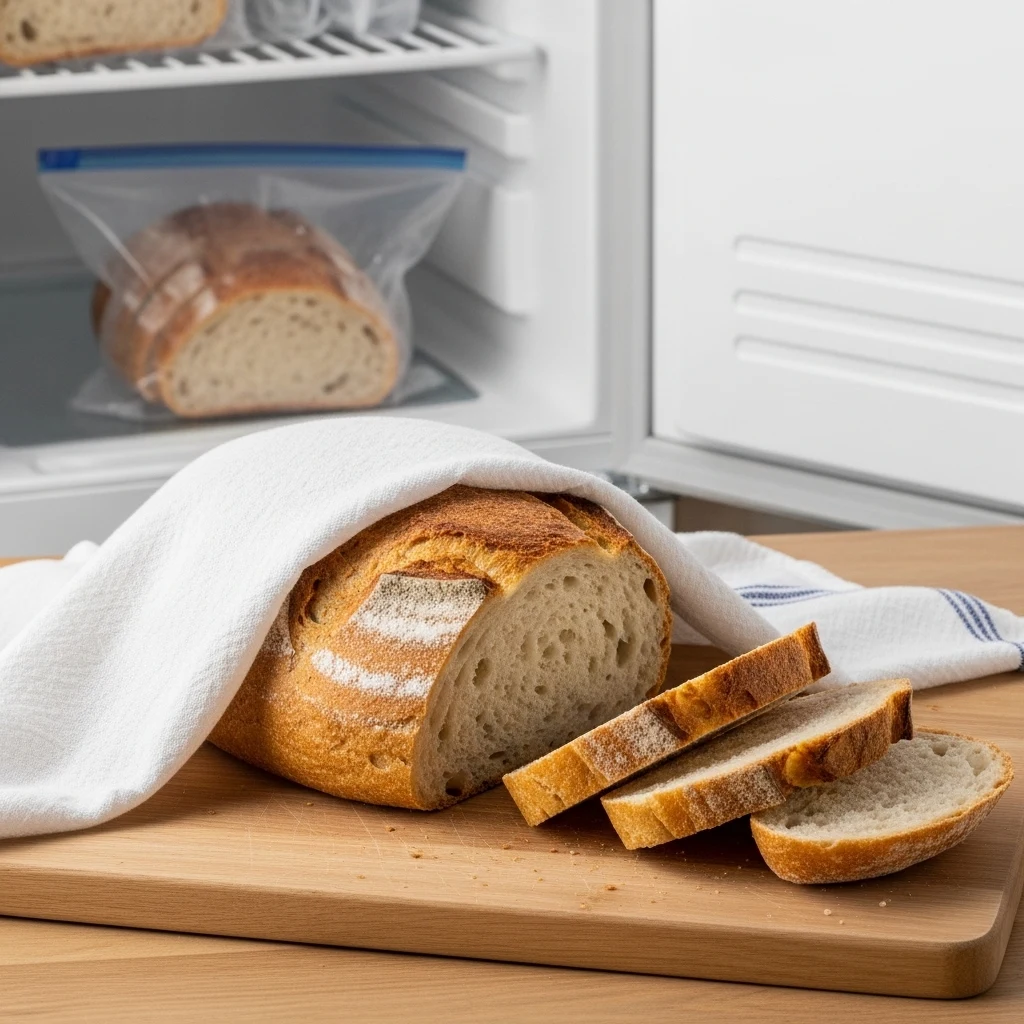
Room temperature: Store the bread cut-side down on a cutting board or wrapped loosely in a clean towel.
It stays good for two to three days. Avoid plastic bags because they trap moisture and soften that beautiful crust.
Freezing: Slice the cooled loaf and freeze the slices in a zip-lock bag. You can pull out individual slices and toast them straight from frozen. The texture holds up surprisingly well.
Grab Everything You Need For Bread Storage On Amazon
The Bottom Line
No knead artisan bread is genuinely one of those recipes that makes you feel like a far more talented baker than you actually are, and I mean that as the highest possible compliment.
The process is forgiving, the ingredients are cheap, and the results are absolutely stunning.
Once you bake your first loaf and hear that hollow knock on the bottom that tells you it is perfectly done, you will understand why people who discover this recipe become slightly obsessed with it.
Give it a go this weekend. Your kitchen will smell incredible, and you will have a loaf of bread that looks like it belongs in a Parisian boulangerie.
Not bad for four ingredients and about five minutes of actual effort.
How Long Do You Have to Let No Knead Bread Rise?
The ideal rise time for no-knead bread is 12 to 18 hours at room temperature. This long, slow rise builds the gluten structure and enhances the flavor of a good artisan loaf.
A minimum of 12 hours works in a pinch, but 18 hours gives the best results. If your kitchen is cold, you can let it rise for up to 24 hours without issues.
Can You Make No Knead Bread Without a Dutch Oven?
Yes, you can, but a Dutch oven gives the best crust. It traps steam around the dough in the first baking phase. This steam creates that signature crackling, bakery-style crust.
Alternatively, use any heavy oven-safe pot with a tight lid. Some bakers also put a pan of hot water on the bottom rack. This generates steam and works well as a workaround.
Why Is My No Knead Bread Dense and Not Airy?
Dense no-knead bread usually results from three main issues: dead or expired yeast, water that was too hot, or too short a rise time. First, check your yeast to ensure it’s fresh.
Next, the water should feel warm, about 100 degrees Fahrenheit, not hot. Finally, let the dough rest in a warm area. A cold kitchen slows fermentation and can lead to a dense, under-risen loaf.
What Type of Flour Works Best for No Knead Artisan Bread?
All-purpose flour works perfectly well and produces a great loaf with a good crumb and crust.
However, bread flour is an even better choice because it has a higher protein content, which builds stronger gluten and gives you a chewier texture and more pronounced air pockets.
You can also substitute one cup of all-purpose flour with whole wheat flour for a nuttier, denser loaf. Avoid cake flour or self-rising flour, as neither will give you the structure this bread needs.
How Do You Store No Knead Artisan Bread to Keep the Crust Crispy?
The biggest enemy of a crispy crust is trapped moisture. Store your bread cut-side down on a wooden cutting board. You can also wrap it loosely in a clean kitchen towel at room temperature.
Avoid sealing it in plastic bags or airtight containers. The moisture from the bread softens the crust quickly. This method keeps the bread good for two to three days.
For longer storage, slice the cooled loaf and freeze the slices. You can toast them straight from frozen whenever you need a piece.