
Installing a pedestal sink is easy with this simple guide. It removes the guesswork for beginners. Whether you’re updating an old bathroom or creating a sleek layout, a pedestal sink adds elegance and saves space.
Many homeowners worry it’s too tough to do themselves. But with the right steps and tools, it’s doable, even for beginners.
This post breaks the installation into clear stages. You can tackle each step with confidence. From prepping the area to securing connections, you’ll learn what you need to finish the job. Get ready to give your bathroom a clean, stylish look!
Gather Your Tools
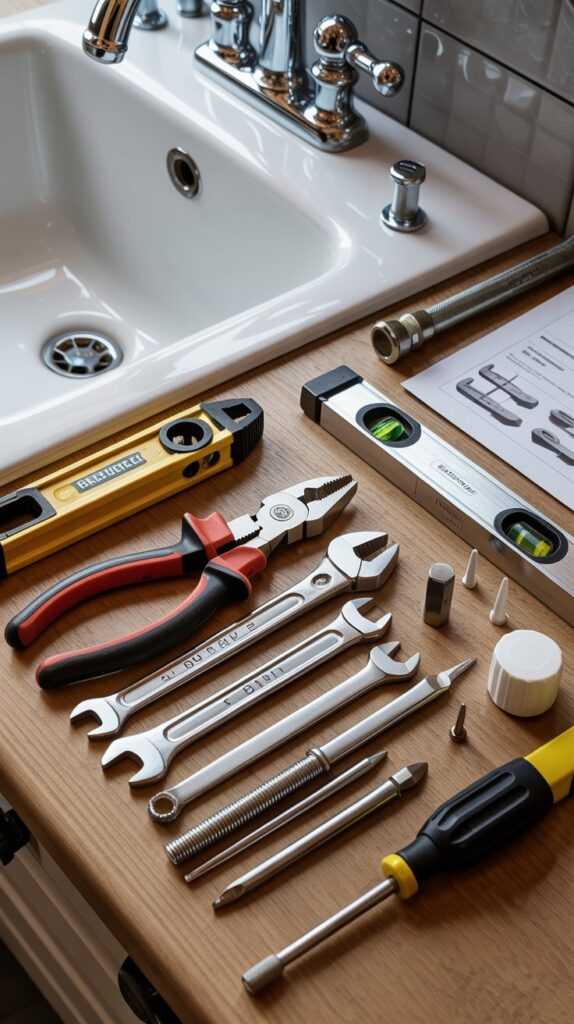
Before starting your pedestal sink installation, gather all necessary tools. You’ll need a wrench, screwdriver, and plumber’s tape. Having everything ready helps avoid interruptions and makes the process smoother.
Also, have your sink components ready. This includes the pedestal, basin, and mounting hardware. Organizing these parts saves you time and effort during installation.
Don’t forget your safety gear. Wear gloves and safety glasses to protect yourself from potential injuries while working.
Remove Old Sink
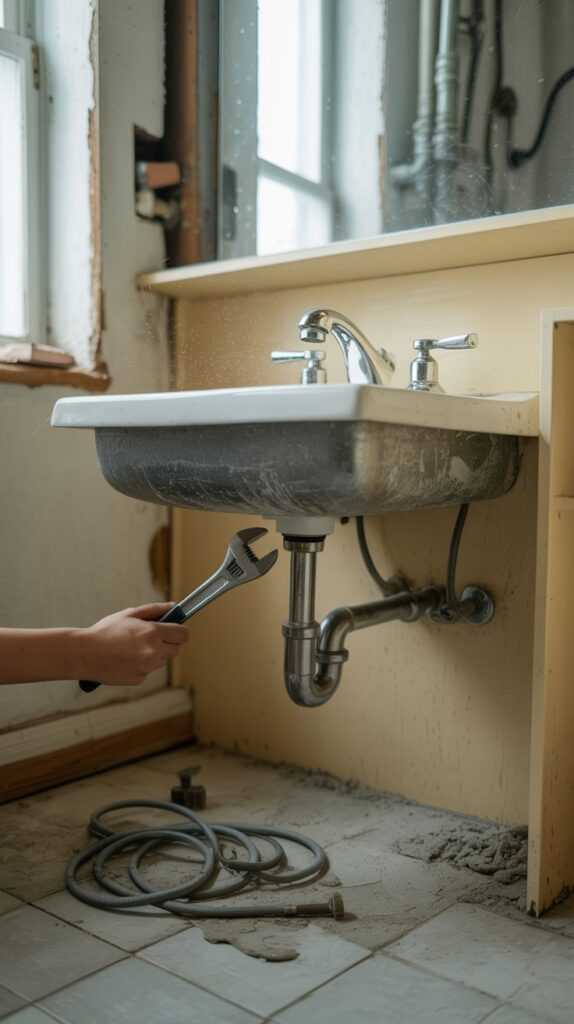
Before you start, turn off the water supply to prevent leaks. Turn the valves under the sink clockwise. This step is key for a smooth pedestal sink installation.
After that, disconnect the pipes from the old sink. Use a wrench to loosen the nuts and carefully remove the pipes. Have a bucket ready to catch any leftover water.
Once the pipes are off, take the sink out of its mounting brackets. Lift it carefully to avoid injuries. Clearing this space properly will help the new pedestal sink fit perfectly.
Install the Sink Base
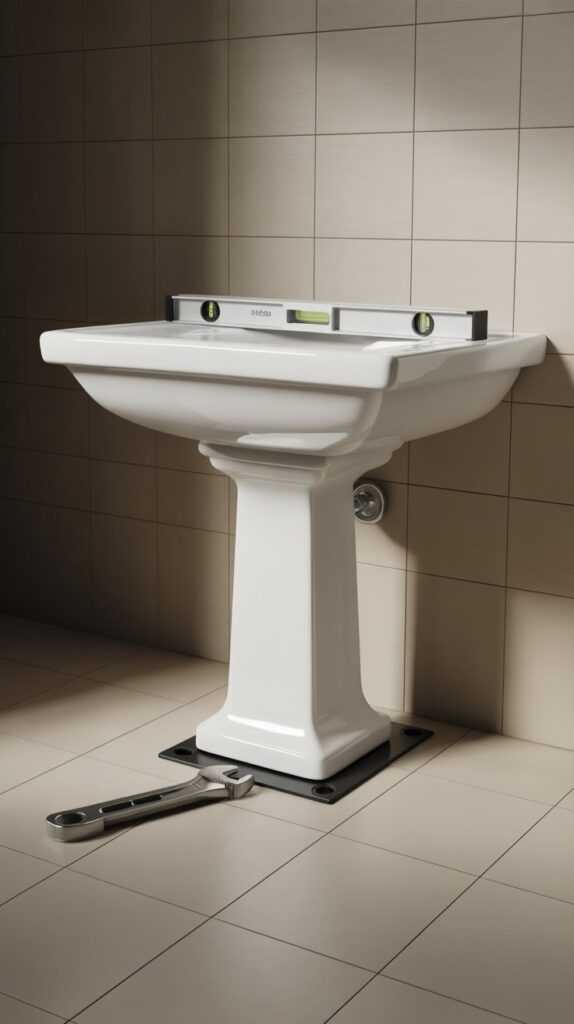
First, place the pedestal base where you want it. Make sure it lines up with the plumbing connections. This step is key as it sets the foundation for your new pedestal sink.
Once the base is in place, use a level to check that it’s straight. Any tilt can affect the sink’s stability. Secure the base to the floor with screws and anchors for a strong hold.
After securing the base, check all connections to ensure they are tight and leak-free. This will help the sink function properly and last longer. Following these steps will lead to a successful pedestal sink installation.
Mount the Sink
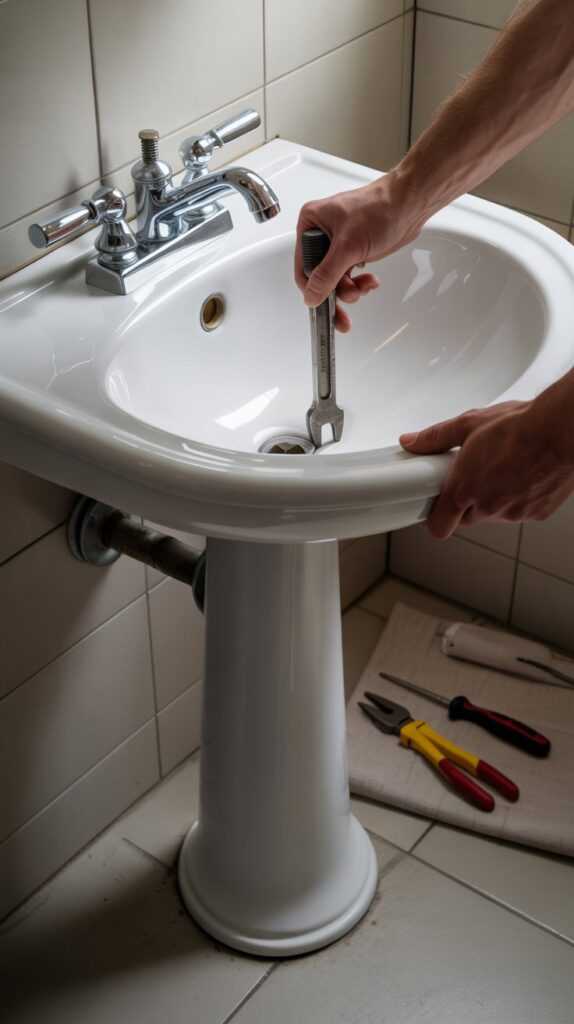
Carefully set the sink on the pedestal. Make sure it’s steady. This step is key to keeping the sink in place during use. A stable sink helps prevent leaks and damage.
Once the sink is on the pedestal, fasten it to the wall with the right brackets or screws. This adds stability and stops any movement that might lead to problems later.
Check that the sink is level and aligned. Use a level tool for precision. A properly aligned sink looks good and ensures correct drainage and function.
Connect Plumbing
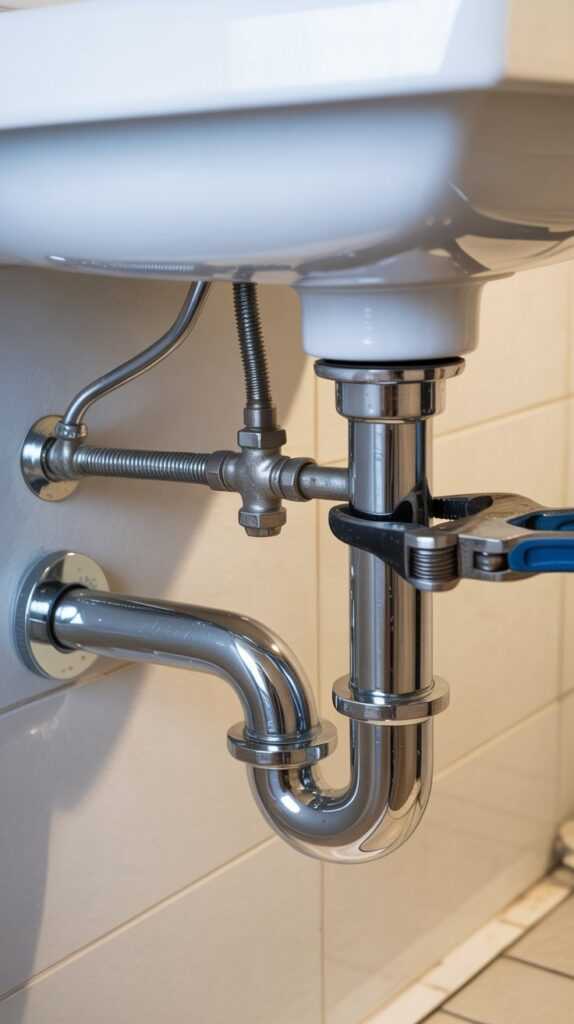
To connect the water supply to your new pedestal sink, attach the hot and cold water lines to their valves. Use a wrench to tighten the connections securely. This helps prevent leaks and ensures steady water flow.
Next, connect the drain pipe to the sink’s drain outlet. Make sure the pipe fits snugly to avoid leaks. Apply plumber’s tape on threaded connections for extra leak protection. Run water through the sink to check everything.
Lastly, inspect all connections and joints for leaks. Turn on the water supply slowly and watch the pipes. If you find any leaks, tighten the connections or add more plumber’s tape. Properly connected plumbing keeps your pedestal sink working well.
Final Touches

Seal around the sink and pedestal with a high-quality caulk to prevent water from seeping behind the sink. This will help keep your bathroom clean and avoid potential water damage.
After sealing, make sure to clean up any leftover debris or materials. This ensures your bathroom looks tidy and new, giving you a fresh feeling whenever you use it.
Enjoy your new pedestal sink by taking a moment to admire your work. You’ve added a stylish and functional piece to your bathroom, enhancing its overall look and usability.
Conclusion
Installing a pedestal sink may look hard, but it’s doable with the right tools. Follow this guide for an easy installation. Take your time and check your work. Soon, you’ll enjoy your beautiful new sink.
What tools are necessary for pedestal sink installation?
Necessary tools include a wrench, screwdriver, and plumber’s tape. Additionally, safety gear such as gloves and safety glasses are recommended.
Why is it important to turn off the water supply before removing the old sink?
Shutting off the water supply stops leaks and water damage while you remove it.
How do you ensure the pedestal base is properly aligned?
Check the pedestal base with a level to make sure it’s straight. Then, secure it to the floor.
What should you do if you find a leak after connecting the plumbing?
Tighten the connections more or add extra plumber’s tape to fix the leak.
How do you secure the sink to the wall?
Use the right brackets or screws to fasten the sink to the wall. This will add extra stability.
Why is it important to double-check connections after securing the base?
Double-checking makes sure all connections are tight and leak-free. This is important for the sink to work well and last a long time.
What steps are involved in connecting the water supply to the pedestal sink?
Connect the hot and cold water lines to their valves. Then, tighten the connections firmly with a wrench.
How do you prevent water from seeping behind the sink?
Caulk the area around the sink and pedestal. This helps stop water from leaking. Use high-quality caulk for the best results.
What should you do after sealing the sink and pedestal?
Remove any leftover debris or materials. This keeps your bathroom looking tidy and fresh.
What are the benefits of organizing sink components beforehand?
Organizing sink parts ahead of time helps you find them easily during installation. This saves both time and effort.