
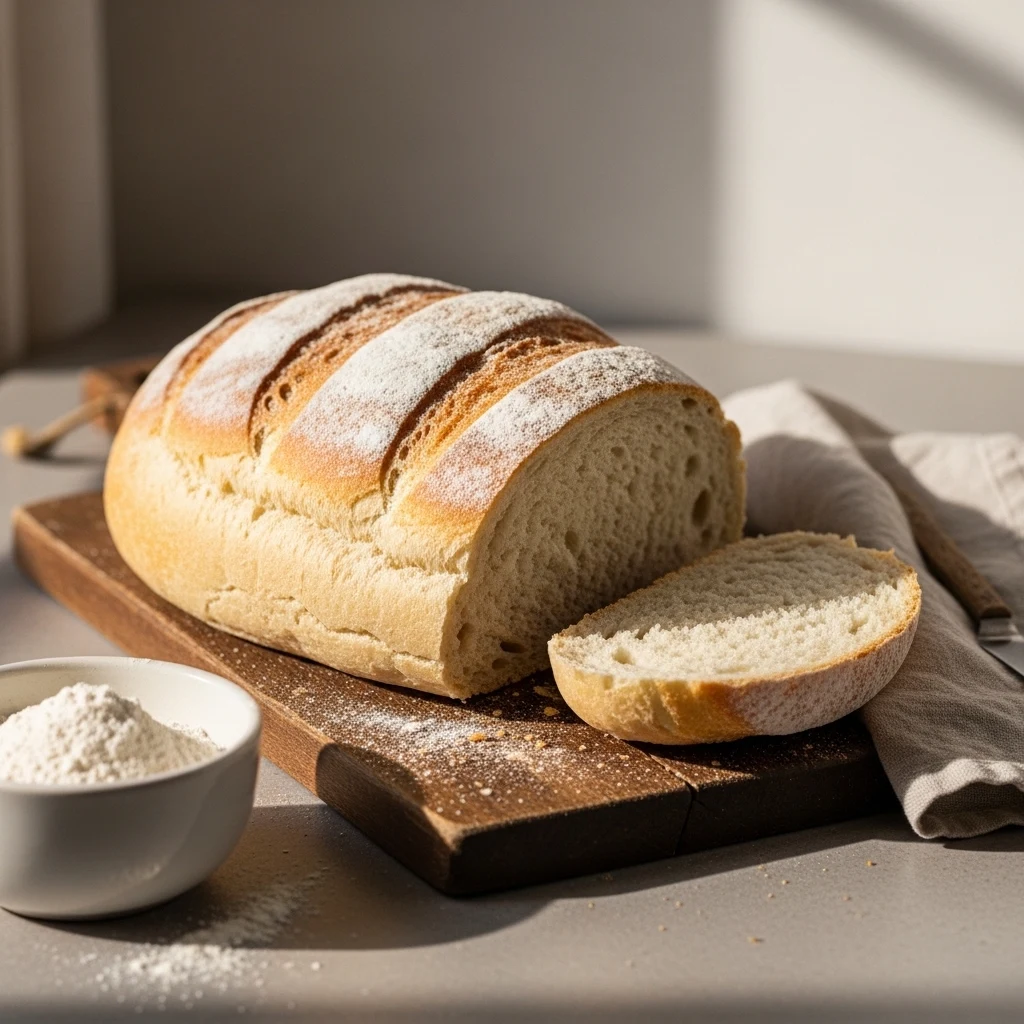
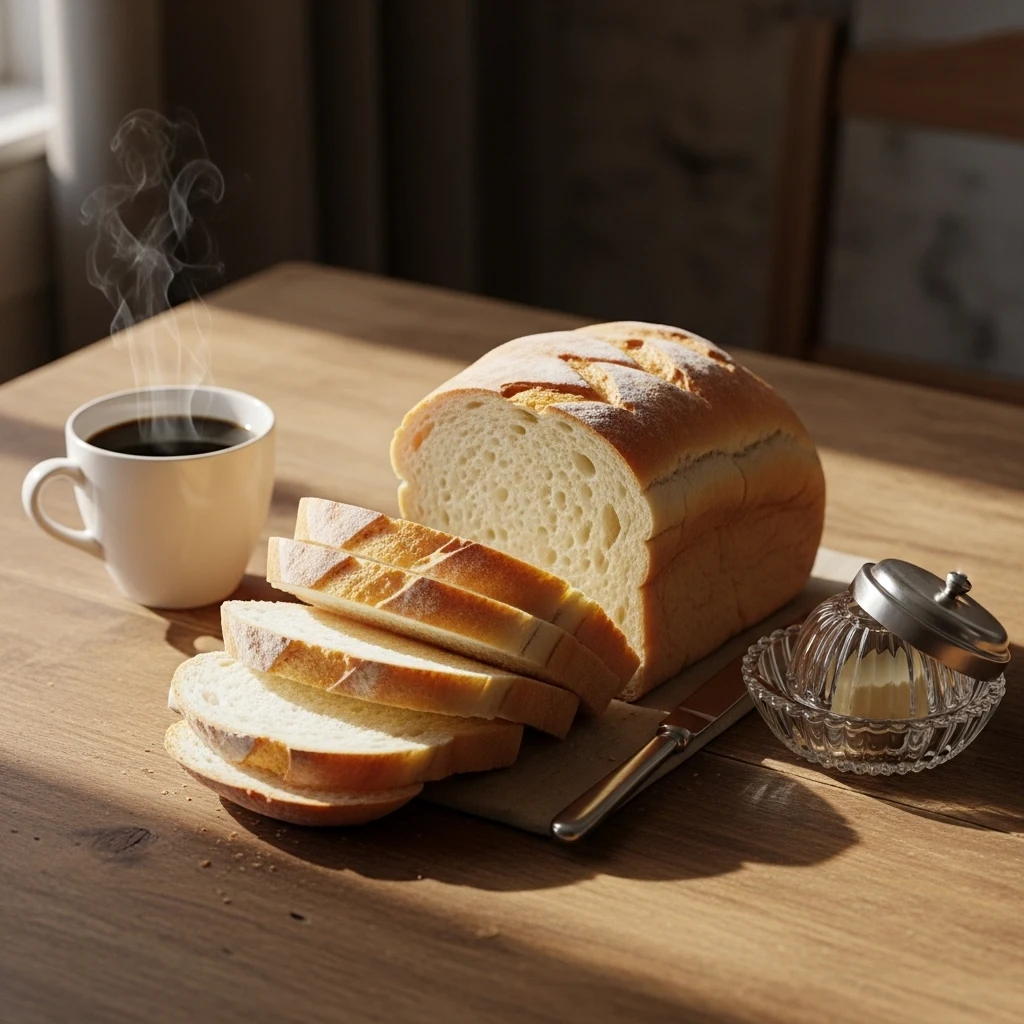
Do you know that smell of fresh bread that lifts your spirits? It’s amazing, right? What if I told you that you can create that magic in your own kitchen without becoming a pro baker overnight?
I remember my first attempt at baking white bread. I thought it would be a disaster, maybe even a brick! Instead, I pulled out a soft, fluffy loaf.
It made me wonder why I ever bought bread from the store. Ready to give it a try?
Why You Should Start Baking Your Own Bread
Let’s be honest. Store-bought bread works, but it often feels… forgettable. Homemade bread, on the other hand, feels like a small victory every time.
Here’s why you should give it a shot:
- You control the ingredients. No mystery additives.
- It tastes better. Seriously, it’s not even close.
- It’s cheaper over time.
- It feels oddly therapeutic. Kneading dough beats stress scrolling.
Ever noticed how slicing into warm bread feels like a reward? That’s not an accident.
Ingredients You’ll Need
You don’t need anything fancy. That’s the beauty of an easy homemade white bread recipe for beginners.
Basic Ingredients
- 3 to 4 cups all-purpose flour
- 2 ¼ teaspoons active dry yeast (one packet)
- 1 cup warm water (not hot, unless you want to murder your yeast)
- 2 tablespoons sugar
- 1 teaspoon salt
- 2 tablespoons butter or oil
That’s it. No rare ingredients. No complicated shopping list.
Shop Quality Active Dry Yeast On Amazon
Step-by-Step Instructions
This is where the fun begins. Don’t worry, I’ll keep it simple.
Step 1: Activate the Yeast
Mix warm water, sugar, and yeast in a bowl. Let it sit for about 5 to 10 minutes.
You’ll know it’s ready when it looks foamy. No foam? Your yeast might be dead. Harsh, but true.
Step 2: Mix the Dough
Add salt and butter to the yeast mixture. Slowly mix in flour, one cup at a time.
Keep going until you get a soft dough that pulls away from the bowl.
Tip: The dough should feel slightly sticky, not dry like sand.
Shop Durable Mixing Bowl Sets For Baking
Step 3: Knead the Dough
Place the dough on a floured surface and knead for about 8 to 10 minutes.
- Push the dough away with your palm
- Fold it back over
- Repeat
Yes, your arms might complain. That’s normal. Consider it a mini workout.
Make Kneading Easier With A Stand Mixer
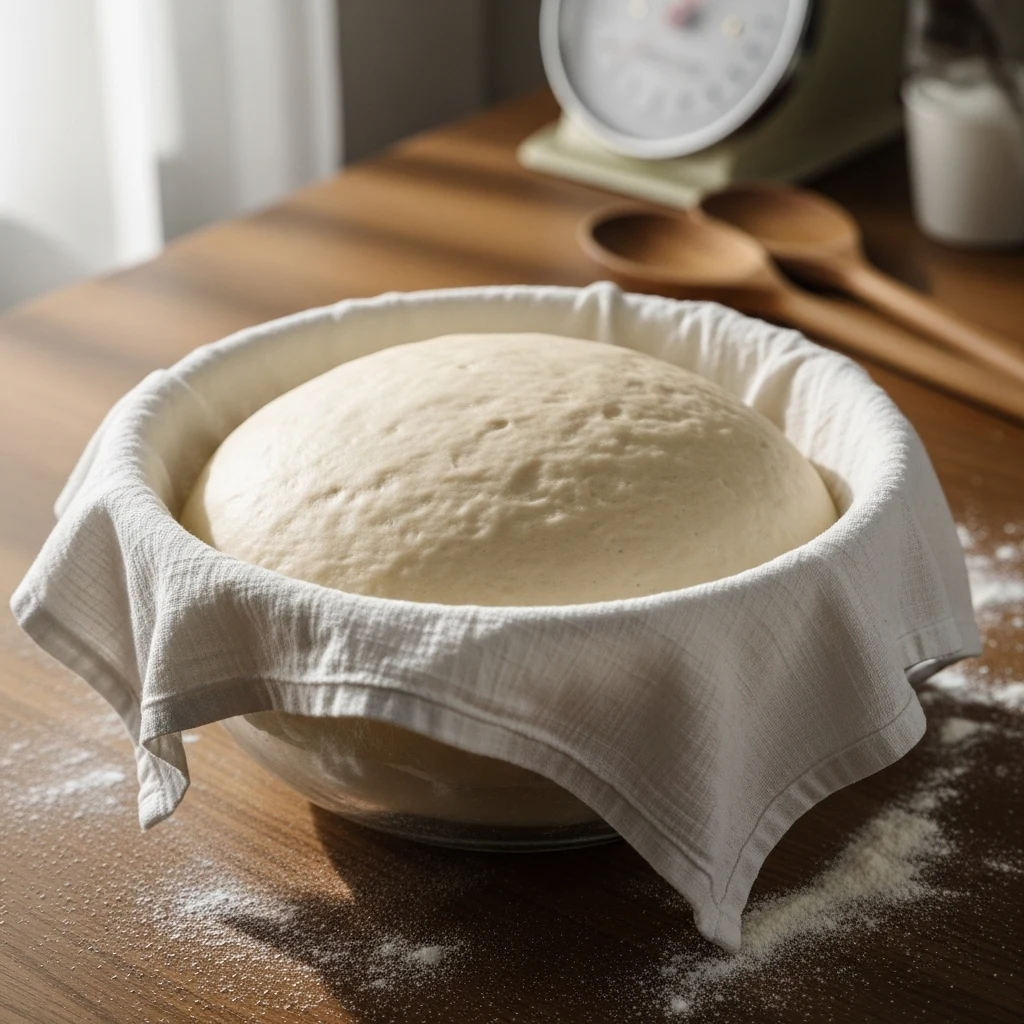
Step 4: Let It Rise
Put the dough in a greased bowl and cover it with a cloth.
Let it rise for about 1 hour or until it doubles in size.
Ever checked on dough every 10 minutes like it’s going to grow faster? Same here. It doesn’t.
Step 5: Shape the Dough
Punch down the dough gently. Shape it into a loaf and place it in a greased bread pan.
Let it rise again for about 30 minutes.
Step 6: Bake
Preheat your oven to 375°F (190°C).
Bake for 25 to 30 minutes until the top turns golden brown.
Tap the loaf. If it sounds hollow, you nailed it.
Ensure Perfect Baking With An Oven Thermometer
Common Mistakes Beginners Make
Let’s save you from a few classic errors.
Using Water That’s Too Hot
Hot water kills yeast. Warm water wakes it up.
Stick to lukewarm water, around 110°F if you want to get technical.
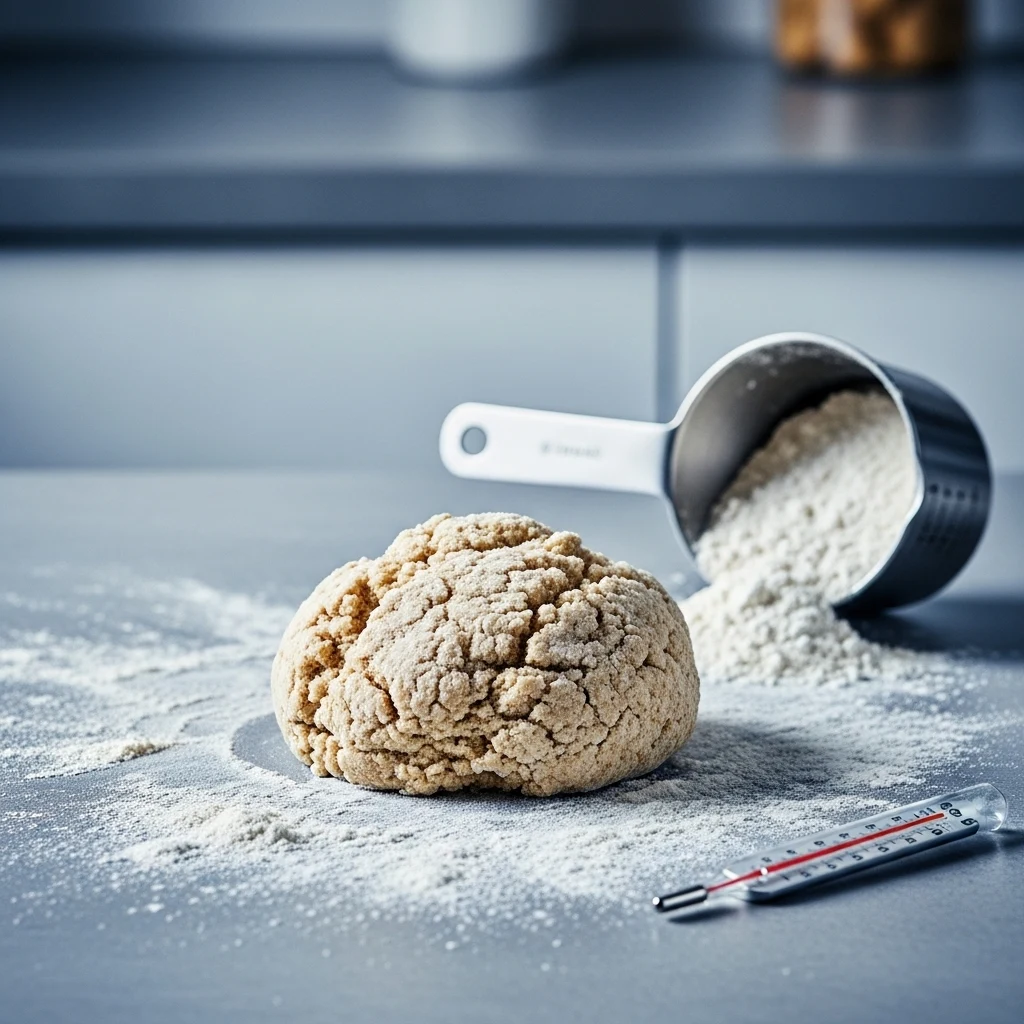
Adding Too Much Flour
More flour does not mean better bread. It usually means dry, dense bread.
Stick to soft, slightly sticky dough.
Not Kneading Enough
Kneading develops gluten, which gives bread structure.
Skip it, and you’ll end up with something closer to a sponge. Not the good kind.
Tips for Perfect White Bread Every Time
Want bakery-level results at home? Try these:
- Use fresh yeast for better rise
- Let the dough rise fully. Don’t rush it
- Preheat your oven properly
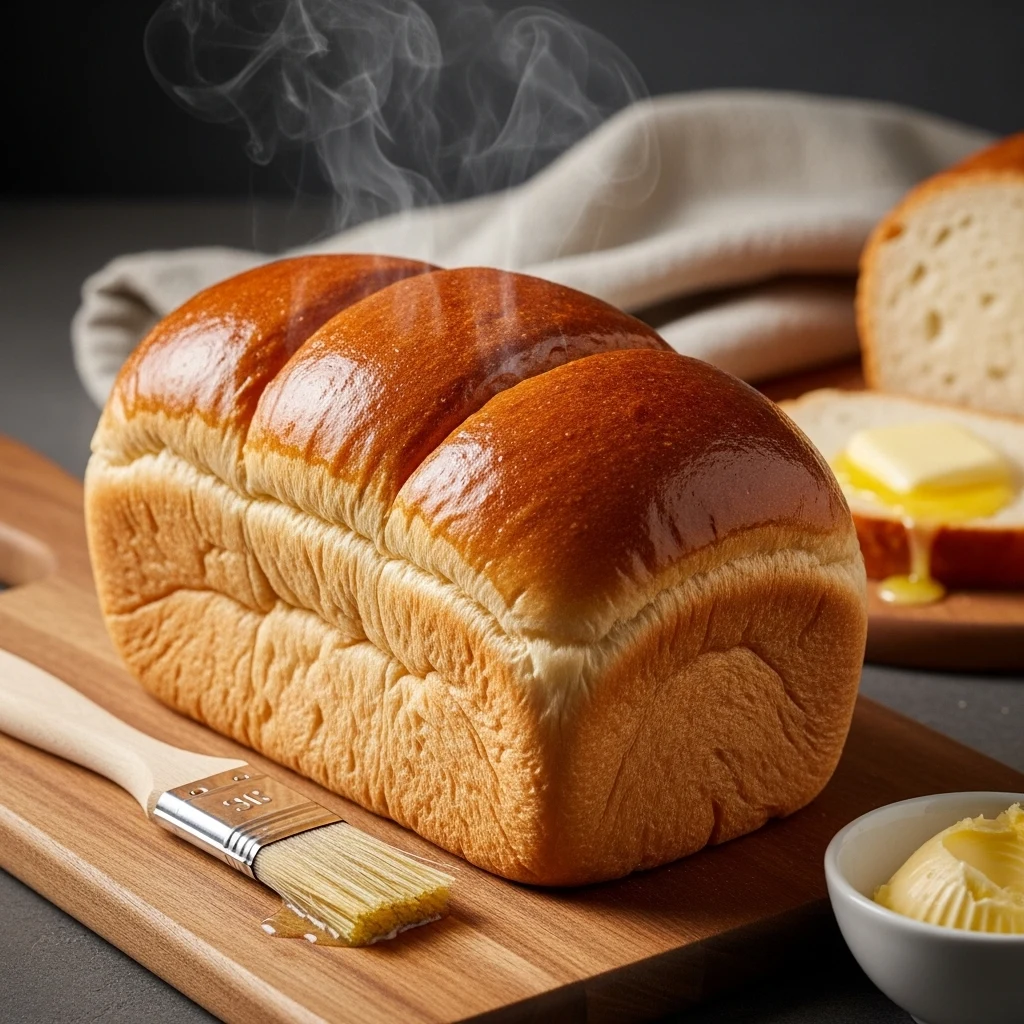
- Brush the top with butter after baking for a soft crust
I always brush melted butter on top right after baking. It adds flavor and makes the crust softer. Also, it makes the bread look like it came from a bakery. Win-win.
How to Store Your Homemade Bread
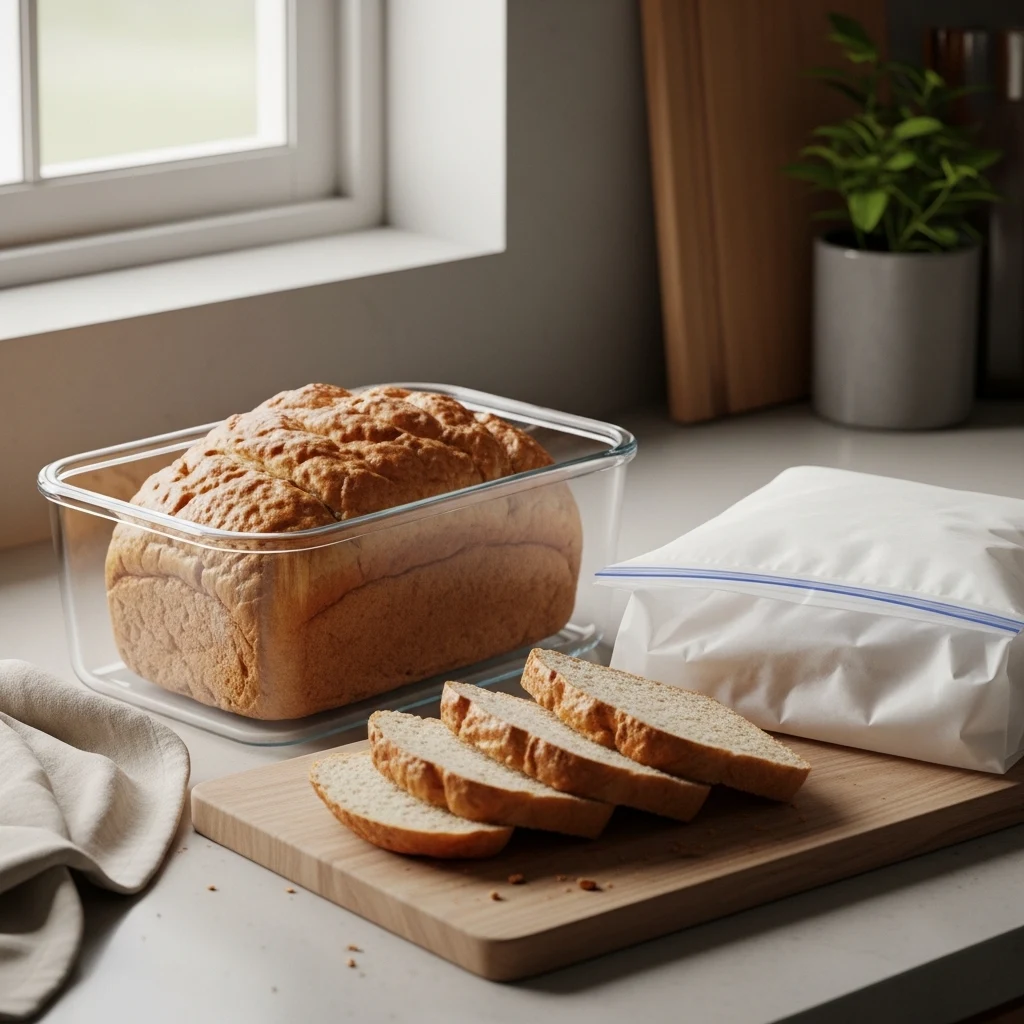
You worked hard on that loaf. Don’t let it go stale overnight.
Short-Term Storage
- Keep it in an airtight container
- Store at room temperature
- Eat within 2 to 3 days
Long-Term Storage
- Slice the bread
- Freeze it in a sealed bag
- Toast slices directly from frozen
Simple, right?
Keep Bread Fresh Longer With A Bread Storage Box
Why This Recipe Works So Well for Beginners
This recipe keeps things simple. No complicated techniques. No confusing steps.
Here’s why it works:
- Minimal ingredients
- Straightforward process
- Flexible dough handling
You don’t need perfection. You just need to follow the basics.
Ever noticed how some recipes feel like they expect you to already be a pro? This one doesn’t.
Can You Customize This Bread?
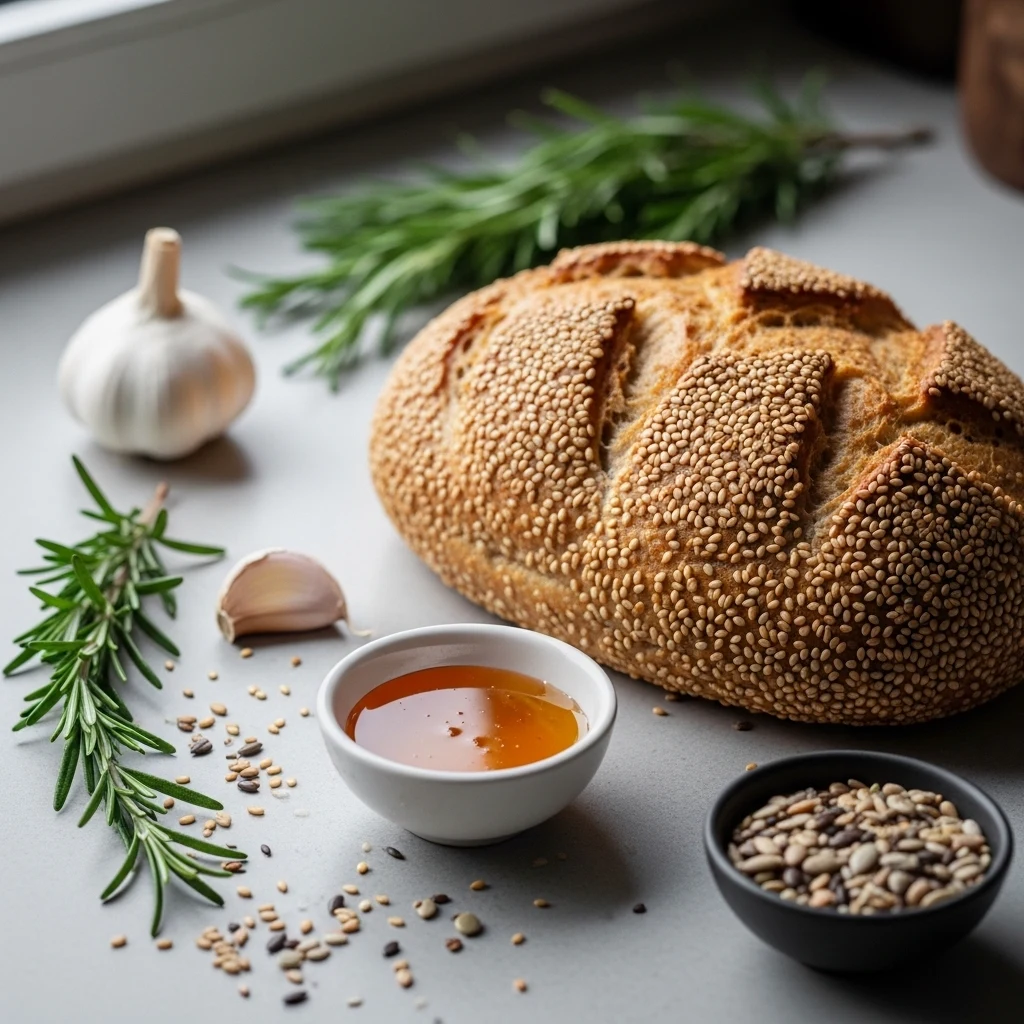
Absolutely. Once you get comfortable, you can experiment.
Easy Variations
- Add garlic and herbs for flavor
- Mix in milk instead of water for a softer loaf
- Sprinkle sesame seeds on top
I once added a bit of honey instead of sugar, and the bread turned slightly sweet. It worked surprisingly well.
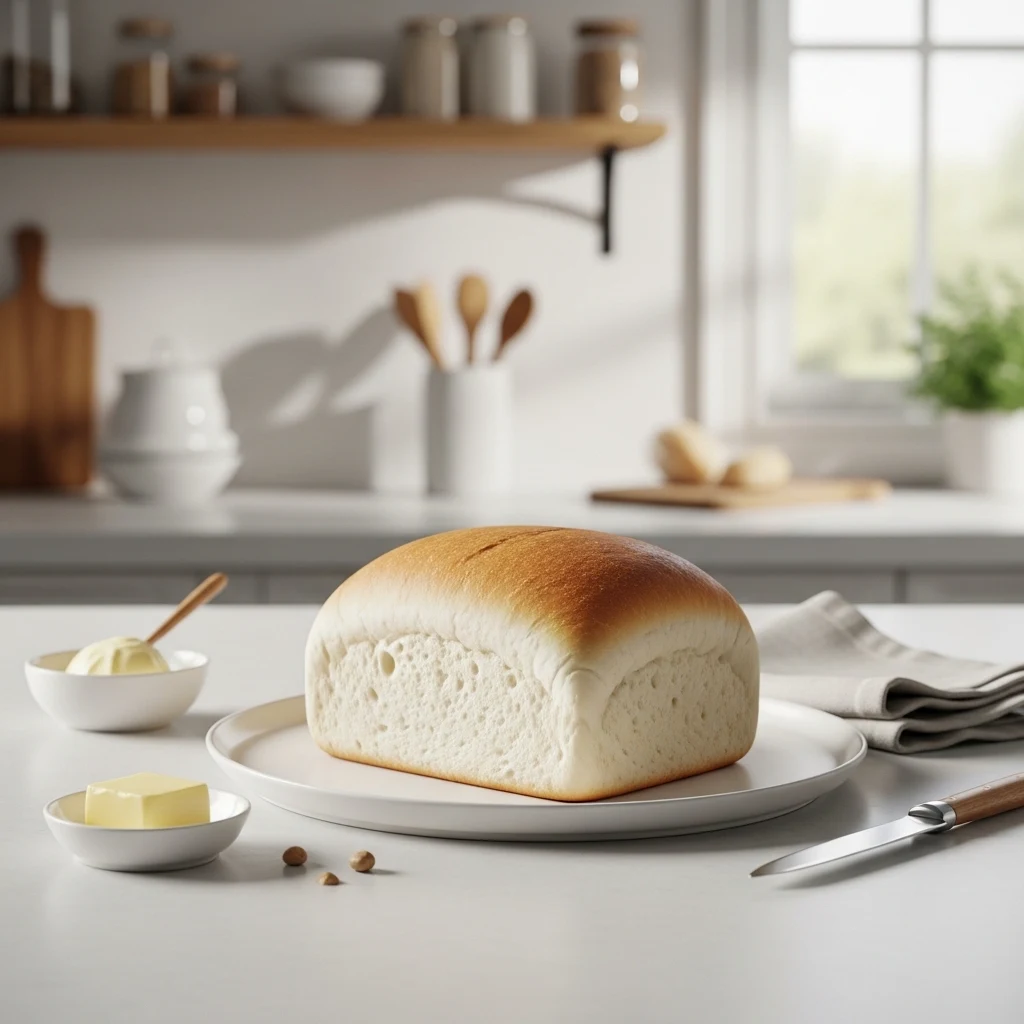
Final Thoughts
Baking your own bread might sound intimidating at first, but it really isn’t. Once you try this easy homemade white bread recipe for beginners, you’ll realize how simple and rewarding it feels.
You get better taste, full control over ingredients, and that unbeatable fresh-bread aroma. Plus, you get to say, “Yeah, I made that,” which never gets old.
So, are you going to keep buying bread, or are you ready to make your own and impress yourself a little?
Why Did My Homemade White Bread Turn Out Dense?
Dense bread often results from using too much flour or not kneading enough.
Extra flour makes the dough heavy and loses its softness, leading to a compact loaf. Aim for a slightly sticky dough for the best results.
Kneading is crucial too. If you rush this step, the gluten won’t develop properly, and your bread won’t rise. Take your time and knead for at least 8 to 10 minutes to achieve a soft, airy texture.
How Do I Know If My Yeast Is Still Active?
Test your yeast by mixing it with warm water and a bit of sugar. Let it sit for 5 to 10 minutes. If it becomes foamy and bubbly, your yeast is alive and ready.
If nothing happens, your yeast might be expired or the water was too hot. Always use lukewarm water. High temperatures can kill the yeast quickly.
Can I Make This Bread Without a Stand Mixer?
Yes, you absolutely can make this bread by hand. In fact, this easy homemade white bread recipe for beginners works perfectly without any special equipment.
Hand kneading gives you better control over the dough texture and helps you understand how it should feel. It might take a bit more effort, but it’s worth it and honestly quite satisfying.
How Long Should I Let the Dough Rise?
Let the dough rise until it doubles in size. This takes about 1 hour, but it depends on your kitchen’s temperature. Watch the dough closely instead of just checking the clock.
For the second rise, 30 minutes is usually enough. If you rush this step, your bread may be dense. Give it time to expand properly.
How Do I Store Homemade White Bread to Keep It Fresh?
Store your bread in an airtight container at room temperature. It will stay soft for 2 to 3 days. Don’t refrigerate it; that dries it out faster.
For longer storage, slice the bread and freeze it. You can toast slices right from the freezer. This makes it easy to use daily.