
You know that moment when your pie looks amazing, but the crust turns out tough or soggy? Yeah, I have been there too, and it hurts a little every time.
A great filling deserves a crust that actually shows up and does its job.
I spent years tweaking my approach, and I finally landed on what I genuinely believe is the best flaky butter pie crust recipe.
It is simple, reliable, and honestly kind of addictive to make once you get the hang of it. Ready to stop blaming your oven and fix your crust for good?
Why Butter Makes the Best Pie Crust
Let’s settle this quickly. Butter wins. Every time.
The Flavor Factor
Butter brings a rich, deep flavor that shortening simply cannot match. You taste it in every bite.
Have you ever eaten a pie crust and thought, “Wow, that tastes like… nothing”? That usually means someone skipped the butter.
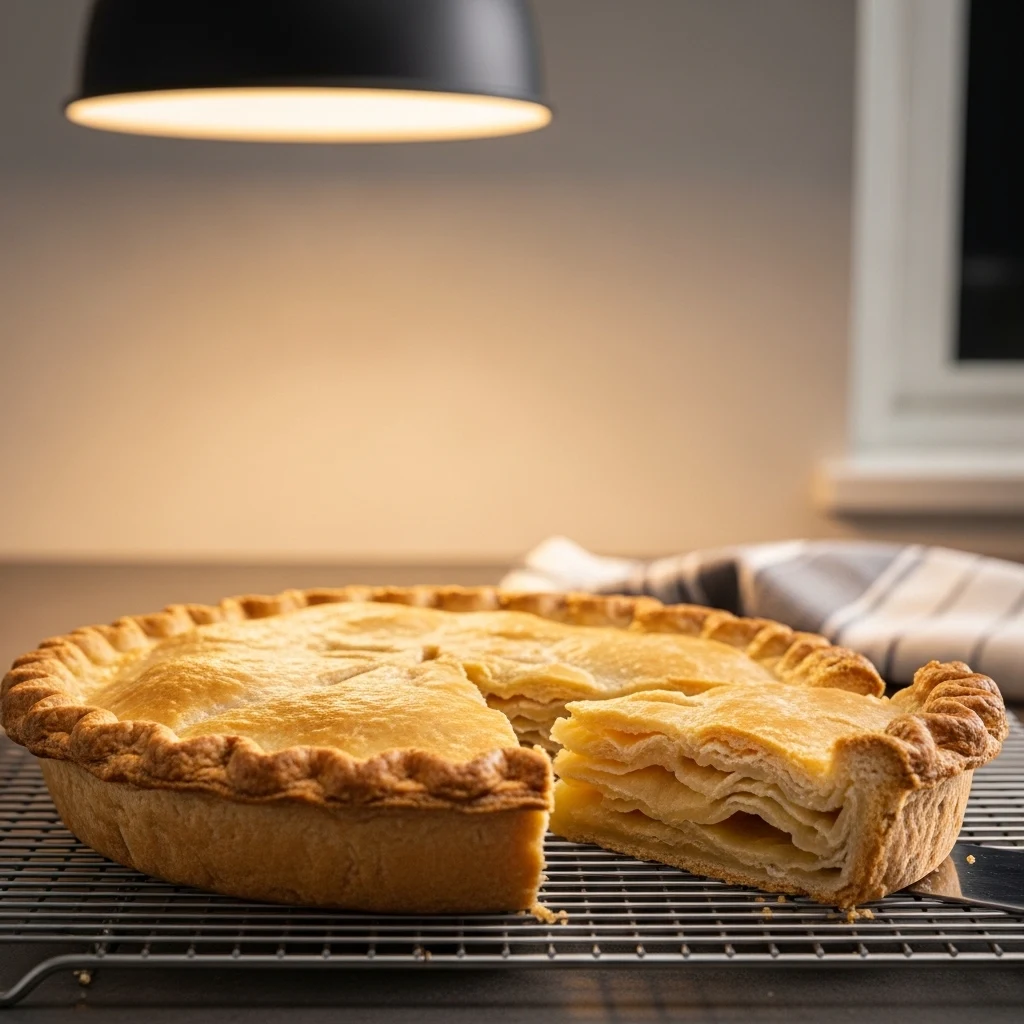
The Flakiness Secret
Butter contains water, and that water turns into steam when you bake the crust. That steam creates those beautiful flaky layers everyone loves.
Here is why butter works so well:
- Water content creates steam for flakiness
- Fat coats flour to prevent toughness
- Melts at the right time to form layers
Shortening may look neat and tidy, but butter gives you that bakery-style result. And honestly, who wants boring crust?
Ingredients You Actually Need
Keep it simple. You do not need anything fancy here.
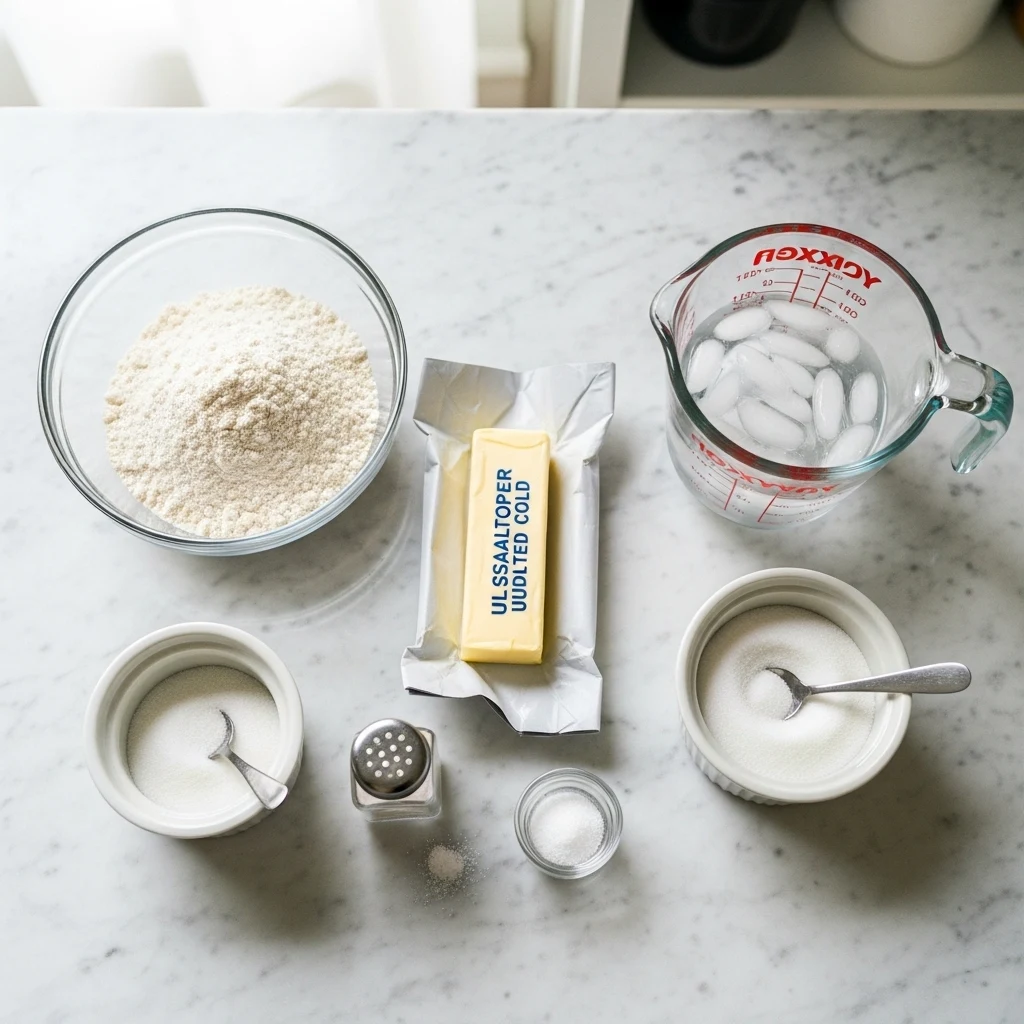
Basic Ingredients
- 2 1/2 cups all-purpose flour
- 1 cup unsalted butter, very cold
- 1 teaspoon salt
- 1 tablespoon sugar (optional but recommended)
- 6 to 8 tablespoons ice water
That is it. No weird additives. No mystery ingredients.
Why Cold Ingredients Matter
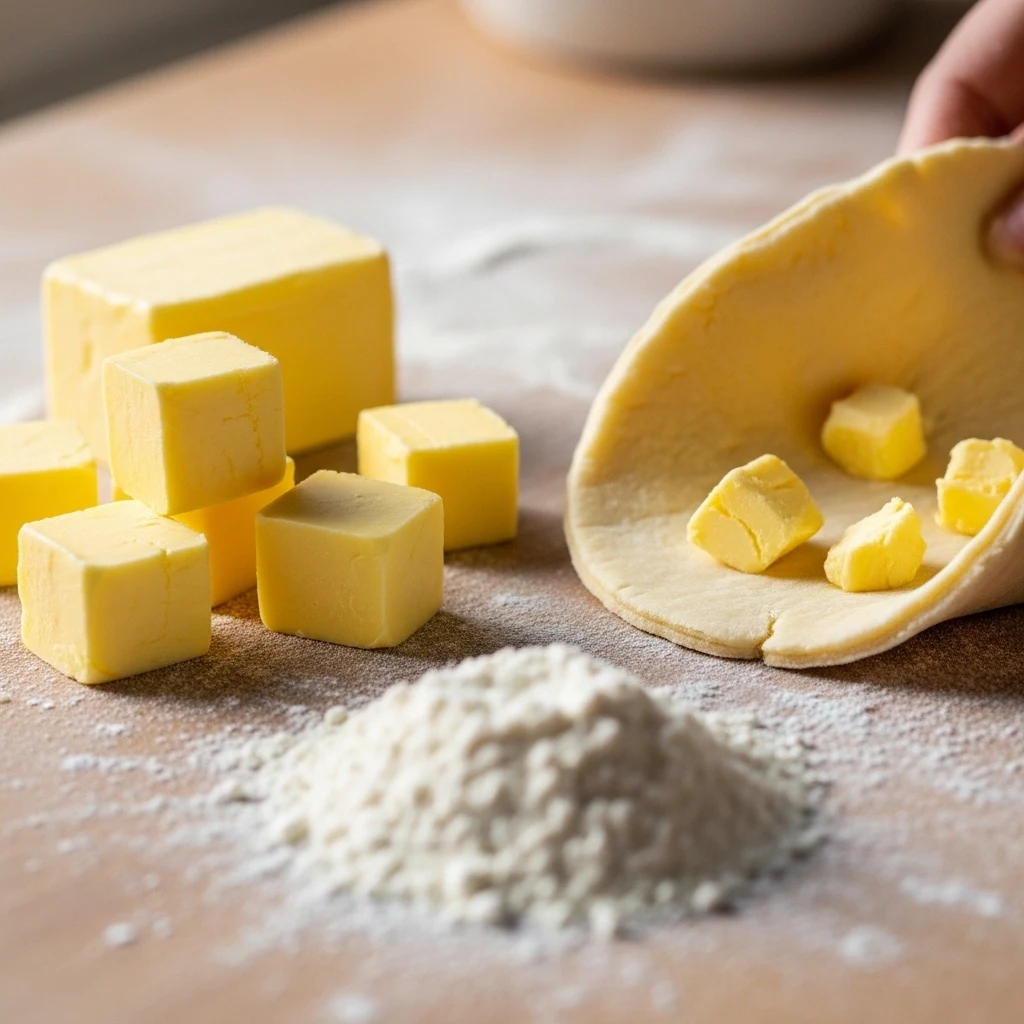
Cold butter is not just a suggestion. It is the whole game.
When your butter stays cold:
- It forms solid chunks in the dough
- Those chunks melt in the oven and create layers
- You get that flaky, crisp texture
Warm butter ruins everything. It blends too smoothly and kills the layers. Ever wondered why your crust feels dense? That is usually the culprit.
Step-by-Step: How to Make the Best Flaky Butter Pie Crust
Let’s walk through this together. I promise it is easier than it sounds.
Step 1: Mix Dry Ingredients
In a large bowl, combine:
- Flour
- Salt
- Sugar
Give it a quick stir. Nothing fancy here.
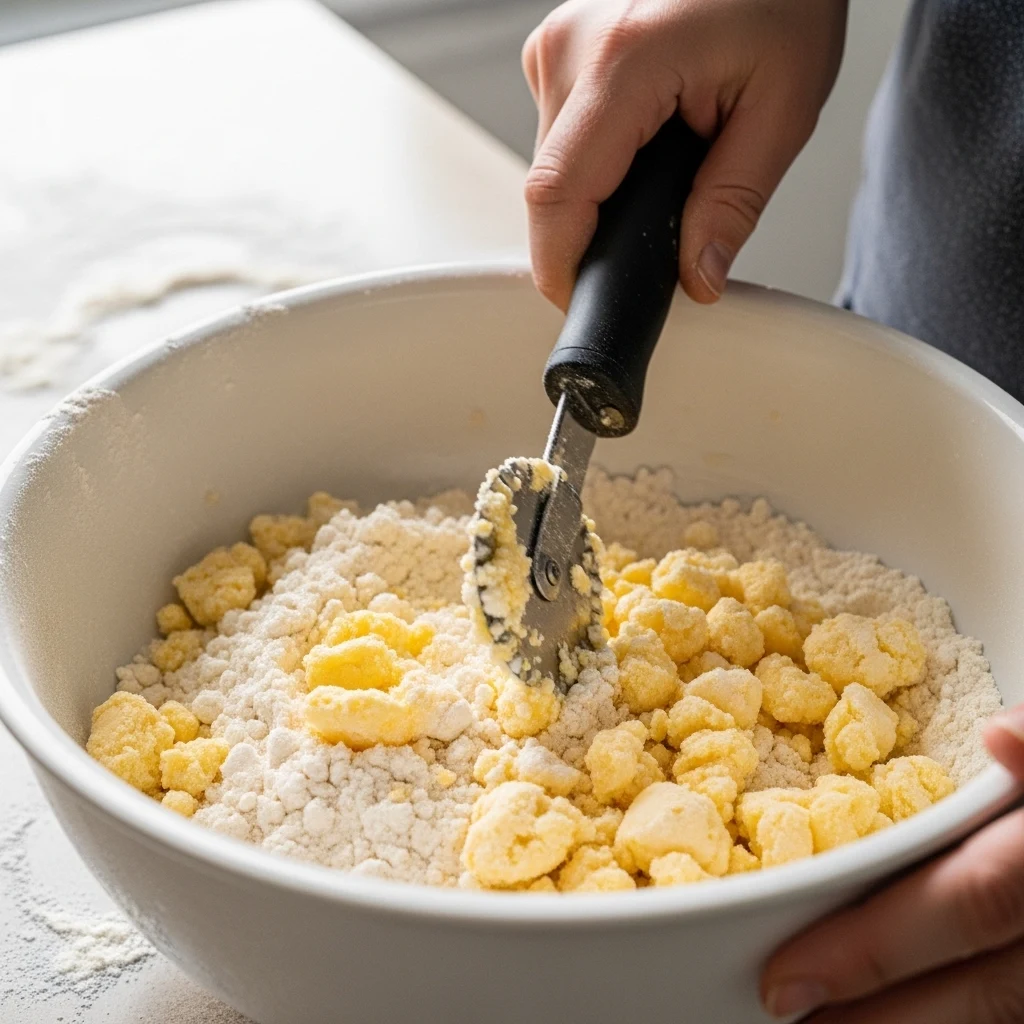
Step 2: Cut in the Butter
Add your cold, cubed butter.
Use a pastry cutter or your fingers and work the butter into the flour until you see:
- Pea-sized chunks
- A crumbly texture
Do not overmix. Seriously. You want visible butter pieces. That is your flakiness insurance.
Shop Pastry Cutters And Baking Tools
Step 3: Add Ice Water Slowly
Drizzle in ice water, one tablespoon at a time.
Mix gently after each addition until the dough just comes together. You want it to:
- Hold its shape when pressed
- Feel slightly crumbly but workable
If it looks perfect and smooth, you probably overdid it. Funny how that works, right?
Browse Measuring Tools For Accurate Baking
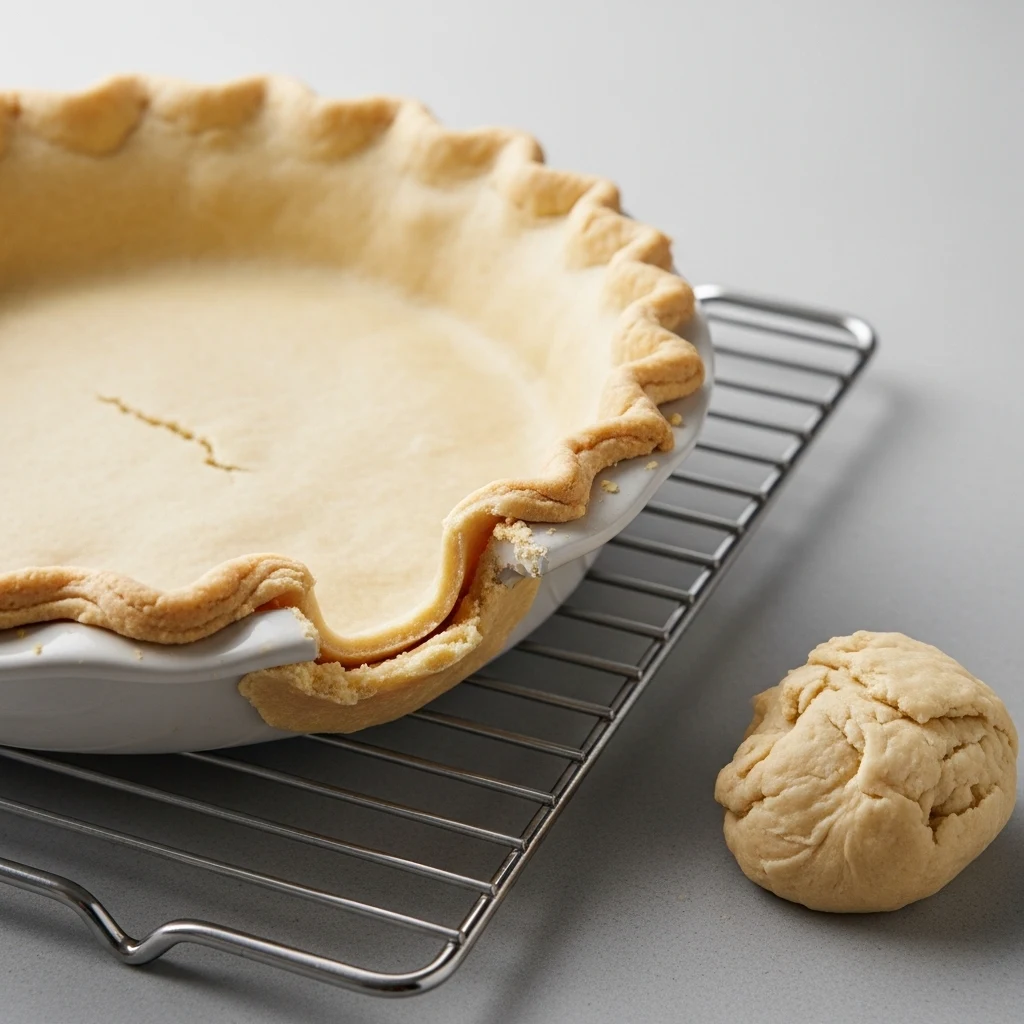
Step 4: Form and Chill
Divide the dough into two discs.
Wrap each disc in plastic wrap and chill for at least 1 hour.
This step matters because:
- It relaxes the gluten
- It keeps the butter cold
- It makes rolling easier
Skipping this step sounds tempting, but it will backfire. I learned that the hard way.
Rolling Out the Dough Without Losing Your Mind
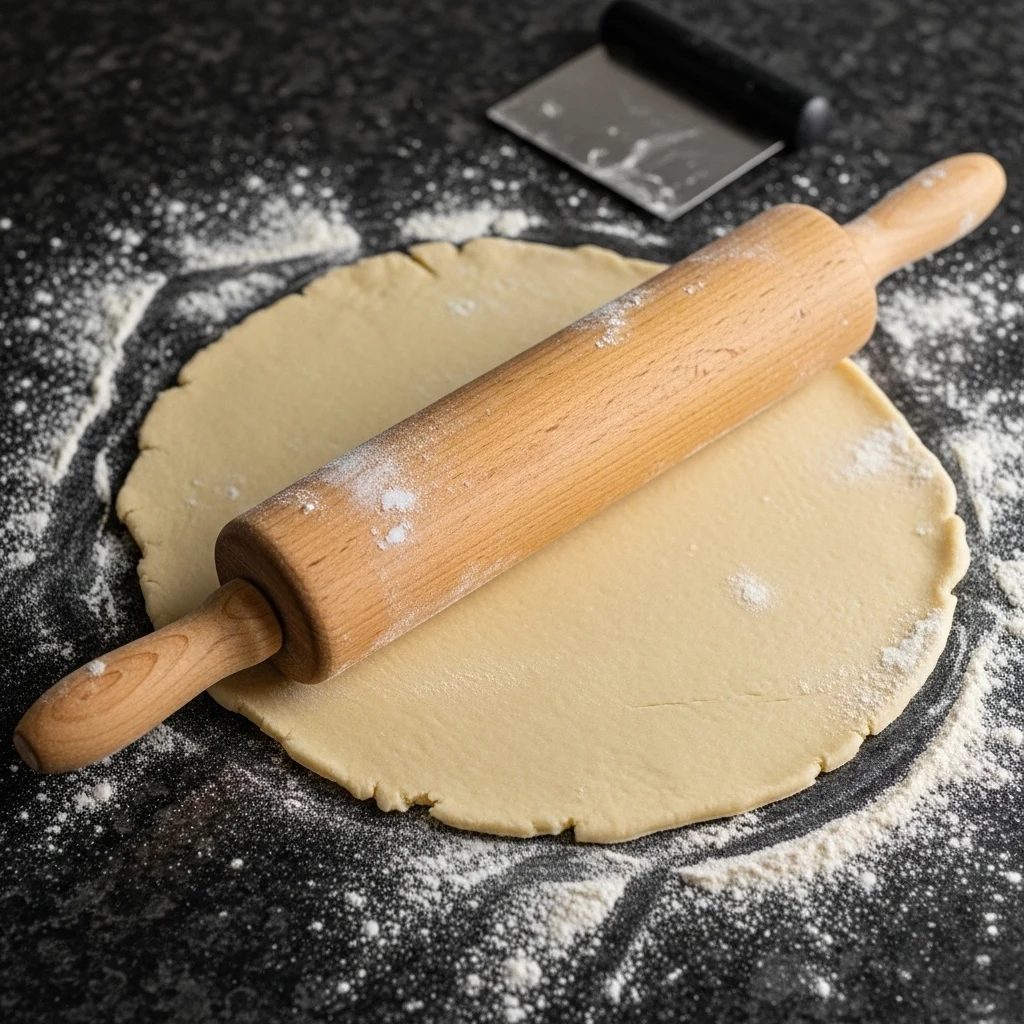
Rolling dough can feel like a battle. Let’s make it less painful.
Keep Everything Cold
Work on a lightly floured surface and roll from the center outward.
If the dough sticks or softens too much, stop and chill it again. Yes, it feels annoying, but it saves your crust.
Aim for the Right Thickness
Roll the dough to about:
- 1/8 inch thick
Too thick and it stays doughy. Too thin and it tears. Balance matters here.
Transfer Like a Pro
To move the dough into your pie dish:
- Roll it gently onto your rolling pin
- Unroll it over the dish
No stretching. Stretching leads to shrinking in the oven, and nobody wants a pie that pulls away from the edges like it is shy.
Find Rolling Pins And Dough Tools
Blind Baking vs. Filled Baking
Ever wondered if you should pre-bake your crust? Good question.
When to Blind Bake
Blind baking works best for pies with wet fillings, like:
- Custard pies
- Cream pies
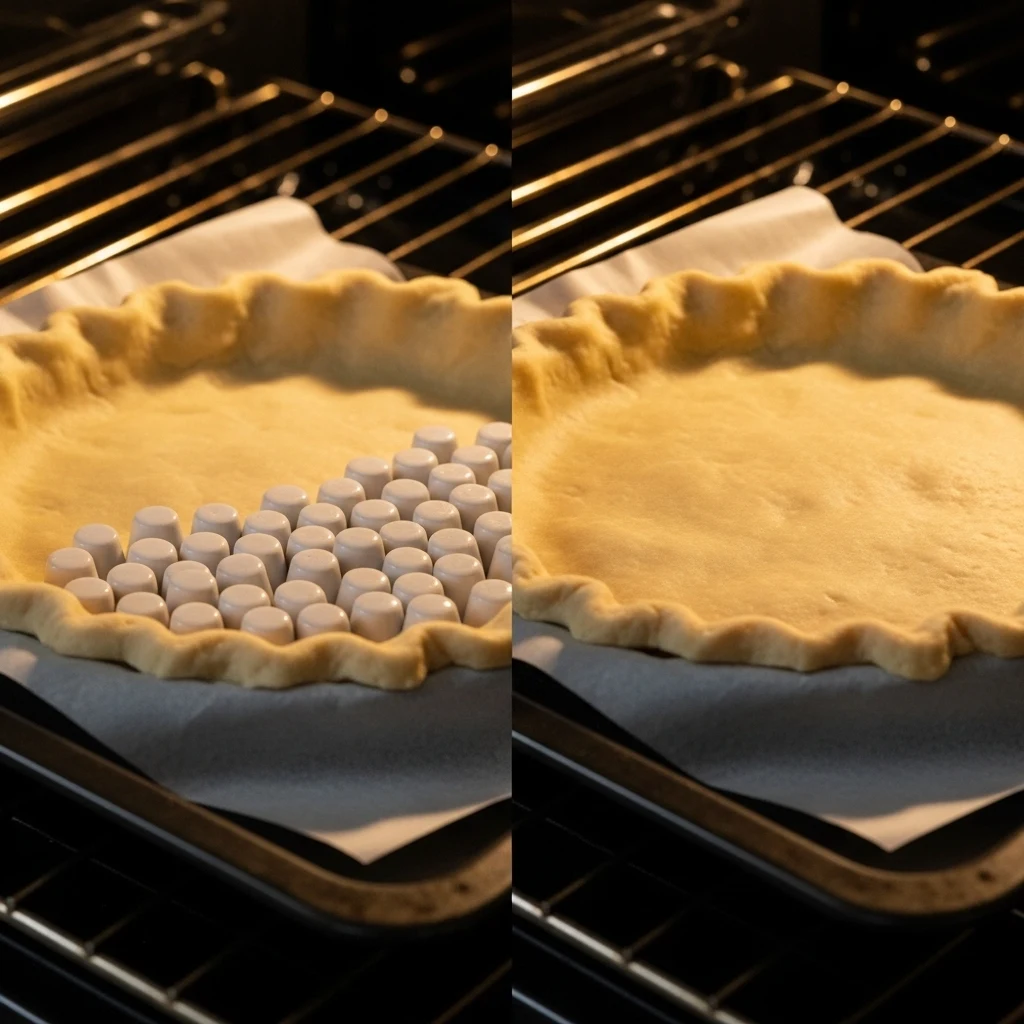
Steps for blind baking:
- Line the crust with parchment paper
- Add pie weights or beans
- Bake at 375°F for about 15 minutes
- Remove weights and bake again until lightly golden
This prevents a soggy bottom. And yes, soggy bottoms ruin everything.
When to Skip It
If you bake a fruit pie, you can usually skip blind baking. The filling and crust bake together just fine.
Shop Pie Weights And Baking Essentials
Common Mistakes That Ruin Pie Crust
Let’s be honest. Most crust failures come from a few simple mistakes.
Overworking the Dough
You might feel tempted to keep mixing, but that builds gluten and creates a tough crust.
Fix: Stop mixing as soon as the dough comes together.
Using Warm Butter
Soft butter blends too easily and kills flakiness.
Fix: Always use very cold butter.
Adding Too Much Water
Too much water makes the dough sticky and tough.
Fix: Add water slowly and stop early.
Skipping the Chill Time
You want to save time, I get it. But skipping this step ruins texture.
Fix: Chill the dough. Always.
Pro Tips for Next-Level Flaky Crust
Want to impress people who think you secretly trained in a bakery? Try these tips.
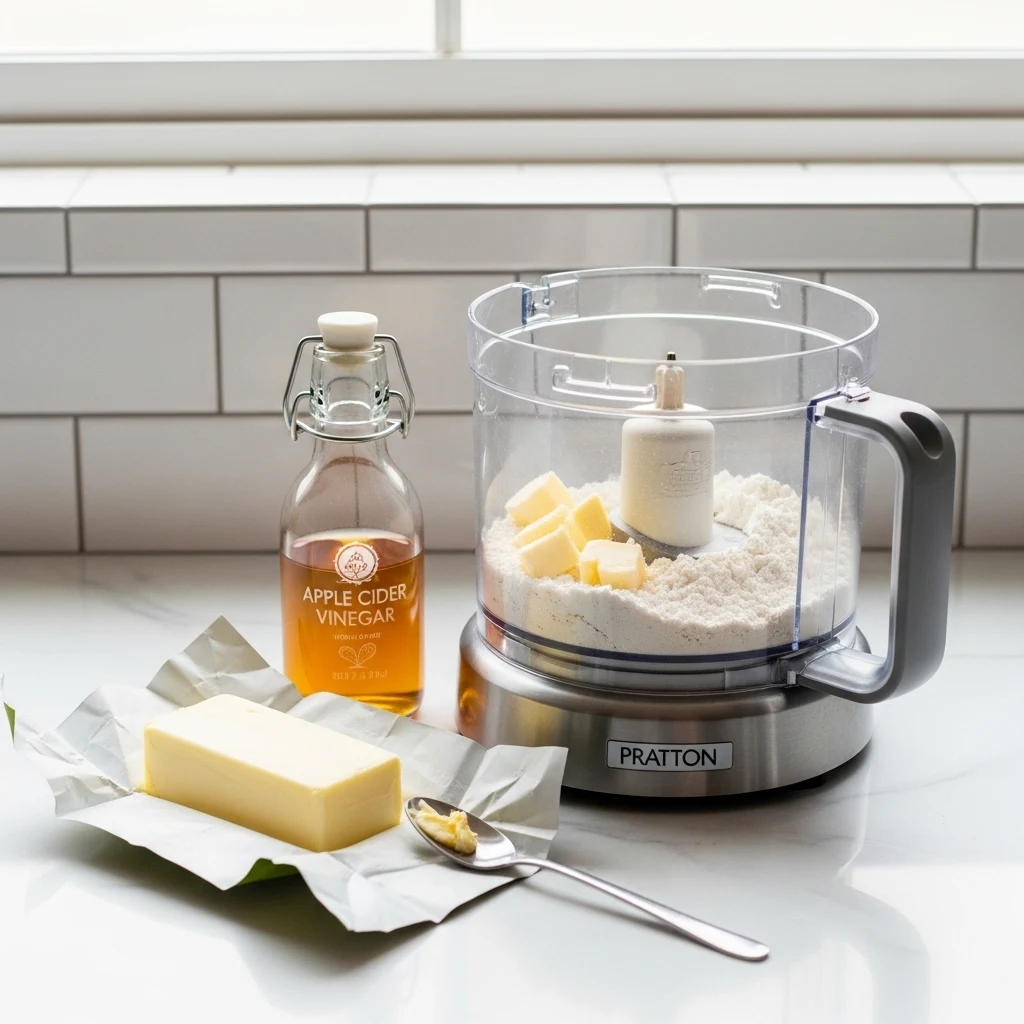
Use a Food Processor Carefully
A food processor can speed things up, but use short pulses.
- Avoid overmixing
- Stop once the butter forms small chunks
Add Vinegar or Lemon Juice
A tiny splash of vinegar or lemon juice helps:
- Relax gluten
- Improve tenderness
You will not taste it, but your crust will thank you.
Freeze the Butter Before Mixing
If your kitchen runs warm, freeze your butter for 10 minutes before using it.
Cold butter equals better layers. Always.
Explore Must-Have Baking Tools
Personal Take: Why This Recipe Works Every Time
I tried dozens of variations over the years. Some used shortening, some added fancy techniques, and some just confused me.
This version works because it keeps things simple and focuses on what matters:
- Cold butter
- Minimal mixing
- Proper chilling
I made this crust for family gatherings, and people actually commented on the crust. That never used to happen. Usually, people just focus on the filling and ignore the base.
Have you ever had someone compliment your pie crust specifically? It feels oddly satisfying.
How to Store and Freeze Pie Dough
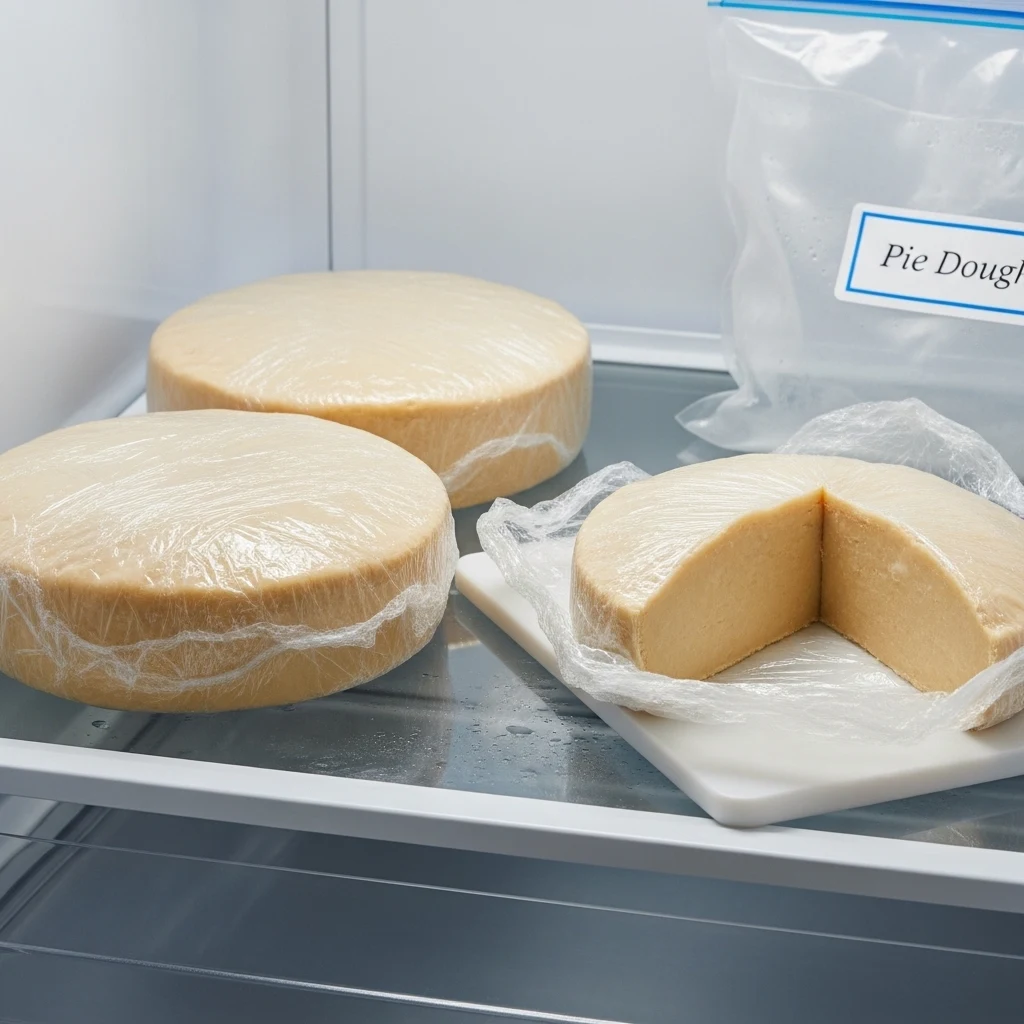
Life gets busy, so make your dough ahead of time.
Refrigerating Dough
- Store wrapped dough in the fridge for up to 3 days
- Let it sit at room temperature for a few minutes before rolling
Freezing Dough
- Wrap tightly and freeze for up to 3 months
- Thaw overnight in the fridge
This makes last-minute pie cravings way easier to handle.
Conclusion
A perfect pie crust does not require magic or complicated tricks. You just need the right method and a little patience.
Stick to cold butter, gentle handling, and proper chilling, and you will get a crust that turns out flaky, golden, and delicious every time. No more blaming your oven or second-guessing your skills.
So next time you bake a pie, ask yourself this. Do you want a crust that people ignore, or one that steals the show?
Why Does Butter Make Pie Crust Flakier?
Butter has water that turns to steam when baking. This creates light, flaky layers in the crust. This process gives the crust its unique texture.
Unlike shortening, butter adds a rich flavor. This enhances the overall taste of your pie. You get both texture and flavor from one ingredient. That’s why most bakers prefer butter.
How Do I Keep My Pie Crust From Getting Tough?
To avoid a tough crust, don’t overmix the dough. Overmixing develops gluten, making the crust dense instead of tender.
Use cold ingredients and handle the dough gently. Stop mixing as soon as the dough comes together, even if it looks a bit rough.
Should I Chill Pie Dough Before Baking?
Chilling the dough is key for a flaky crust. It keeps the butter cold and helps the gluten relax. This improves texture and stops shrinking.
If you skip this step, your crust may become dense and uneven. Even a brief chill time makes a big difference.
Can I Use a Food Processor for Pie Crust?
Yes, you can use a food processor, but be careful. Use short pulses to mix the ingredients. This helps avoid overmixing the dough.
Stop when the butter forms small chunks in the flour. Overprocessing will ruin the flaky texture you want.
What Is The Best Way To Store Pie Dough?
You can keep pie dough in the refrigerator for up to three days. Just wrap it tightly. Let it sit at room temperature for a bit before rolling.
For longer storage, freeze the dough for up to three months. Thaw it overnight in the fridge for the best results.