
There’s something magical about pulling golden, fluffy dinner rolls from the oven. The smell alone brings everyone to the kitchen, as if they had no idea you were baking.
If you’ve been buying sad, pre-packaged rolls, stop now. Take a deep breath and keep reading.
Making soft, fluffy homemade dinner rolls from scratch is easier than you think. The results will make you wonder why you waited.
This guide covers everything: the ingredients, the method, and tips that turn decent rolls into legendary ones. Whether you’re an experienced baker or a bit scared of yeast, you’re in the right place.
Why Homemade Dinner Rolls Beat Store-Bought Every Single Time
Let us be honest. Store-bought rolls are fine. They are convenient. They get the job done.
But “fine” and “gets the job done” are not exactly the phrases you want people using to describe your cooking, are they?
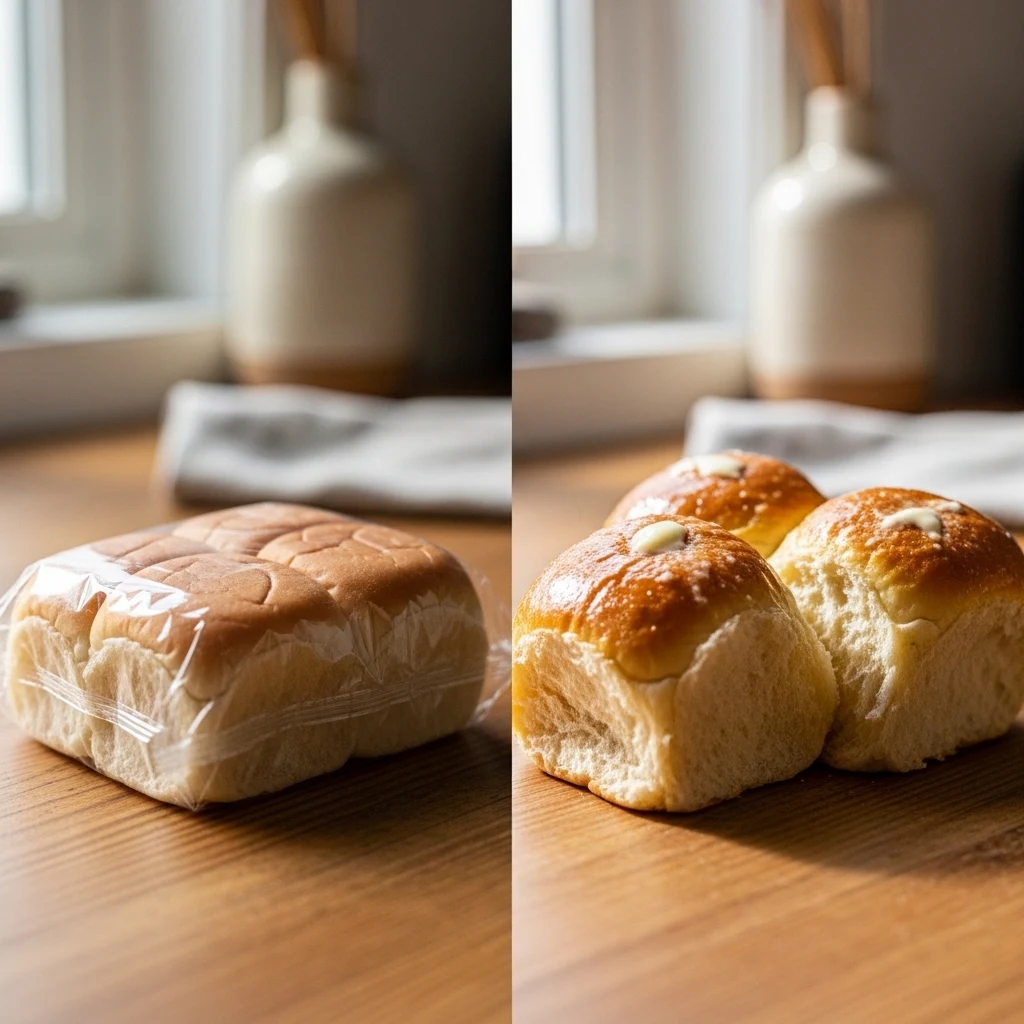
Homemade dinner rolls are softer, fresher, and infinitely more satisfying. You control every ingredient, which means no mystery preservatives, no weird aftertaste, and no rolls that feel like foam padding.
When you make them from scratch, you get that perfect pull-apart texture with a slightly golden crust and a fluffy, buttery interior that store-bought simply cannot replicate.
Plus, there is a completely disproportionate amount of praise you will receive for making bread from scratch. People act like you performed actual sorcery. Enjoy it.
Ingredients You Need for Soft Fluffy Dinner Rolls
Before anything else, gather your ingredients. Using the right ones, and the right amounts, makes a huge difference in the final result.
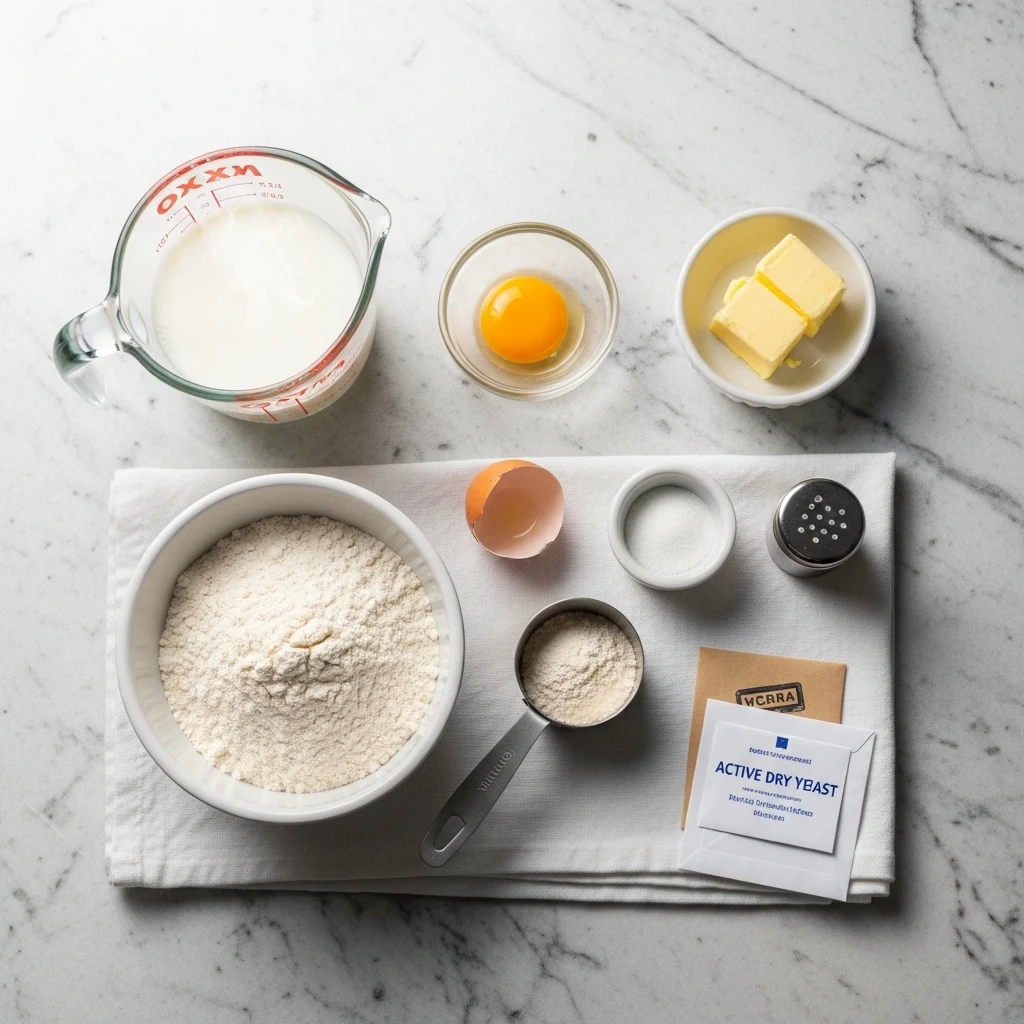
Here is what you need (makes 12 rolls):
- 3 and 1/4 cups (390g) all-purpose flour — plus a little extra for dusting
- 2 and 1/4 teaspoons (one standard packet) active dry yeast or instant yeast
- 1 cup (240ml) warm whole milk — around 110°F (43°C), not boiling
- 3 tablespoons granulated sugar
- 1 teaspoon salt
- 1 large egg, at room temperature
- 3 tablespoons unsalted butter, softened (plus more for brushing after baking)
A few notes on ingredients: whole milk makes a noticeable difference in richness and texture compared to low-fat versions. Butter, as always, is non-negotiable.
And please use proper bread flour or all-purpose flour — not self-rising, which will throw off your leavening entirely.
Shop Baking Essentials On Amazon
Understanding Your Yeast: The Make-or-Break Ingredient
Have you ever made a batch of rolls that came out flat and dense, with all the charm of a hockey puck? Chances are, the yeast was the culprit.
Understanding yeast is the single most important thing you can learn about bread baking.
Active Dry Yeast vs. Instant Yeast
These two work slightly differently, and knowing which one you have saves a lot of frustration.
- Active dry yeast needs to be “proofed” first, meaning you dissolve it in warm liquid and wait for it to foam before proceeding. This takes about 5 to 10 minutes.
- Instant yeast (also called rapid-rise or quick-rise) can be mixed directly into your dry ingredients without proofing. It works a little faster and is slightly more forgiving.
Both will give you excellent results in this recipe. The key is making sure your liquid is warm enough to activate the yeast but not so hot that it kills it.
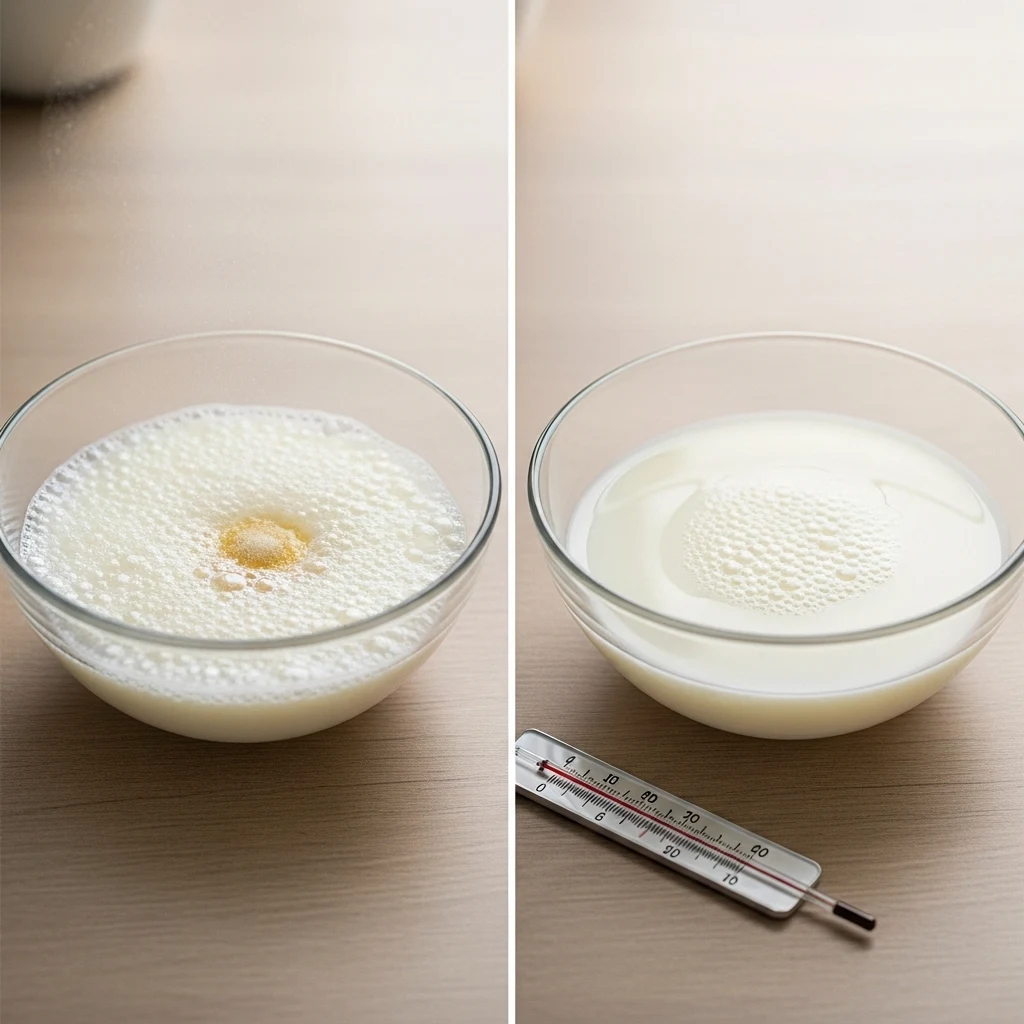
The sweet spot is between 105°F and 115°F (40°C to 46°C). If you do not own a thermometer, aim for water that feels comfortably warm on your wrist, like a baby’s bath water.
How to Know Your Yeast Is Alive
If you are using active dry yeast, you proof it first for a reason. After combining the yeast with warm milk and a pinch of sugar, you should see it foam and bubble within 10 minutes.
If nothing happens, your yeast is dead. Toss it and start fresh. This simple check saves you an hour of waiting for dough that will never rise.
Step-by-Step: How to Make Soft Fluffy Dinner Rolls from Scratch
Step 1: Proof the Yeast (If Using Active Dry)
Combine the warm milk, sugar, and yeast in a large mixing bowl or the bowl of a stand mixer.
Stir gently and let it sit for 5 to 10 minutes until foamy. If you are using instant yeast, skip this and move straight to mixing.
Step 2: Make the Dough
Add the egg and softened butter to the yeast mixture and stir to combine. Then add the salt and flour, one cup at a time, mixing as you go.
You want a dough that is soft and slightly tacky but not sticky enough to coat your hands entirely.
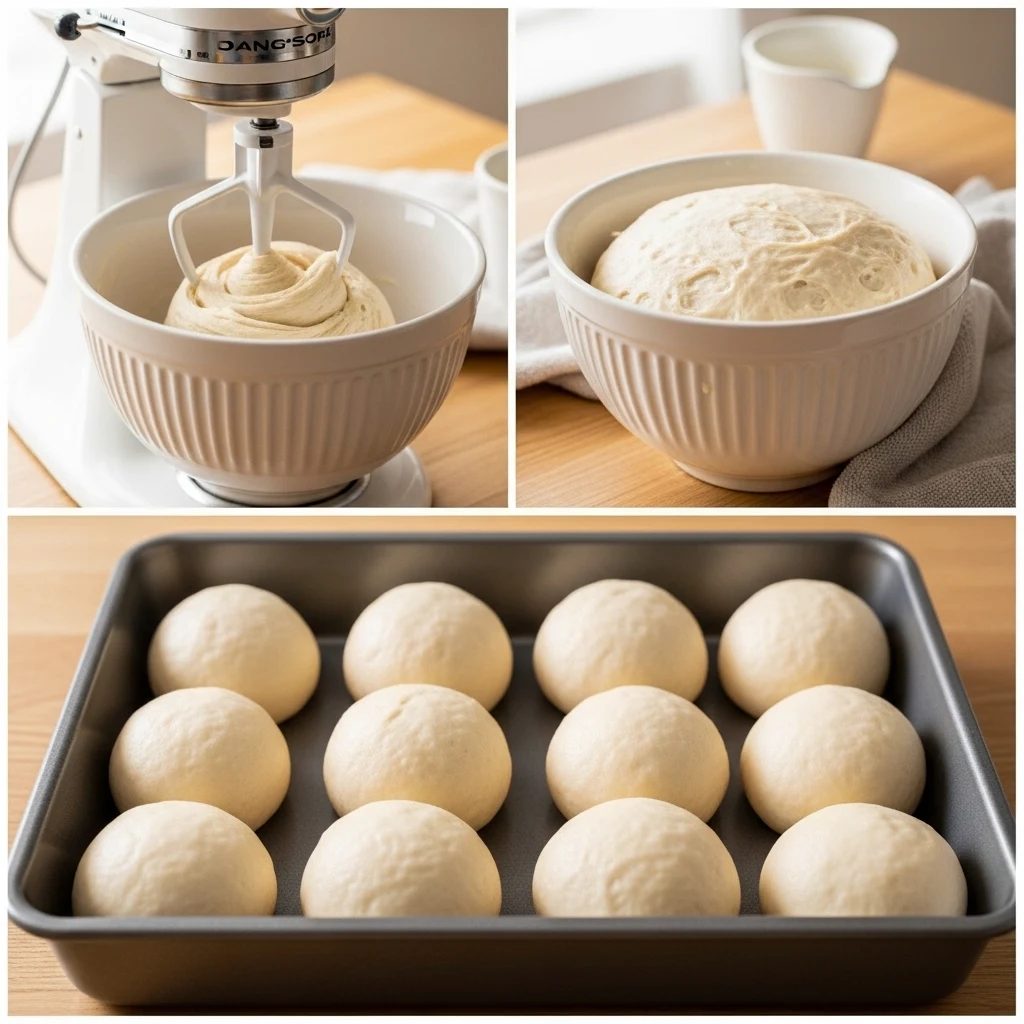
If you are using a stand mixer, use the dough hook on medium speed for about 6 to 8 minutes.
If you are kneading by hand, work the dough on a lightly floured surface for 8 to 10 minutes. You are looking for a smooth, elastic dough that springs back when you poke it.
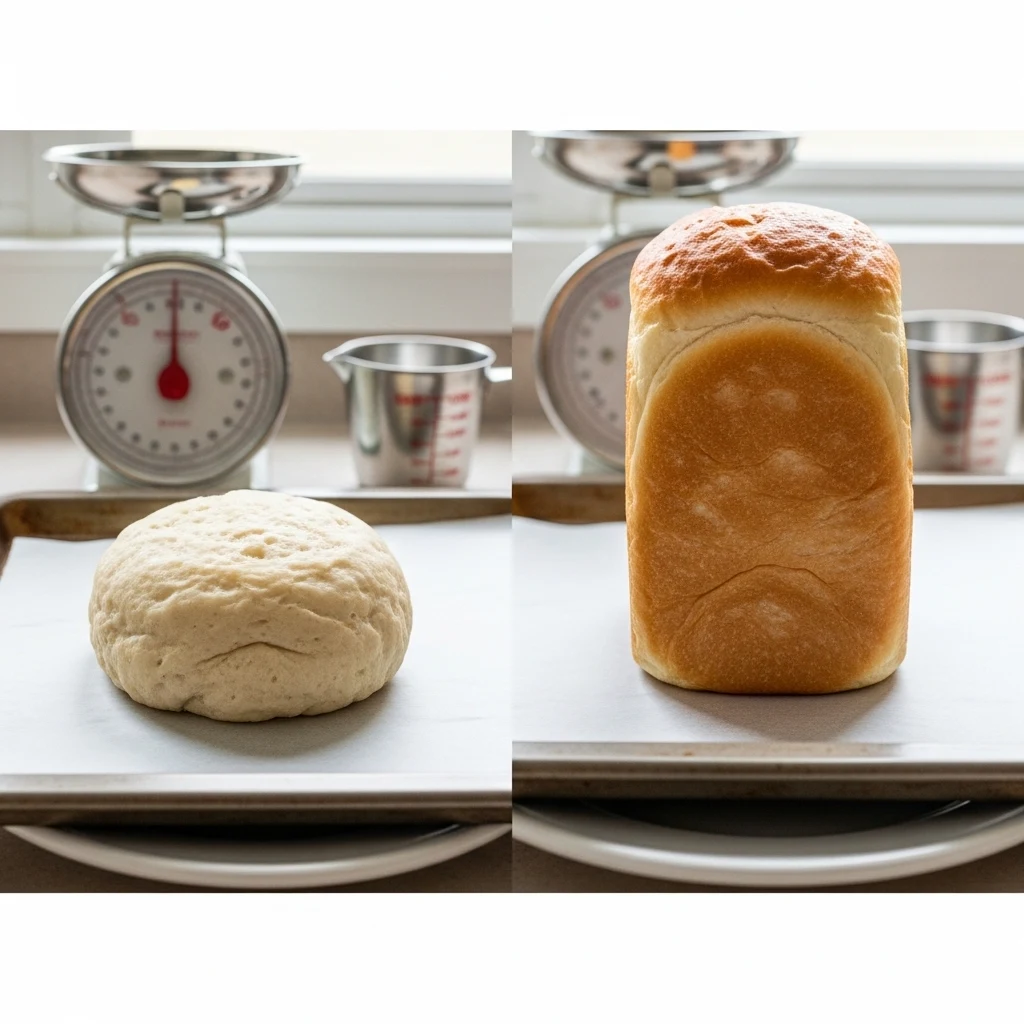
Step 3: First Rise
Place the dough in a lightly greased bowl, cover it with plastic wrap or a damp kitchen towel, and let it rise in a warm spot for 1 to 1.5 hours, or until it doubles in size.
A good trick is to turn your oven on briefly, turn it off, and place the covered dough inside. The residual warmth creates the perfect proofing environment.
Step 4: Shape the Rolls
Once the dough has doubled, punch it down gently to release the gas. Turn it out onto a lightly floured surface and divide it into 12 equal pieces.
Shape each piece into a smooth ball by pulling the edges underneath and pinching them together at the bottom.
Place the rolls in a greased 9×13-inch baking pan, leaving a little space between them.
Equal sizing matters. If some rolls are much larger than others, they will not bake evenly. A kitchen scale takes all the guesswork out of this.
Step 5: Second Rise
Cover the pan with a towel and let the rolls rise again for 45 minutes to 1 hour, until they have puffed up and are touching each other. This second rise is what gives you that classic pull-apart effect.
Step 6: Bake
Preheat your oven to 375°F (190°C). Bake the rolls for 18 to 22 minutes, until the tops are a deep golden brown. The internal temperature should read around 190°F (88°C) if you check with a thermometer.
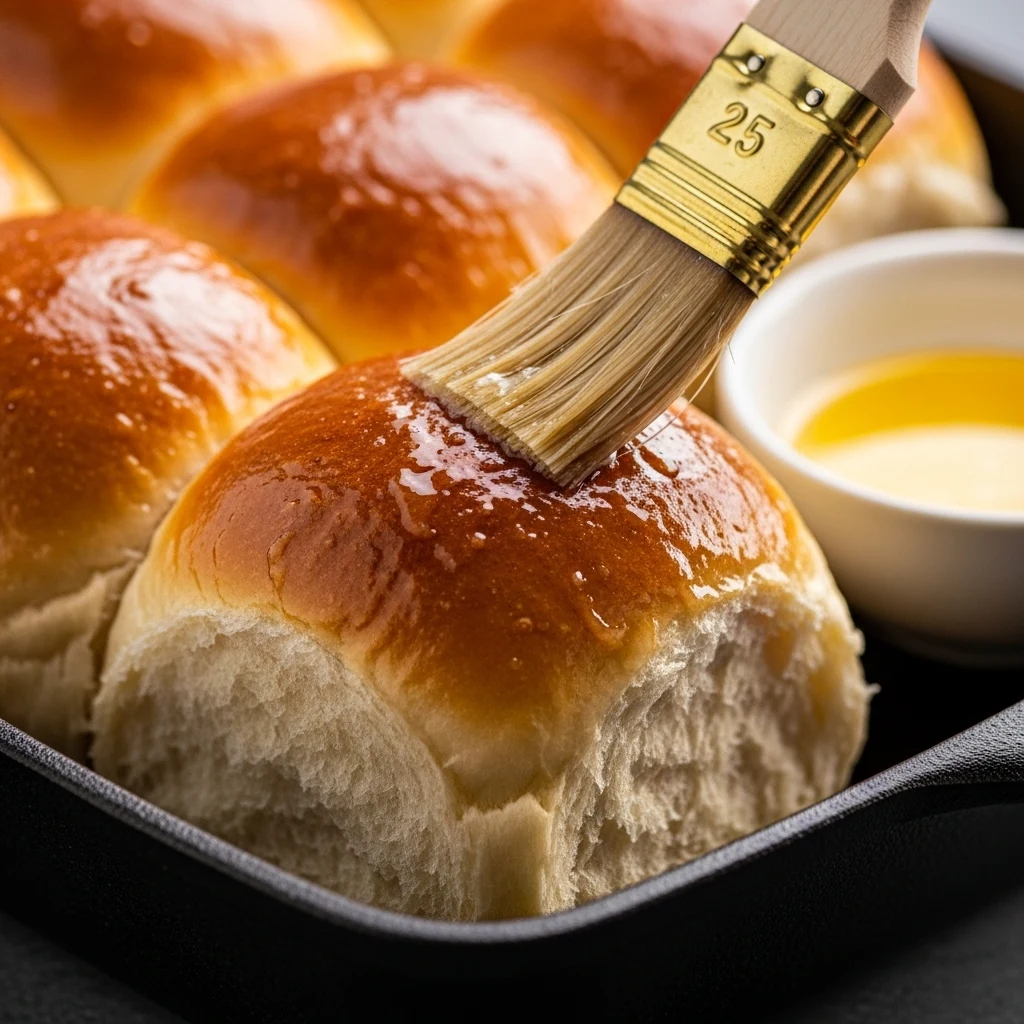
As soon as they come out of the oven, brush the tops generously with softened or melted butter. This step is not optional. This step is sacred.
Pro Tips for the Softest, Fluffiest Rolls Possible
Do Not Skimp on the Kneading
Kneading develops gluten, and gluten is what gives your rolls structure and that chewy, pillowy texture. Under-kneaded dough produces dense, gummy rolls.
You want the dough to feel smooth and elastic before you leave it to rise.
Room Temperature Ingredients Matter
Cold eggs and cold butter do not incorporate as smoothly into dough. Pull them out of the fridge about 30 minutes before you start.
This small step makes the mixing process easier and contributes to a more uniform dough.
The Butter Brush Is Non-Negotiable
Brushing with butter right after baking does two things:
- It softens the crust, giving you that tender top instead of a hard shell.
- It adds a rich, glossy finish that makes the rolls look as good as they taste.
Some bakers brush with butter before baking as well. You can do both. No one is going to stop you.
Do Not Overbake
Pale and underdone is bad, but overbaked rolls dry out fast. You want a deep golden brown on top, not dark brown.
Pull them out when they look perfectly golden and trust the internal temperature to confirm they are done.
Common Mistakes and How to Avoid Them
Even experienced bakers run into trouble sometimes. Here are the most common problems and their fixes:
- Rolls are dense and heavy: The yeast was not active enough, the dough did not rise long enough, or there was too much flour.
- Rolls spread out instead of rising up: The dough was too wet or too warm when shaped.
- Rolls are dry after baking: They overbaked, or the dough had too little fat. Make sure you are measuring butter and milk correctly.
- Rolls do not brown evenly: Your oven has hot spots. Rotate the pan halfway through baking.
- Dough is too sticky to handle: Add flour one tablespoon at a time until it becomes manageable. Do not dump in a large amount at once.
Make-Ahead and Storage Options
One of the best things about this recipe is how well it adapts to your schedule. You do not have to bake them the same day you make the dough.
Overnight Option
After shaping the rolls and placing them in the pan, cover tightly and refrigerate overnight instead of doing the second rise at room temperature.
The next day, take them out, let them come to room temperature and finish rising (about 1 to 2 hours), then bake as normal. The slow, cold rise actually develops more flavor, which is a nice bonus.
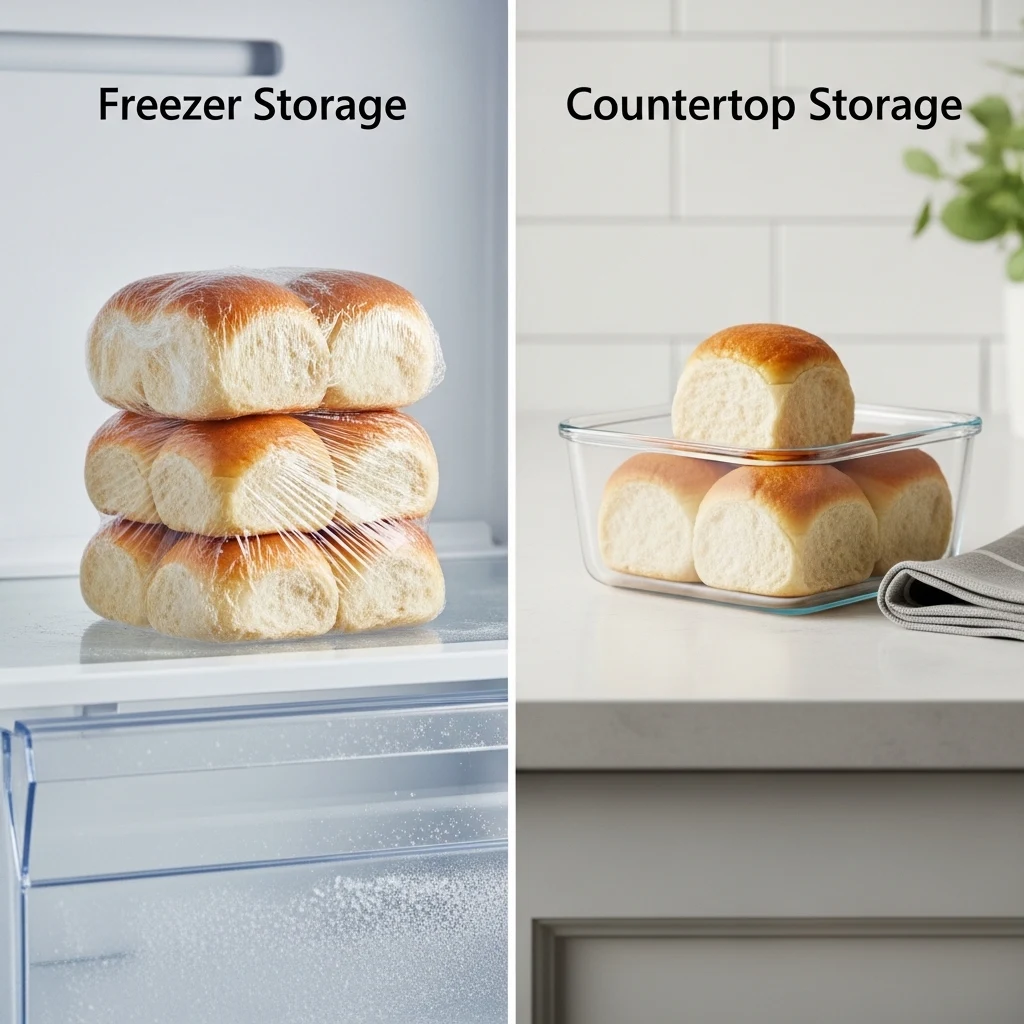
Freezing Baked Rolls
Fully baked rolls freeze beautifully. Let them cool completely, wrap them tightly in plastic, and freeze for up to three months.
Thaw at room temperature and warm in a 300°F oven for 10 minutes before serving.
Storing Leftovers
Keep leftover rolls in an airtight container at room temperature for up to 3 days. Do not refrigerate them unless you plan to warm them up before eating, as refrigeration dries them out faster.
Shop Food Storage Supplies On Amazon
Serving Ideas: What to Eat With Homemade Dinner Rolls
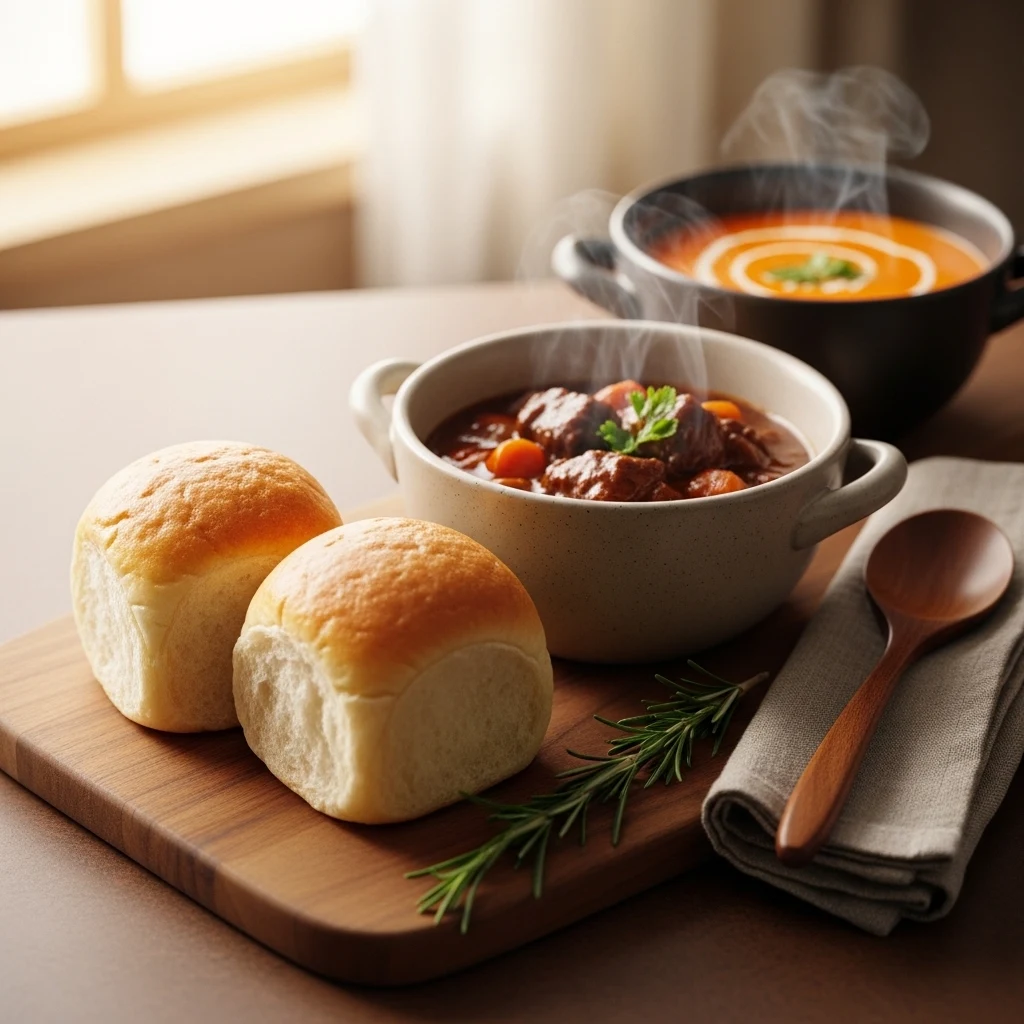
Honestly, these rolls are good enough to eat plain with nothing on them at all. But if you want to pair them strategically:
- Soups and stews — there is no better companion for a bowl of beef stew or tomato soup
- Holiday dinners — Thanksgiving, Christmas, Easter: these rolls belong at every celebration table
- Sliders — split and fill them with pulled pork, turkey, or your favorite burger
- Breakfast the next day — split, toasted, and spread with jam or honey butter
The Takeaway
Making soft fluffy homemade dinner rolls from scratch is one of those kitchen skills that pays you back every single time you use it.
The ingredients are inexpensive, the process is straightforward once you understand it, and the results are genuinely impressive. You get warm, buttery, pull-apart rolls that make any meal feel special.
Start with this recipe once, follow the steps, and you will never look at those store-bought rolls the same way again.
And when someone asks you how you made them, feel free to make it sound a little more complicated than it actually is. You deserve the credit.
Stock Up On Baking Supplies On Amazon
Can I Make These Dinner Rolls Without a Stand Mixer?
Yes, absolutely. You can knead the dough by hand on a floured surface for 8 to 10 minutes. The dough feels sticky at first but becomes smooth as you work it.
A stand mixer saves time and effort, but it won’t change the final result if you knead well by hand.
Why Are My Homemade Dinner Rolls Dense Instead of Fluffy?
Dense rolls often signal three problems: inactive or dead yeast, not enough kneading, or too short a rise. Always proof your yeast first to check if it’s alive.
Knead until the dough is smooth and elastic. Give both rises enough time. Rushing either rise is the most common cause.
How Do I Store Homemade Dinner Rolls to Keep Them Soft?
Store cooled rolls in an airtight container at room temperature for up to 3 days. Don’t refrigerate unless you plan to reheat. The fridge dries them out quickly.
For longer storage, wrap them tightly and freeze for up to 3 months. To serve, warm in a 300°F oven for about 10 minutes.
Can I Make Dinner Roll Dough the Night Before?
Yes, this is a great strategy. After shaping the rolls and placing them in the pan, cover them tightly with plastic wrap. Refrigerate overnight instead of letting them rise at room temperature.
The next morning, let them sit out for 1 to 2 hours to finish rising. Then, bake as directed. The slow cold rise also adds a richer flavor.
What Is the Best Flour for Soft Homemade Dinner Rolls?
All-purpose flour is best for this recipe. It creates a tender, light crumb without the chewiness of bread flour. Bread flour has more protein, which builds gluten.
This gives a firmer, chewier texture. That’s great for artisan loaves, but not for the soft dinner rolls you want.