
If you’ve ever bitten into a gorgeous sugar cookie only to find it tastes like cardboard, you know the struggle. A stunning cookie that lacks flavor is a big letdown.
The good news? You can have cookies that look great and taste amazing. Let’s go through everything you need to make the best cut-out sugar cookies for decorating.
It took me many failed batches to get this right. Now that I have the formula, I want to help you avoid the same floury disasters I faced.
Why the Right Recipe Changes Everything
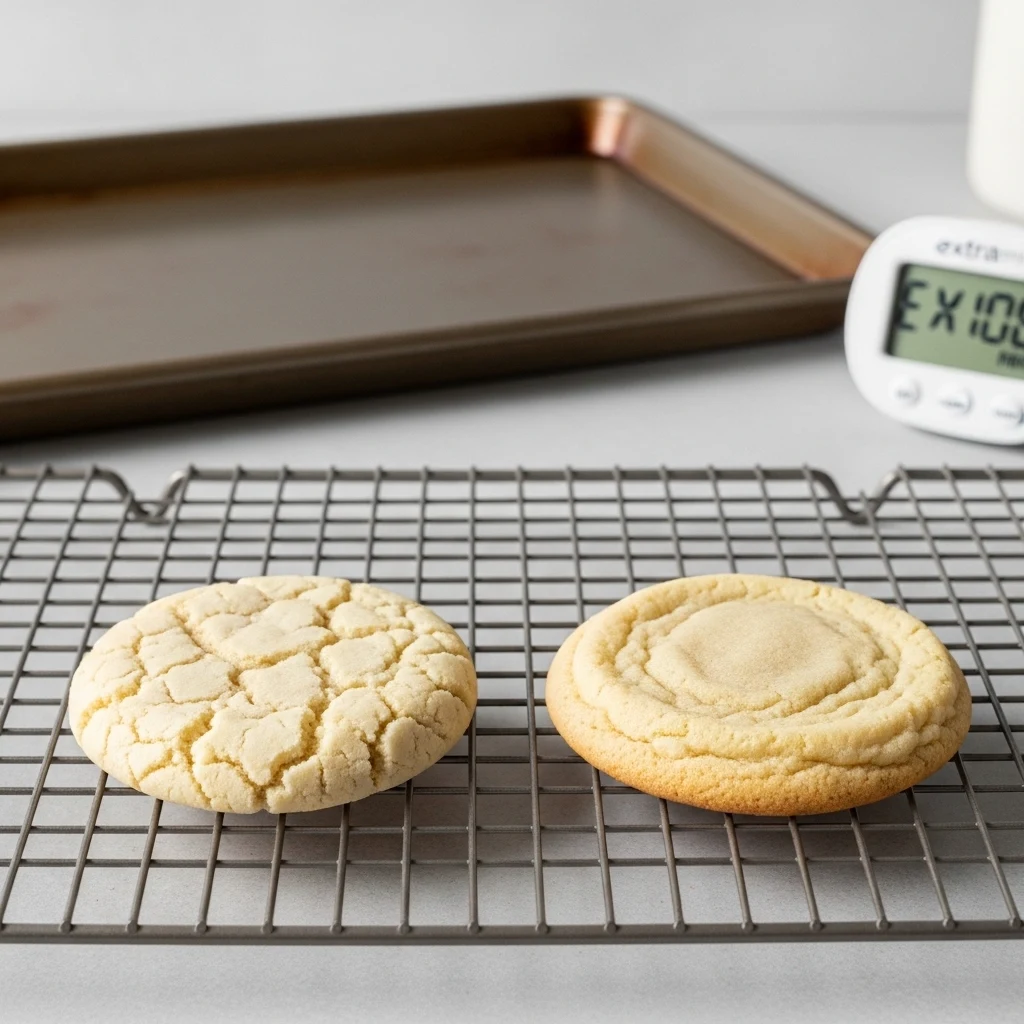
Not all sugar cookie recipes work for decorating. Some spread so much in the oven that your carefully cut star looks like a blob. Others stay crispy on top but turn rock hard underneath.
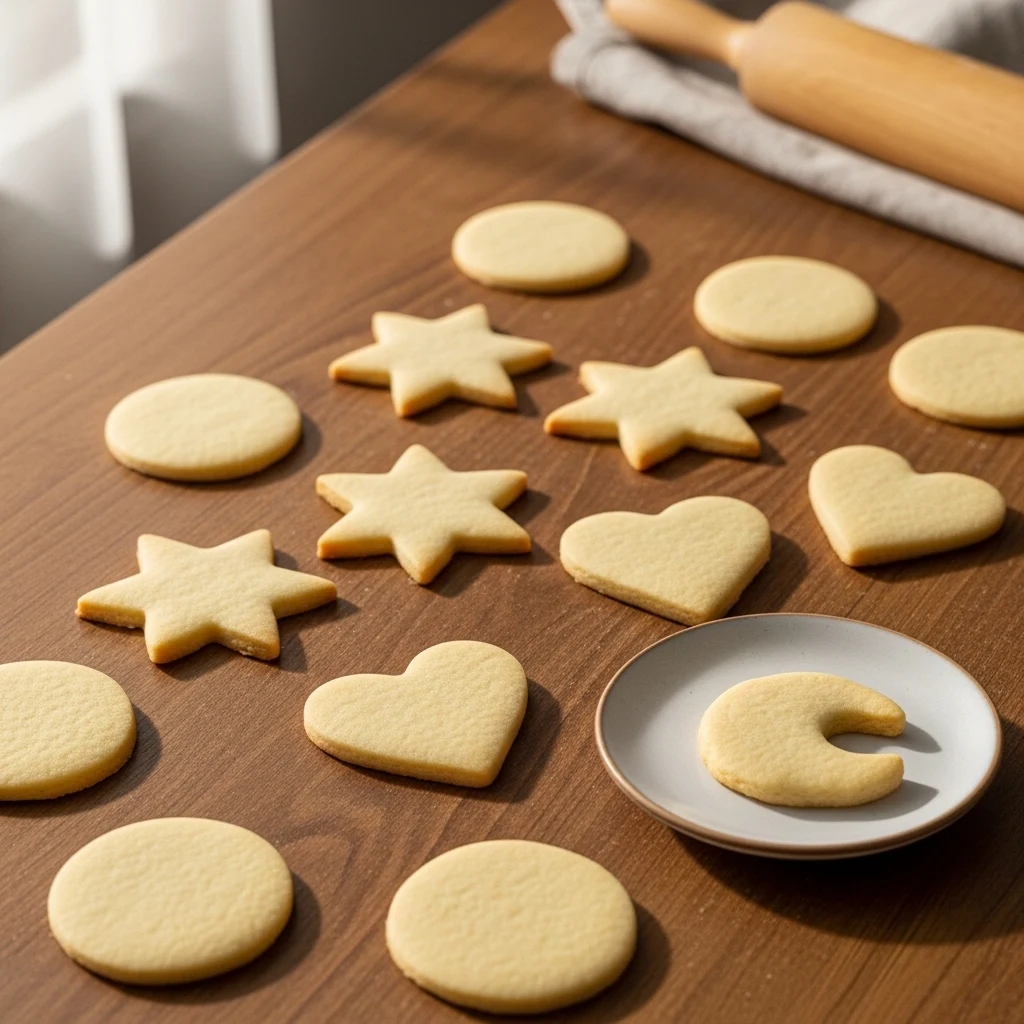
The best cut out sugar cookies for decorating hold their shape, have a slight chew, and taste buttery and just sweet enough.
So what separates a decorating-friendly cookie from a regular drop cookie? It all comes down to fat content, flour ratio, and temperature control.
These three things determine whether your snowflake stays a snowflake or becomes a snowstorm.
The Ingredients That Actually Matter

Butter vs. Shortening: The Great Debate
Here is where bakers get passionate, and honestly, both sides have a point. Let me break it down:
- Butter gives you that rich, unmistakable flavor. It also contains water, which means more spread in the oven if you are not careful.
- Shortening produces a cookie that holds its shape almost perfectly. But the flavor? Let us just say it tastes more like “edible craft supply” than a cookie.
- A 50/50 blend of butter and shortening gives you flavor plus structure. Many professional decorators swear by this approach.
My personal preference is all butter, chilled properly. The flavor payoff is worth the extra care you have to put into keeping the dough cold.
Shop Baking Butter And Shortening On Amazon
Flour: Do Not Skimp or Overdo It
Too little flour and your cookies spread. Too much and they turn into hockey pucks. The sweet spot for most cut out sugar cookie recipes is about 3 cups of all-purpose flour per 2 sticks of butter.
Measure by spooning flour into your measuring cup and leveling it off. Do not scoop directly from the bag, because that packs in extra flour and throws off your whole ratio.
Sugar Type Matters More Than You Think
Granulated white sugar is your best friend here. Powdered sugar in the dough creates an ultra-tender cookie, but it can make the dough harder to work with.
Brown sugar adds moisture and a slight molasses flavor, which is wonderful in some cookies but can cause spreading in cut outs. Stick with plain granulated sugar for the most reliable results.
Eggs and Leavening
Use one whole egg for richness. Avoid baking powder in your cut out sugar cookie recipe.
Baking powder causes cookies to puff up and lose their clean edges, which defeats the entire purpose of cutting them into shapes.
If a recipe calls for baking powder, skip it or reduce it dramatically.
The Best Cut Out Sugar Cookie Recipe
Ingredients
- 2 cups (4 sticks) unsalted butter, at cool room temperature
- 1 1/2 cups granulated sugar
- 2 large eggs
- 2 teaspoons pure vanilla extract
- 1 teaspoon almond extract (optional, but honestly life-changing)
- 5 cups all-purpose flour, spooned and leveled
- 1 teaspoon salt
Step-by-Step Instructions
Step 1: Cream the butter and sugar properly. Beat your butter and sugar together for a full 3 to 4 minutes. You want the mixture to look pale and fluffy.
Do not rush this step. Under-creamed butter leads to dense cookies, and nobody wants that.
Find All Your Sugar Cookie Baking Essentials On Amazon
Step 2: Add your eggs and extracts. Add the eggs one at a time, mixing well after each addition. Then add your vanilla and almond extract.
The almond extract is optional, but it gives these cookies a flavor that tastes like something from a fancy bakery. People always ask what the “secret ingredient” is.
Step 3: Add the flour gradually. Mix in your flour and salt on low speed until just combined.
The dough should come together cleanly and not stick to your hands. If it feels sticky, add flour one tablespoon at a time.
Step 4: Chill the dough. Seriously. Divide your dough into two discs, wrap them in plastic wrap, and refrigerate for at least 2 hours. Overnight is even better.
Cold dough holds its shape during baking. Warm dough spreads and turns your carefully cut butterfly into something that looks more like a pancake.
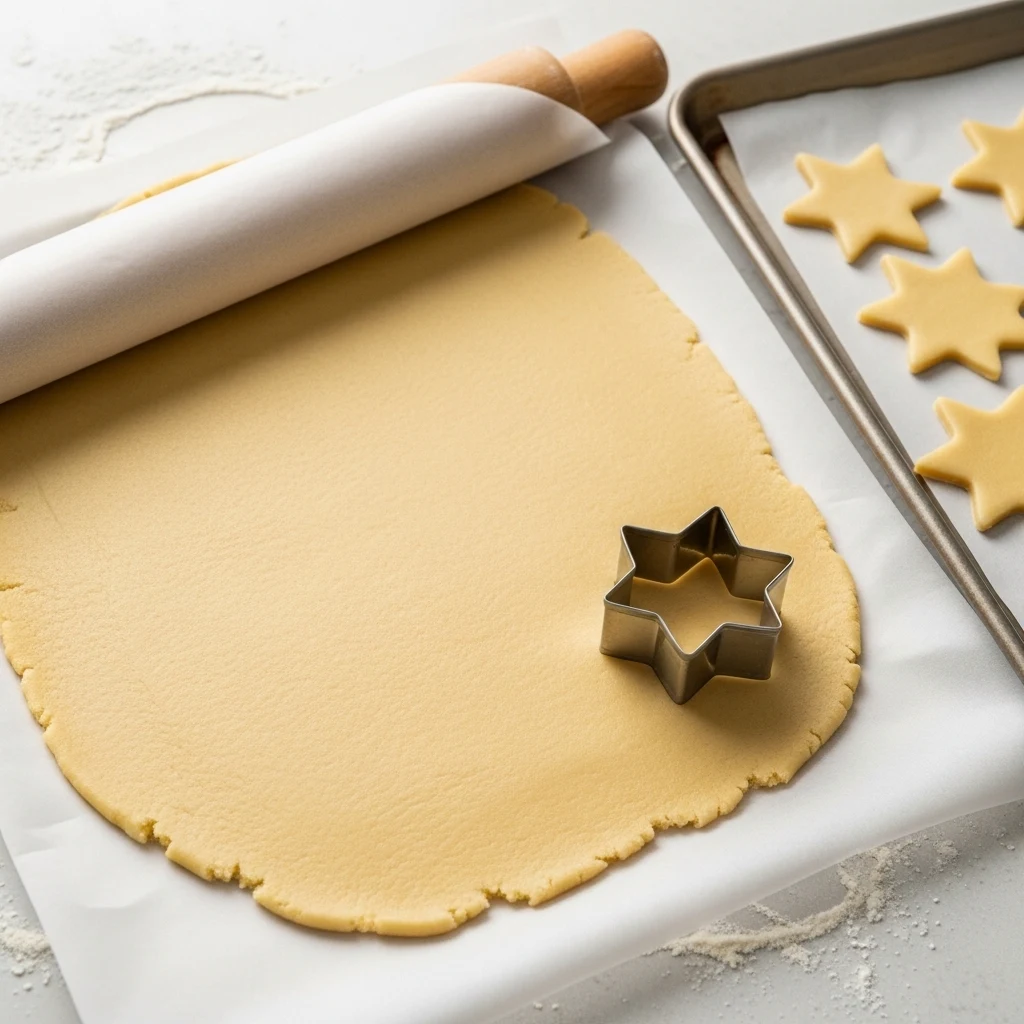
Step 5: Roll and cut. Roll your dough out on a lightly floured surface to about 1/4 inch thickness. Any thinner and your cookies will break too easily.
Any thicker and they will not bake evenly. Cut your shapes and place them on a parchment-lined baking sheet.
Step 6: Chill again before baking. Pop your cut cookies in the freezer for 10 minutes before baking. This extra chill sets the butter and guarantees sharp edges. This small step makes a huge difference.
Step 7: Bake at 350 degrees Fahrenheit. Bake for 9 to 11 minutes, just until the edges start to look set. The centers will look slightly underdone, and that is exactly right.
They firm up as they cool. Pull them out too late and you end up with dry, crumbly cookies that are impossible to enjoy.
How to Get Perfectly Shaped Cookies Every Time
Roll Between Parchment Paper
Rolling your dough between two sheets of parchment paper prevents sticking and keeps your surface flour-free.
This means your dough stays at the right consistency and you do not accidentally incorporate extra flour, which would toughen your cookies.
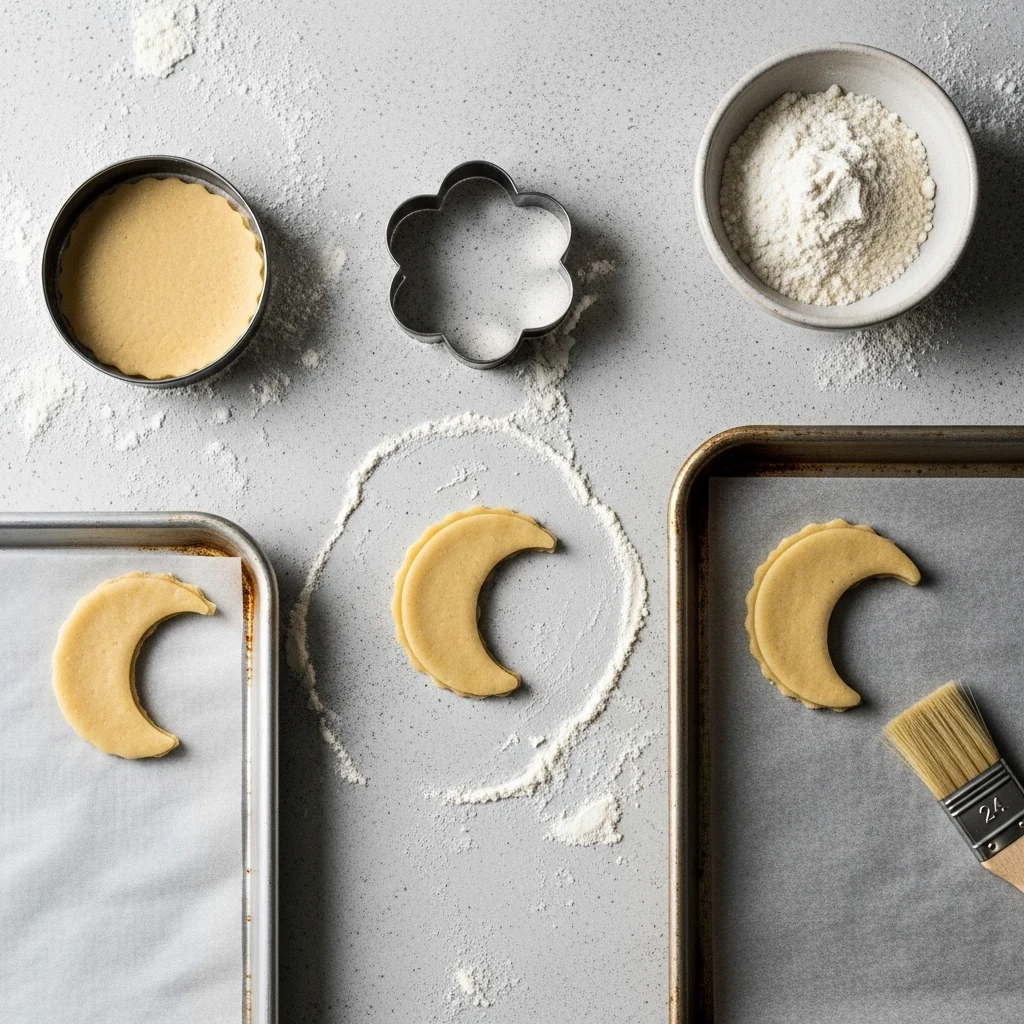
Dip Your Cutters in Flour
Before pressing a cutter into the dough, dip it in flour and shake off the excess. This keeps the cutter from dragging and gives you a cleaner cut.
Sharp cutters always outperform dull, flimsy ones. If your metal cutters have started to warp or rust, invest in a new set.
Transfer with a Thin Spatula
Use a thin, flexible metal spatula to transfer your cut shapes to the baking sheet. Lift gently and work quickly, especially if your kitchen runs warm.
Browse Cookie Cutters And Decorating Tools On Amazon
Frosting Options for Decorating
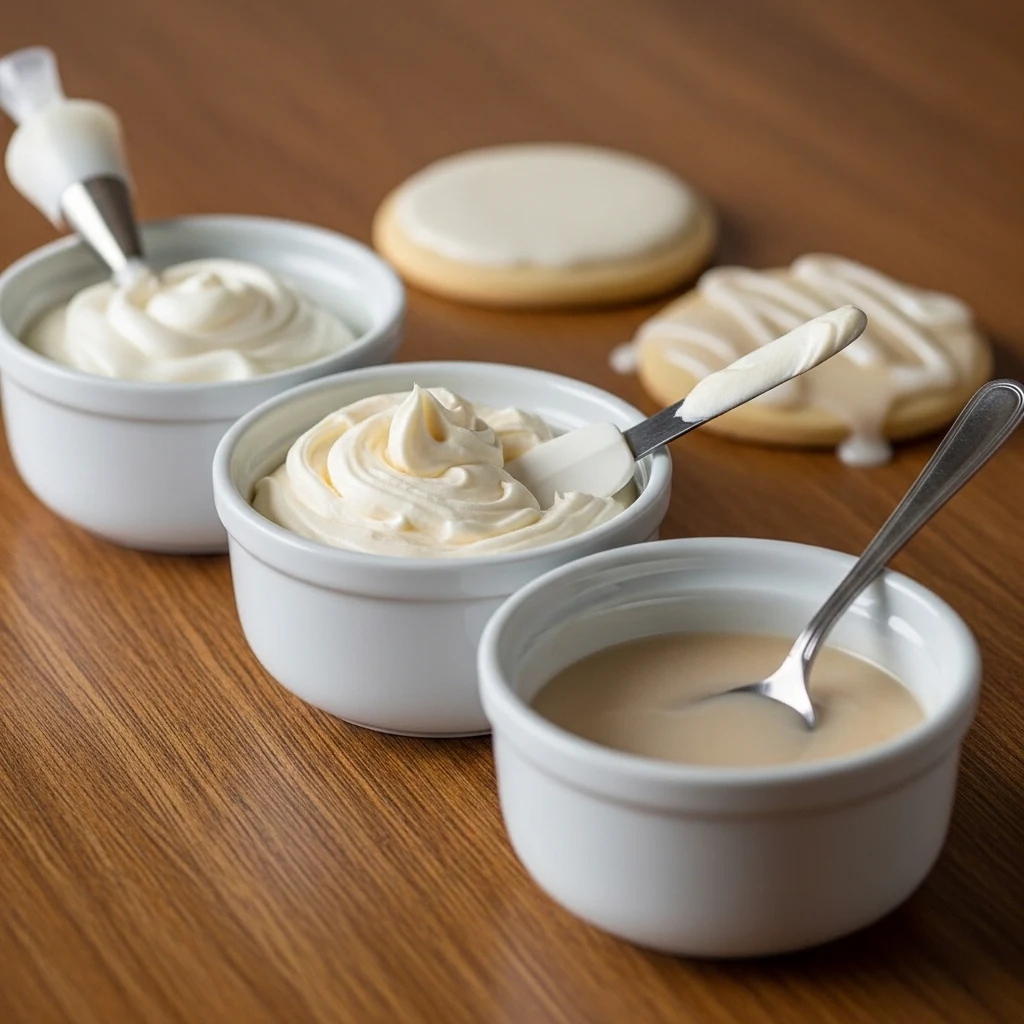
Royal Icing: The Gold Standard
Royal icing is the go-to for professional-looking decorated cookies. It dries hard, creates a smooth canvas, and holds intricate details beautifully.
You make it with meringue powder, powdered sugar, and water. Adjust the consistency for flooding (thin) versus outlining (thick).
The learning curve with royal icing is real. Your first attempt might look like abstract art. But with practice, you will get the hang of it.
Stock Up On Royal Icing Supplies On Amazon
Buttercream Frosting
Buttercream does not dry hard like royal icing, which means your decorated cookies cannot be stacked easily.
But the flavor is absolutely worth it for casual decorating. Use a stiff buttercream so it holds its piped shape without drooping.
Simple Glaze
A basic glaze made from powdered sugar and milk gives you a quick, easy alternative to royal icing.
It dries to a slight shine and works perfectly for simple designs or when you just want to add a pop of color without committing to a full decorating session.
Common Mistakes to Avoid
Here are the cut out sugar cookie pitfalls that trip up even experienced bakers:
- Skipping the chill time. There is no shortcut here. Cold dough behaves. Warm dough does not.
- Overbaking. The cookies should look slightly underdone when you pull them out. Trust the process.
- Rolling the dough too thin. Thin cookies break easily and dry out fast.
- Using warm baking sheets. Always let your baking sheets cool completely between batches. A warm sheet starts melting the butter before the cookie even reaches the oven.
- Not measuring flour correctly. Pack your flour and your cookies will come out tough every time.
Shop Baking Sheets And Parchment Paper On Amazon
Storing and Freezing Your Cookies
Storing Baked Cookies
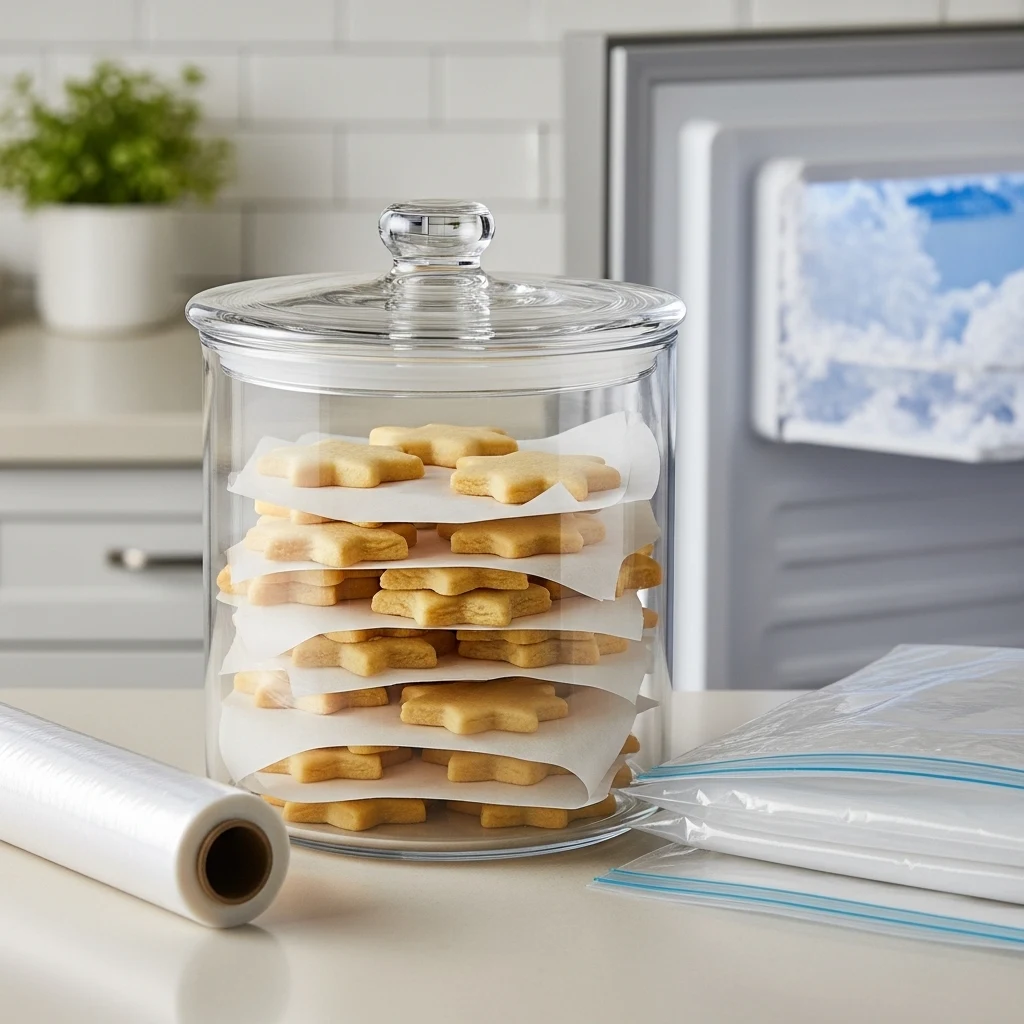
Undecorated baked cookies stay fresh for up to a week in an airtight container at room temperature. Layer them with parchment paper to prevent scratching or sticking.
Decorated cookies with royal icing last just as long once the icing has fully dried. Store them in a single layer or stack carefully with parchment between layers.
Freezing for Later
You can freeze both the raw dough and the baked cookies. Wrap dough discs tightly in plastic wrap and place them in a freezer bag.
They keep for up to three months. Thaw overnight in the refrigerator before rolling.
Baked, undecorated cookies also freeze beautifully. Let them cool completely, wrap them well, and freeze for up to two months.
This makes holiday baking so much more manageable because you can bake in stages.
Find Airtight Containers And Storage Bags On Amazon
The Bottom Line
The best cut out sugar cookies for decorating come down to a few non-negotiables: quality butter, the right flour ratio, proper chilling, and careful baking.
None of these steps are difficult, but skipping any one of them will cost you clean edges, good texture, or both.
Once you nail the base cookie, the decorating becomes the fun part.
Whether you go all in with royal icing and a piping bag or keep it simple with a glaze and some sprinkles, a well-made cookie gives you the perfect foundation to work with.
And at the end of the day, even a slightly lopsided decorated cookie made with a good recipe tastes infinitely better than a picture-perfect cookie that nobody wants to eat.
Bake well, chill your dough, and enjoy every single bite.
Why Do My Cut Out Sugar Cookies Spread in the Oven?
Your cookies spread when the dough is too warm before baking, when you use too little flour, or when your baking sheet is warm from a previous batch.
Always chill your dough for at least two hours before rolling, and pop your cut shapes in the freezer for ten minutes right before they go into the oven.
These two steps alone eliminate most spreading problems.
Can I Make Cut Out Sugar Cookie Dough Ahead of Time?
Sure! You can refrigerate the wrapped dough discs for three days before rolling and cutting. For longer storage, freeze the dough for three months. Thaw it overnight in the fridge.
Making the dough ahead of time improves your results. The longer chill lets the butter firm up more, leading to sharper edges and better shape during baking.
What Is the Best Frosting for Decorating Sugar Cookies?
Royal icing is the best option for decorated sugar cookies. It dries hard and holds fine detail. You can stack cookies without smearing.
If flavor matters more than looks, use stiff buttercream for casual decorating.
A simple powdered sugar glaze is a good middle ground. It adds color and shine without needing a full royal icing setup.
How Thick Should I Roll Cut Out Sugar Cookie Dough?
Roll your dough to about a quarter inch thick. If it’s thinner, your cookies may break during decorating and dry out quickly.
If it’s thicker, the center won’t bake evenly, resulting in a doughy middle and overcooked edges.
A quarter inch gives you cookies that are strong enough to decorate, hold their shape, and bake evenly each time.
How Long Do Decorated Sugar Cookies Stay Fresh?
Decorated sugar cookies with dried royal icing stay fresh for up to one week. Store them in an airtight container at room temperature.
Buttercream-frosted cookies are best eaten within three to four days.
For undecorated cookies, wrap them well and freeze for up to two months. You can decorate them after they thaw completely at room temperature.