
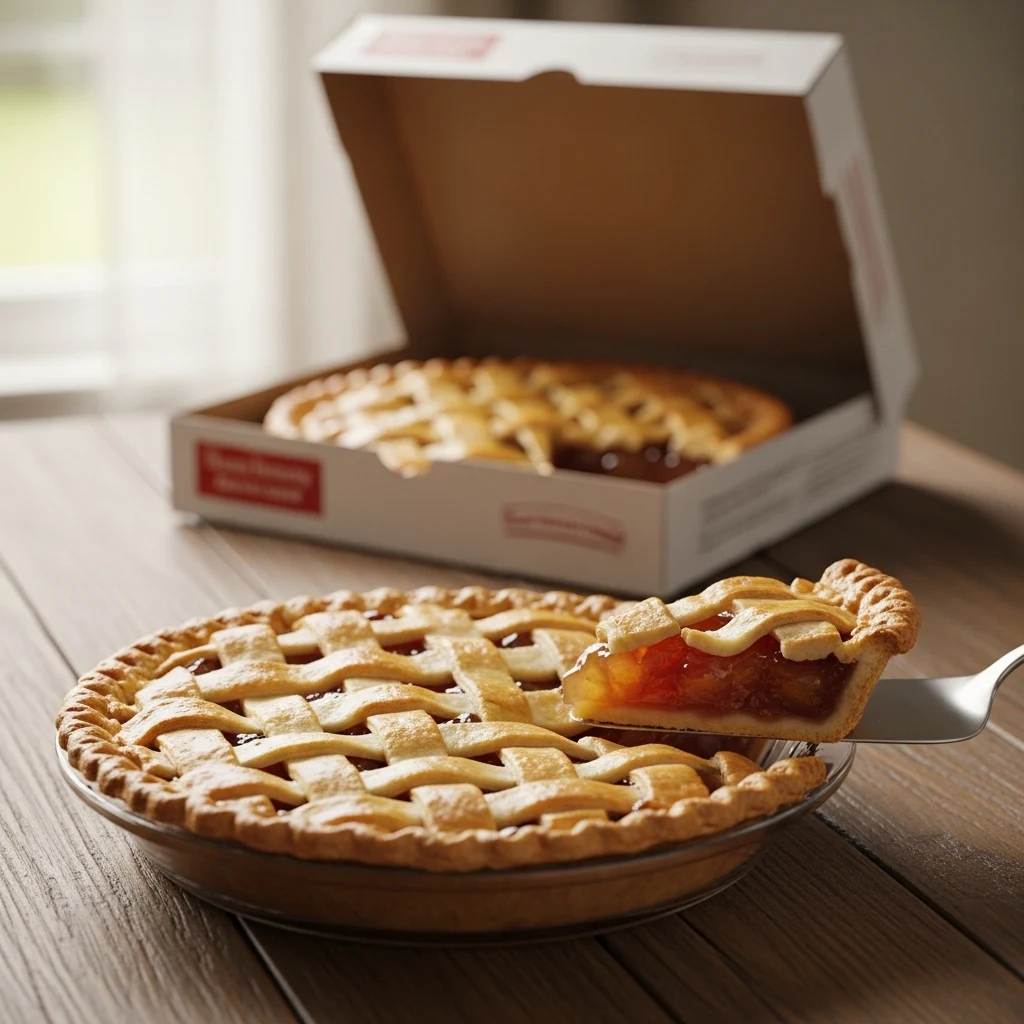
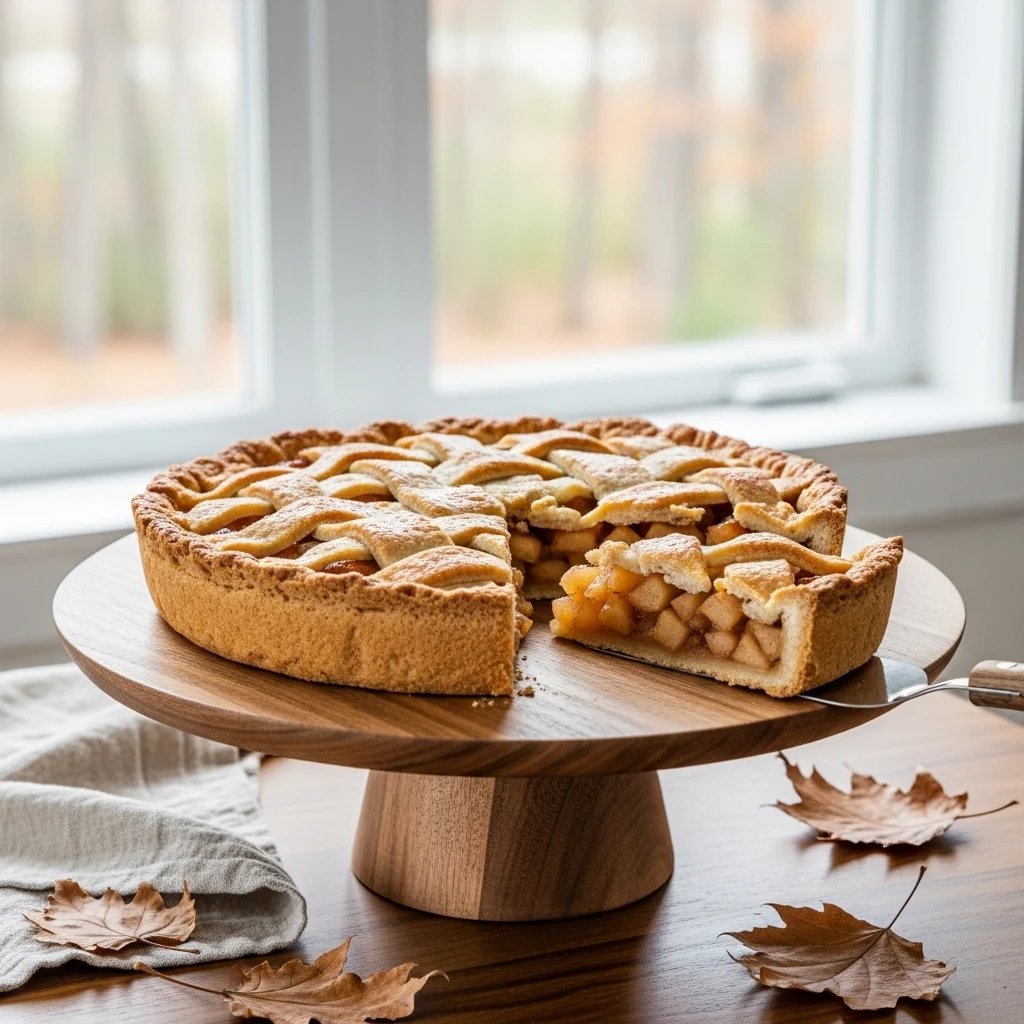
Pulling a golden, bubbling apple pie from the oven is so satisfying. The lattice crust looks like you spent hours weaving it, even if you mostly winged it.
If you want to make a homemade apple pie with a flaky lattice crust from scratch, this guide will help you every step of the way. You won’t need a culinary degree to follow it.
Fair warning: once you master this recipe, everyone will want to come over for dessert. You’ve been warned.
Why Homemade Apple Pie Beats Store-Bought Every Single Time
Let’s get this out of the way quickly. Store-bought apple pie exists, and technically it does the job. But homemade apple pie with a properly flaky, buttery crust hits completely differently.
You control the sweetness, the spice level, the thickness of the filling, and the quality of every single ingredient. That is a level of customization no freezer aisle can offer you.
Plus, the smell of a homemade apple pie baking in your oven is practically a superpower. It makes your home smell like a cozy autumn afternoon regardless of the season. That alone is worth the effort.
Choosing the Right Apples for Your Pie
Here is where a lot of home bakers go wrong, and it is an easy mistake to make. Not all apples behave the same way when you bake them.
Some turn into mush, some hold their shape beautifully, and some sit somewhere in between.
The Best Apple Varieties for Baking
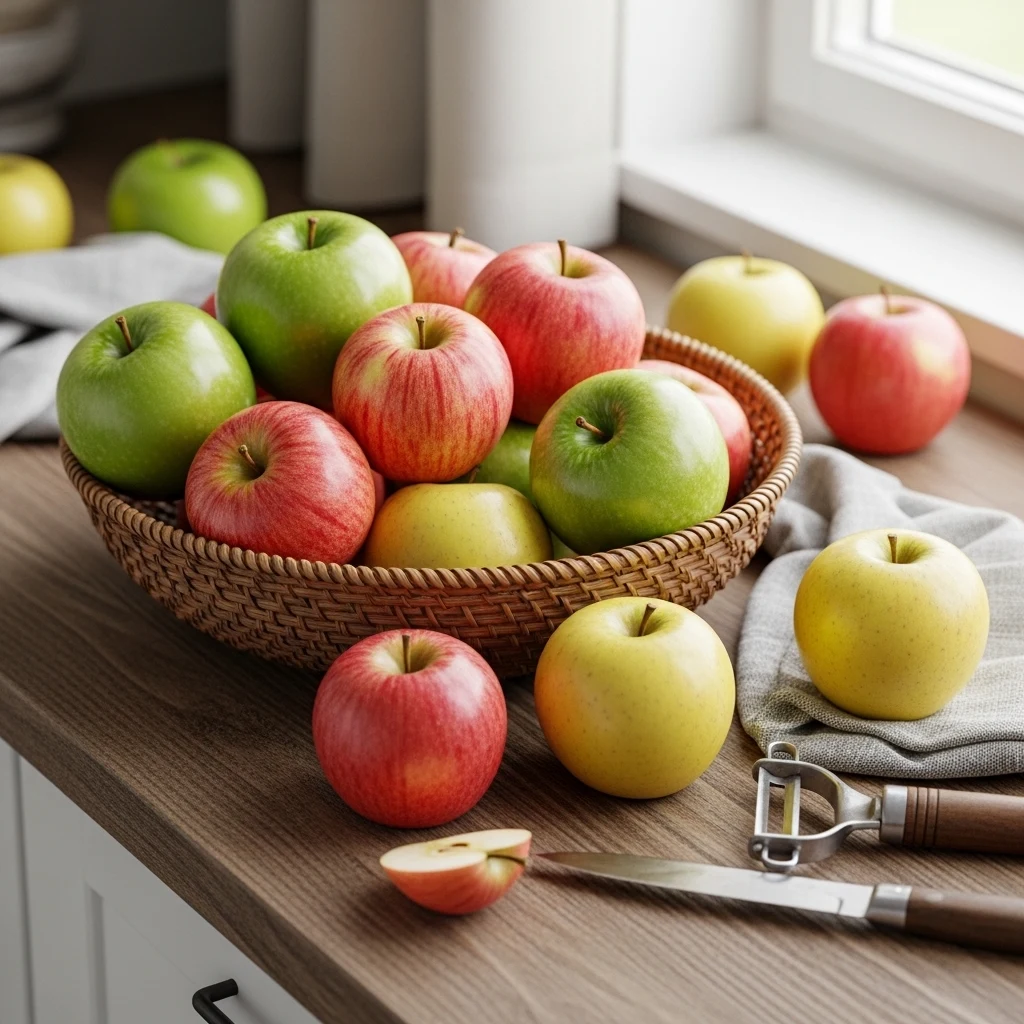
For a well-structured, flavorful filling, you want to mix apple varieties rather than use just one type. Here is what works best:
- Granny Smith: Tart, firm, and they hold their shape like champions. These are your structural backbone.
- Honeycrisp: Sweet with a slight tartness, and they soften beautifully without completely falling apart.
- Braeburn or Pink Lady: These add complexity and a slightly spiced, rich flavor that deepens during baking.
- Golden Delicious: Soft and sweet, great for adding a bit of saucy texture to the filling.
A combination of Granny Smith and Honeycrisp is the most reliable pairing if you want to keep things simple.
Aim for about six to seven medium apples for a standard nine-inch pie, which should give you roughly six to seven cups of sliced filling.
How to Prep Your Apples
Peel, core, and slice your apples to about a quarter-inch thickness. Too thick and they will not cook through properly.
Too thin and you end up with applesauce in a crust shell, which is a different dessert entirely.
Shop Apple Varieties On Amazon
The Secret to a Truly Flaky Pie Crust
The crust is where most people either shine or quietly have a breakdown. The good news is that a flaky pie crust is not actually that complicated. It just demands that you respect a few non-negotiable rules.
Cold Ingredients Are Everything
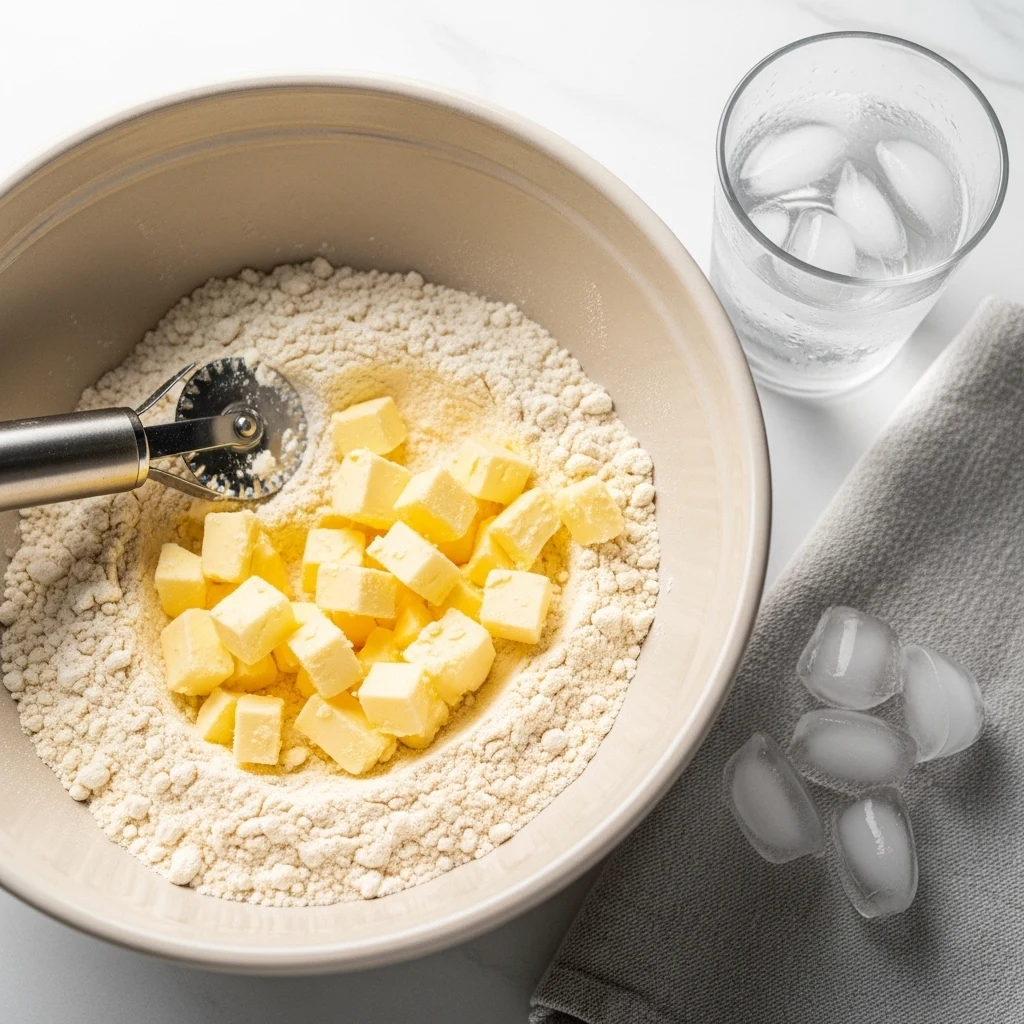
The number one rule of flaky pie crust is temperature. Your butter needs to be cold. Your water needs to be ice cold. Even your flour can go in the fridge for 15 minutes before you start.
Why? Because when cold butter hits the heat of the oven, it releases steam, and that steam creates those beautiful, distinct flaky layers everyone goes after.
Use unsalted butter cut into small cubes and keep it in the freezer for about 10 to 15 minutes before you begin mixing. This small step makes a genuinely noticeable difference.
The Basic Flaky Pie Crust Recipe
Here is what you need for a double crust (one for the base and one for your lattice top):
- 2 and a half cups all-purpose flour
- 1 cup unsalted butter, very cold, cut into small cubes
- 1 teaspoon salt
- 1 tablespoon granulated sugar
- 6 to 8 tablespoons ice water
Work the butter into the flour mixture using your fingertips or a pastry cutter until the mixture looks like rough, uneven crumbs with pea-sized chunks of butter still visible.
Those chunks are your flakiness in waiting. Add ice water one tablespoon at a time and mix gently until the dough just comes together.
Do not overwork the dough. This is the part where ambition becomes the enemy. Overworking develops gluten, and developed gluten gives you a tough, chewy crust instead of a flaky one.
Mix only until the dough holds together when you pinch it, then wrap it in plastic wrap and chill it in the fridge for at least one hour.
Don’t have a pastry cutter yet? — Find One On Amazon
Making the Apple Pie Filling
While your dough chills, you can get the filling going. This is the fun, fragrant part where your kitchen starts smelling incredible.
Ingredients for the Filling
- 6 to 7 cups peeled, sliced apples (mixed varieties)
- Three quarters cup granulated sugar (adjust based on apple sweetness)
- Two tablespoons brown sugar
- Two teaspoons ground cinnamon
- Half a teaspoon ground nutmeg
- Quarter teaspoon ground ginger
- Two tablespoons cornstarch (for thickening)
- One tablespoon lemon juice
- One teaspoon vanilla extract
- One tablespoon unsalted butter, cut into small pieces (to dot over the filling)
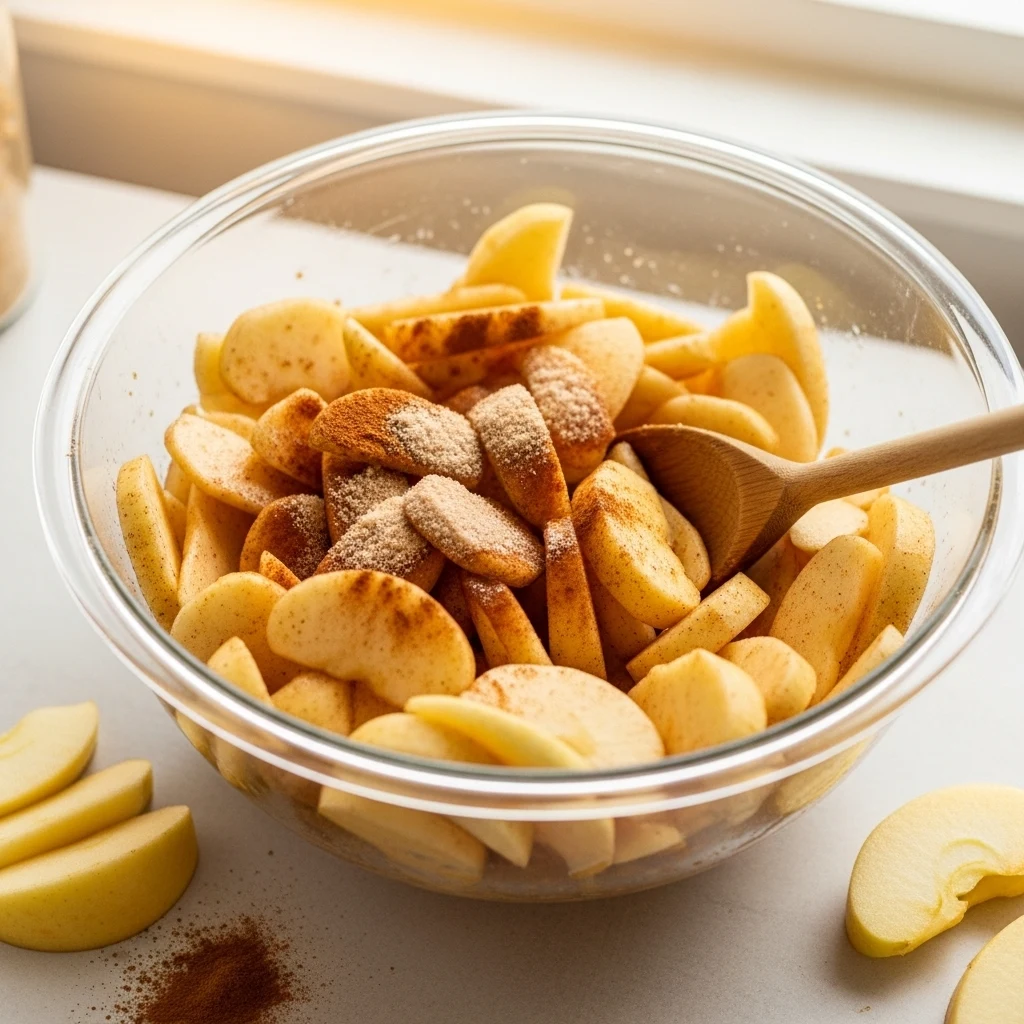
Toss all the ingredients together in a large bowl and let them sit for about 15 minutes. This draws out the natural juices from the apples and lets the spices start working their magic.
The mixture will look a little liquidy, and that is perfectly fine. The cornstarch will do its thickening job once everything hits the heat of the oven.
Getting the Spice Balance Right
Ever tasted an apple pie that was just sweet with no depth? That is a cinnamon-only filling, and it needs some help.
The combination of cinnamon, nutmeg, and ginger gives your filling a warmth and complexity that makes people close their eyes and take a moment.
Do not skip the ginger; even a small amount makes the whole filling taste more sophisticated.
How to Weave a Lattice Crust (Without Losing Your Mind)
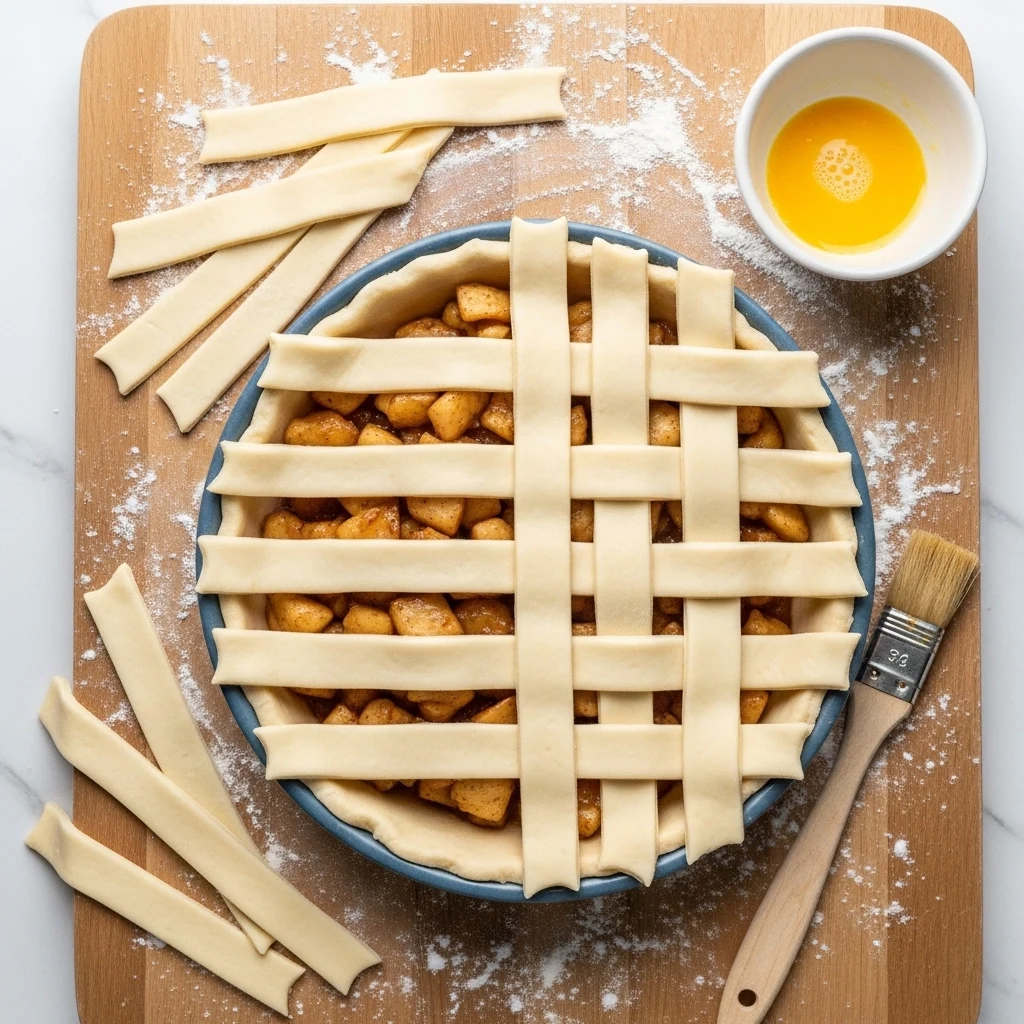
The lattice top is what transforms a good apple pie into a showstopper. And yes, it looks impressive, but the technique is genuinely straightforward once you understand the basic over-under pattern.
Step-by-Step Lattice Method
- Roll out your second dough disk on a lightly floured surface into a roughly 12-inch circle.
- Cut the dough into strips using a sharp knife or pastry wheel. Aim for strips about three quarters of an inch to one inch wide. You can make them uniform or vary the widths slightly for a rustic look.
- Lay half the strips horizontally across your filled pie, evenly spaced.
- Fold back every other strip halfway and lay one vertical strip down the center of the pie.
- Unfold the folded strips over the vertical strip, then fold back the strips you did not fold before.
- Place another vertical strip parallel to the first, and repeat the process until you have covered the entire pie.
- Trim the overhanging strips, press them into the edge of the bottom crust, and crimp the edge to seal everything together.
The key is patience and not pulling the strips too tight. They will shrink slightly in the oven, and overstretching them now leads to gaps or breaks later.
The Egg Wash Finish
Before your pie goes into the oven, brush the entire lattice top and crust edges with an egg wash made from one egg beaten with one tablespoon of milk. Then sprinkle coarse sugar over the top.
This gives you that gorgeous, deep golden finish and a satisfying crunch on the crust that makes the first slice genuinely theatrical.
Browse Pastry Wheels On Amazon
Baking Your Apple Pie to Perfection

Preheat your oven to 425 degrees Fahrenheit. Place your assembled pie on a baking sheet lined with parchment paper because the filling will bubble and you do not want to spend the next hour scrubbing your oven.
Bake at 425 degrees for the first 20 minutes, then reduce the temperature to 375 degrees and bake for an additional 35 to 45 minutes.
The pie is done when the crust is deeply golden, the filling is visibly bubbling through the lattice, and your entire home smells like the best decision you ever made.
If your crust edges are browning too quickly, tent them loosely with strips of aluminum foil or a pie shield around the 30-minute mark. This is a common issue and a very easy fix.
The Hardest Part: Letting It Cool
Here is the part nobody talks about enough. You must let the pie cool for at least two to three hours before cutting into it.
This is genuinely painful, especially when it is sitting right there on your counter smelling extraordinary. But the filling needs time to set.
Cut into it too early and you get a soupy, collapsing slice. Wait it out and you get clean, picture-perfect wedges with a filling that holds its shape beautifully.
A pie shield saves your crust edges every time — Get One On Amazon
Tips for Making Apple Pie Ahead of Time
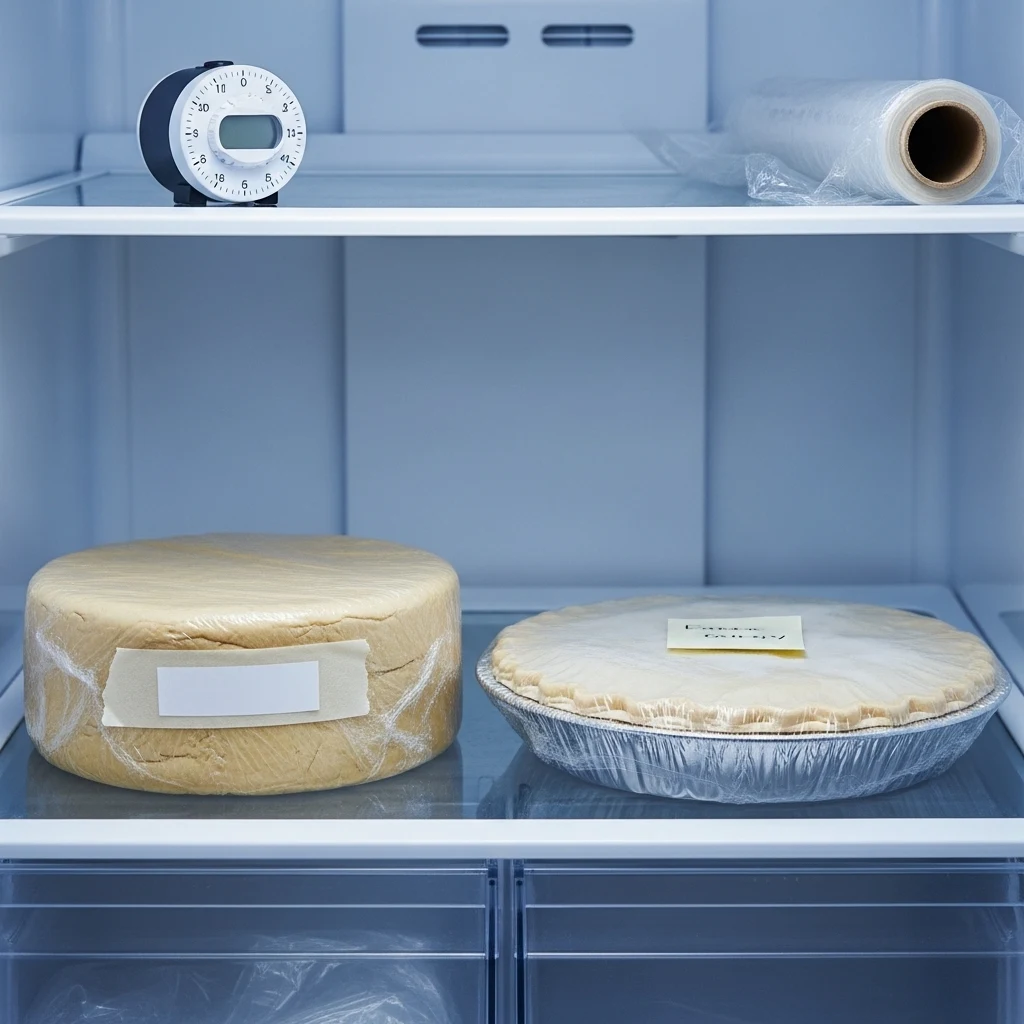
Homemade apple pie fits very naturally into a make-ahead workflow, which is great news if you are baking for a holiday or a gathering.
- The pie dough keeps in the fridge for up to three days or in the freezer for up to three months. Wrap it tightly in plastic wrap.
- The assembled, unbaked pie can be frozen for up to two months. Bake it straight from frozen, adding about 15 extra minutes to the baking time.
- A fully baked pie keeps at room temperature for up to two days, covered loosely, or in the fridge for up to five days.
Reheating a slice at 350 degrees for about 10 to 15 minutes brings it right back to life, and the crust crisps up beautifully.
Serving Your Homemade Apple Pie
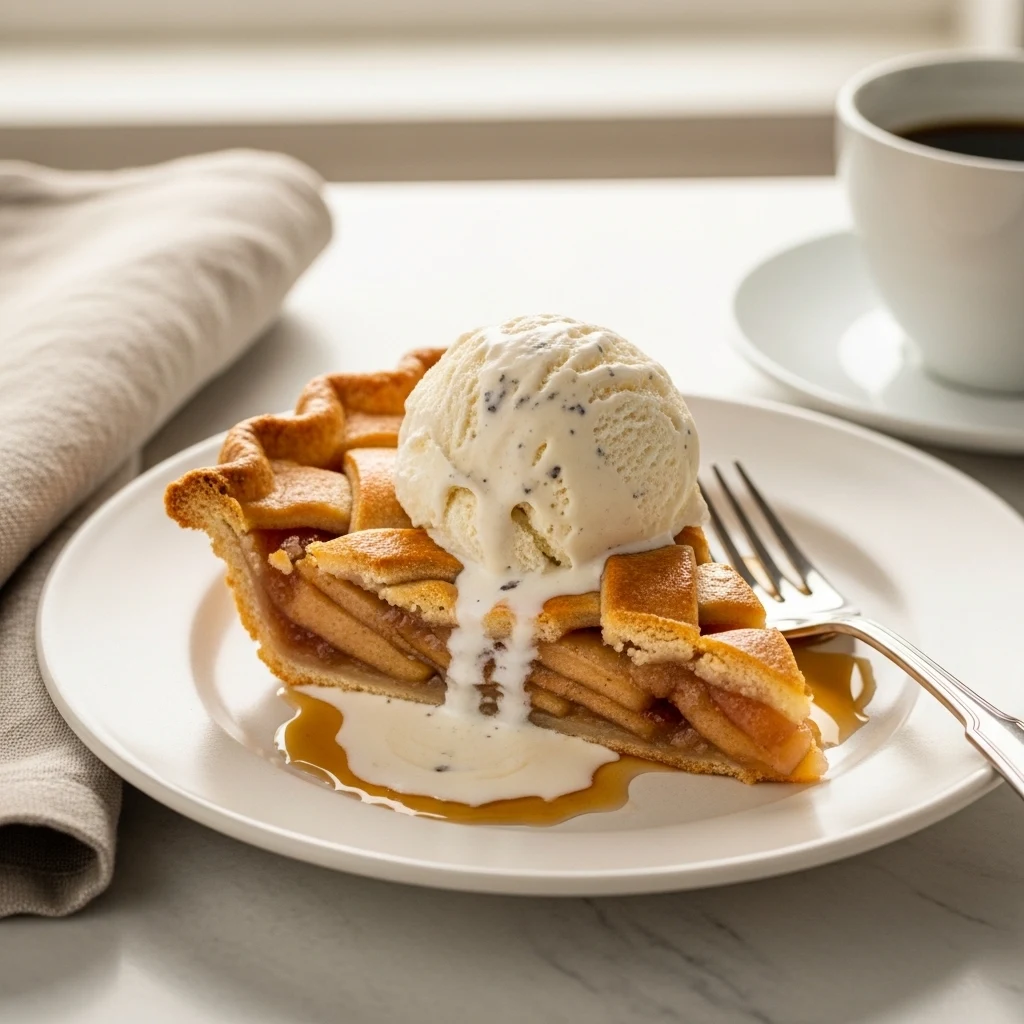
You can serve this pie warm, at room temperature, or cold. All three options are valid, and anyone who tells you otherwise is wrong.
A scoop of good vanilla ice cream on a warm slice is the classic pairing for a reason. The contrast between the warm spiced filling and cold, creamy ice cream is almost offensively good.
Freshly whipped cream works beautifully too, especially if you add a small pinch of cinnamon to the cream while you whip it.
Sharp cheddar cheese alongside apple pie is a traditional pairing in certain parts of the American Midwest and Canada, and before you make a face, know that the combination of sharp, salty cheese with sweet, spiced apples is genuinely excellent. Give it a try at least once.
Shop Ice Cream Scoops On Amazon
Final Thoughts
Homemade apple pie with a flaky lattice crust is one of those baking projects that feels ambitious but rewards you generously for the effort.
Once you make it from scratch, the store-bought versions simply do not measure up, and that is not a bad problem to have.
Get your butter cold, choose your apples wisely, be patient with your lattice, and most importantly, resist the urge to cut into it while it is still steaming.
The pie will be worth every minute of the wait. And if your lattice is not perfectly symmetrical the first time around, that is completely fine. Rustic just means homemade, and homemade is exactly the point.
What Is the Best Apple Variety to Use for Homemade Apple Pie?
Mixing apple varieties creates a more complex and balanced filling. Granny Smith apples add tartness and structure, holding their shape well while baking.
Honeycrisp apples bring natural sweetness and a soft texture. Together, they create a filling that is not too mushy or too firm, just what a great apple pie needs.
Why Does My Pie Crust Come Out Tough Instead of Flaky?
A tough crust usually results from two issues: warm butter or overworked dough. Flakiness comes from cold butter creating steam pockets in the oven.
If the butter melts into the flour before baking, those pockets won’t form. Overworking the dough adds too much gluten, making the crust chewy instead of tender.
Keep your butter ice cold and stop mixing once the dough holds together.
How Do You Keep Apple Pie Filling from Being Too Runny?
Cornstarch is key here. Adding two tablespoons to your filling helps absorb the juices from the apples. This thickens them into a scoopable filling.
Let your sliced apples sit with sugar and spices for about 15 minutes before assembling the pie. This step draws out excess moisture, reducing the risk of a watery filling after baking.
Can You Make Apple Pie Ahead of Time and Freeze It?
Yes, it holds up well. You can freeze the assembled but unbaked pie for up to two months. Wrap it tightly in plastic wrap, then in aluminum foil to prevent freezer burn.
When you’re ready to bake, place it directly in a preheated oven from frozen. Add about 15 extra minutes to the standard baking time.
A fully baked pie also freezes well and reheats beautifully at 350 degrees Fahrenheit for about 20 minutes.
How Do You Prevent the Lattice Crust from Shrinking or Breaking During Baking?
Two things make lattice strips shrink or break: overworked dough and tightly stretched strips. Chill your dough well before rolling and cutting.
When laying the strips across the pie, place them gently without pulling. If the dough warms and gets sticky while weaving, put the pie in the fridge for 10 minutes. Cold dough works better in the oven.
What Is the Right Oven Temperature for Baking Apple Pie?
Preheat to 425 degrees Fahrenheit for 20 minutes. This sets the crust and browns it well. Then lower the heat to 375 degrees Fahrenheit. Bake for another 35 to 45 minutes.
The filling should bubble visibly, and the crust should be golden. This method ensures the bottom crust cooks fully. It also helps the filling cook evenly without burning the top crust.
How Long Should You Let Apple Pie Cool Before Cutting It?
Let the pie cool for at least two to three hours at room temperature. The filling inside is hot and needs time to set. If you cut too early, you’ll get a runny slice that doesn’t look good.
If you want to serve the pie warm, cool it completely first. Then, reheat individual slices in the oven at 350 degrees for 10 to 15 minutes.
This way, the texture will be much better than cutting straight from the oven.