
There are two types of people in this world: those who have made homemade cinnamon rolls and those who are missing out. I made my first batch on a rainy Sunday years ago.
Since then, I can’t look at store-bought pastries the same way. The smell alone will have your neighbors knocking at your door.
This guide shows you how to make soft, gooey cinnamon rolls with cream cheese frosting from scratch.
Whether you’re an experienced baker or still learning to boil water, this is simple and worth your time.
Why Homemade Cinnamon Rolls Beat Store-Bought Every Single Time

Let me be real with you. Those canned cinnamon rolls from the grocery store are convenient, sure.
But the moment you bite into a homemade roll, still warm from the oven and drowning in cream cheese frosting, you will wonder why you ever settled.
Homemade rolls give you full control over the dough texture, the cinnamon-sugar ratio, and the thickness of that frosting.
You can make them as indulgent or as restrained as you like. (Though why you would go restrained on cream cheese frosting is beyond me.)
The texture difference is remarkable. Store-bought rolls tend to be bready and dry at the center. Homemade rolls, when done right, are pillowy, tender, and practically melt in your mouth.
That difference comes down to the dough, the fat content, and the proofing time, all of which you control.
The Ingredients You Need (And Why Each One Matters)
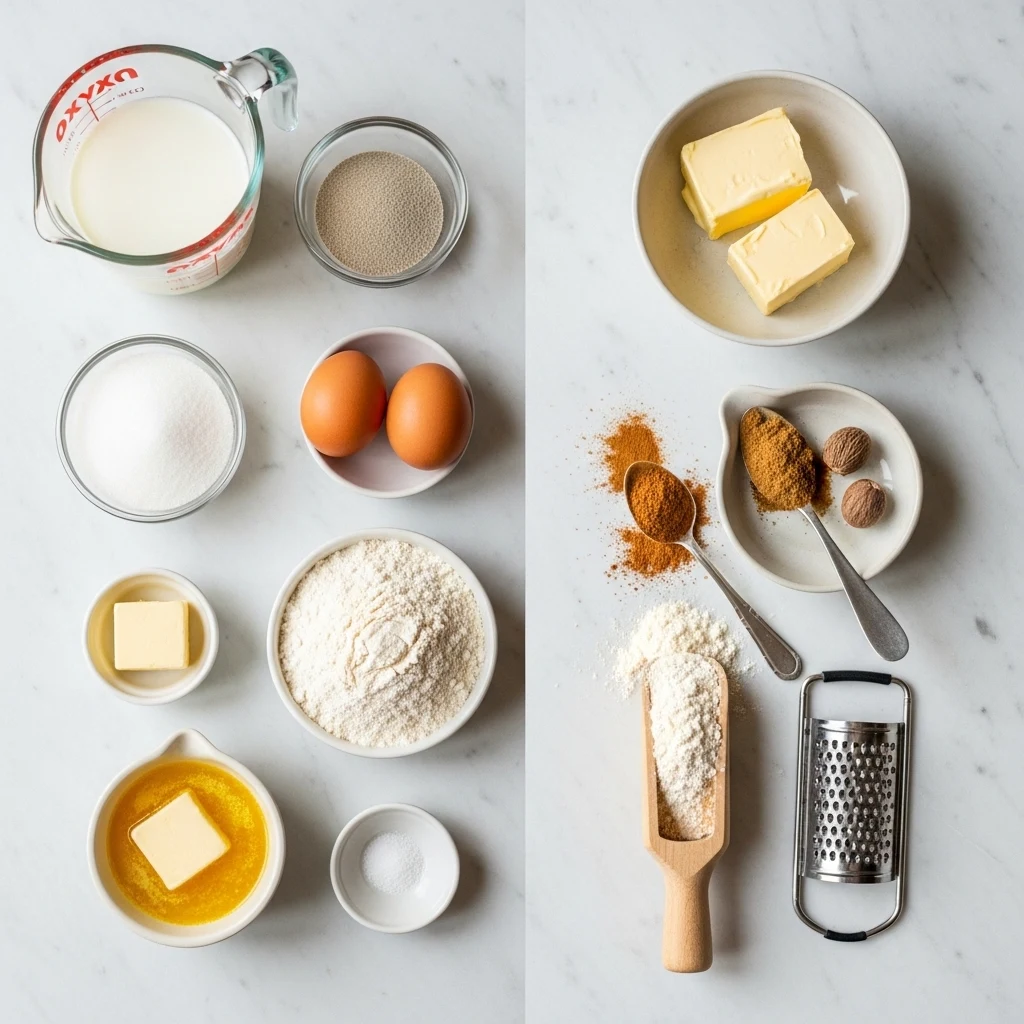
Good cinnamon rolls start with good ingredients. This is not the place to cut corners, especially on the butter.
For the Dough
- 3/4 cup whole milk (warmed to about 110 degrees Fahrenheit)
- 2 1/4 teaspoons active dry yeast (one standard packet)
- 1/4 cup granulated sugar
- 2 large eggs at room temperature
- 1/3 cup unsalted butter, melted
- 4 cups all-purpose flour, plus extra for dusting
- 1 teaspoon salt
Whole milk makes a richer, softer dough compared to low-fat alternatives. The fat content matters here because it contributes directly to that tender, pull-apart texture everyone chases.
Room temperature eggs incorporate more evenly into the dough, so do not skip that step.
For the Cinnamon Filling
- 1/2 cup unsalted butter, softened (not melted)
- 3/4 cup packed brown sugar
- 2 tablespoons ground cinnamon
- 1/4 teaspoon nutmeg (optional, but genuinely lovely)
Brown sugar is non-negotiable here. It has more moisture and a deeper molasses flavor than white sugar, which is exactly what creates that sticky, gooey center everyone fights over.
Softened butter spreads evenly across the dough without tearing it, which is why you want it soft rather than melted.
For the Cream Cheese Frosting
- 4 ounces cream cheese, softened
- 1 cup powdered sugar, sifted
- 3 tablespoons unsalted butter, softened
- 1 teaspoon pure vanilla extract
- 2 to 3 tablespoons milk, to adjust consistency
The frosting should be thick enough to hold its shape but soft enough to melt into the warm rolls.
That balance comes from how much milk you add. Start with two tablespoons and add more if needed.
Shop Baking Essentials On Amazon
How to Make the Dough (Step by Step)
Making yeast dough sounds intimidating, but it is really just a matter of patience and paying attention to a few key details.
Activating the Yeast
Warm your milk to between 105 and 115 degrees Fahrenheit. Too cold and the yeast will not activate. Too hot and you will kill it, and no amount of wishful thinking will bring it back.
Add the yeast and a pinch of sugar, stir gently, and let it sit for about five to ten minutes until it looks foamy.
That foam is your confirmation that the yeast is alive and ready to work.
If nothing happens after ten minutes, your yeast is either expired or your milk was the wrong temperature. Toss it and start again.
Mixing and Kneading
Combine the yeast mixture with the eggs, melted butter, sugar, and salt. Add the flour gradually, mixing until a soft dough forms.
You want the dough to pull away from the sides of the bowl but still feel slightly tacky.
Knead the dough for about eight to ten minutes by hand, or five minutes using a stand mixer with a dough hook.
Proper kneading develops the gluten structure that gives the rolls their chewy, stretchy texture. You will know the dough is ready when it springs back slowly after you press it with your finger.
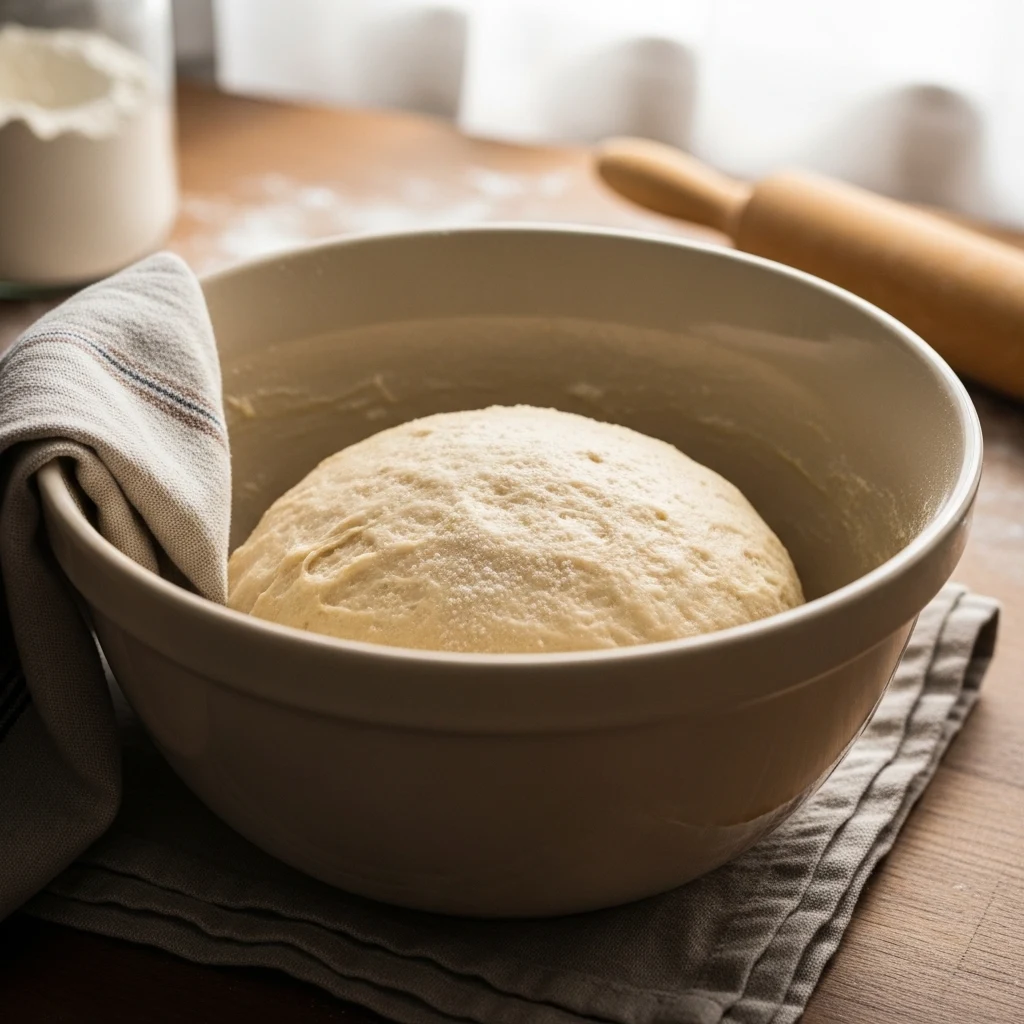
First Proof
Place the dough in a lightly greased bowl, cover it with a clean kitchen towel or plastic wrap, and let it rise in a warm spot for one to one and a half hours. It should roughly double in size.
A great trick is to let the dough rise inside your oven with just the oven light on. That small amount of warmth creates a perfect proofing environment, especially if your kitchen runs cold.
Rolling, Filling, and Cutting Your Rolls
This is where things get satisfying. Once your dough has proofed, punch it down gently to release the gas, then turn it out onto a lightly floured surface.
Roll the dough into a large rectangle, roughly 16 by 12 inches.
Spread the softened butter all the way to the edges, then sprinkle the brown sugar and cinnamon mixture evenly over the top. Press the filling lightly into the butter so it sticks.
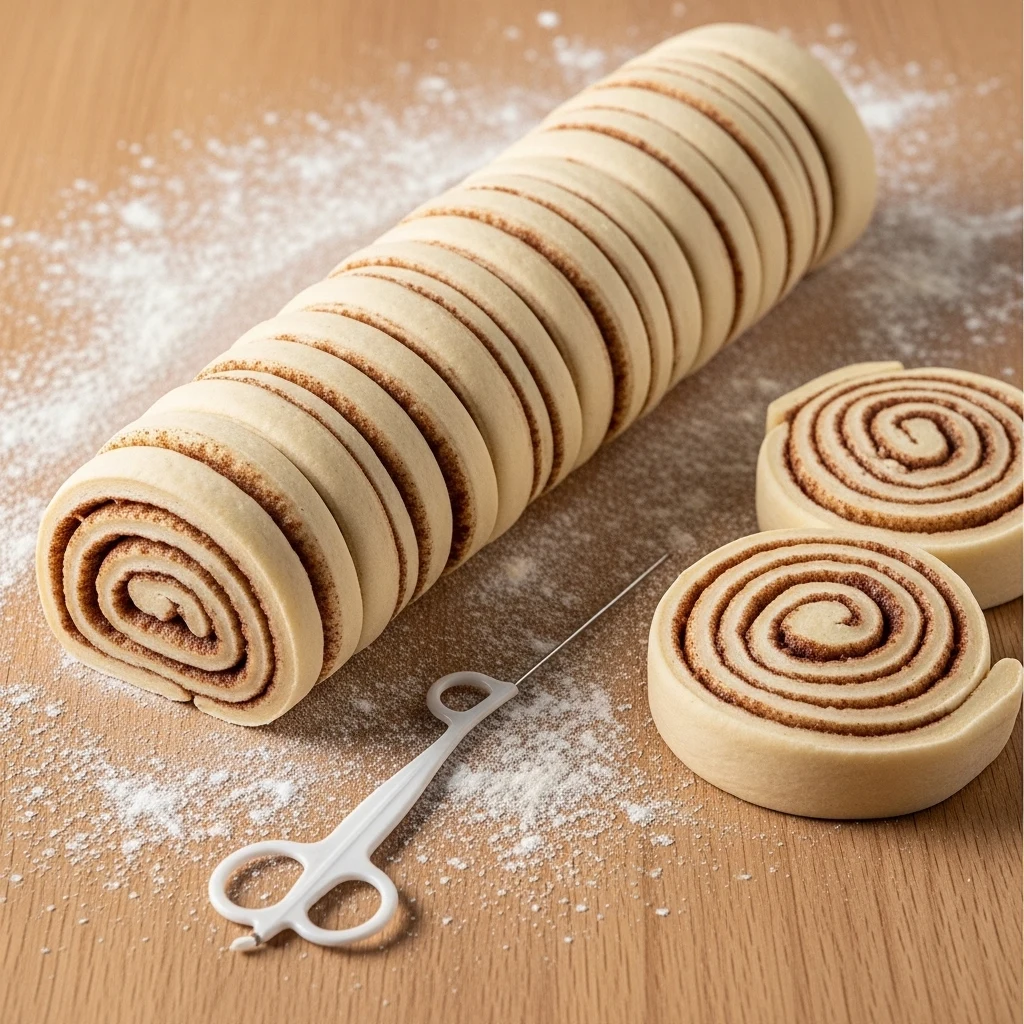
Getting the Roll Tight
Starting from the long edge closest to you, roll the dough tightly away from yourself. A tight roll ensures those beautiful, defined layers in each slice.
If the roll is loose, the layers will separate during baking, and the filling will pool at the bottom instead of staying swirled throughout.
Use unflavored dental floss or a sharp serrated knife to cut the log into 12 equal pieces.
Dental floss is actually the superior tool here because it slides through the dough cleanly without squashing the rolls the way a knife can.
Grab A Quality Serrated Knife Or Unflavored Dental Floss On Amazon
The Second Proof and Baking
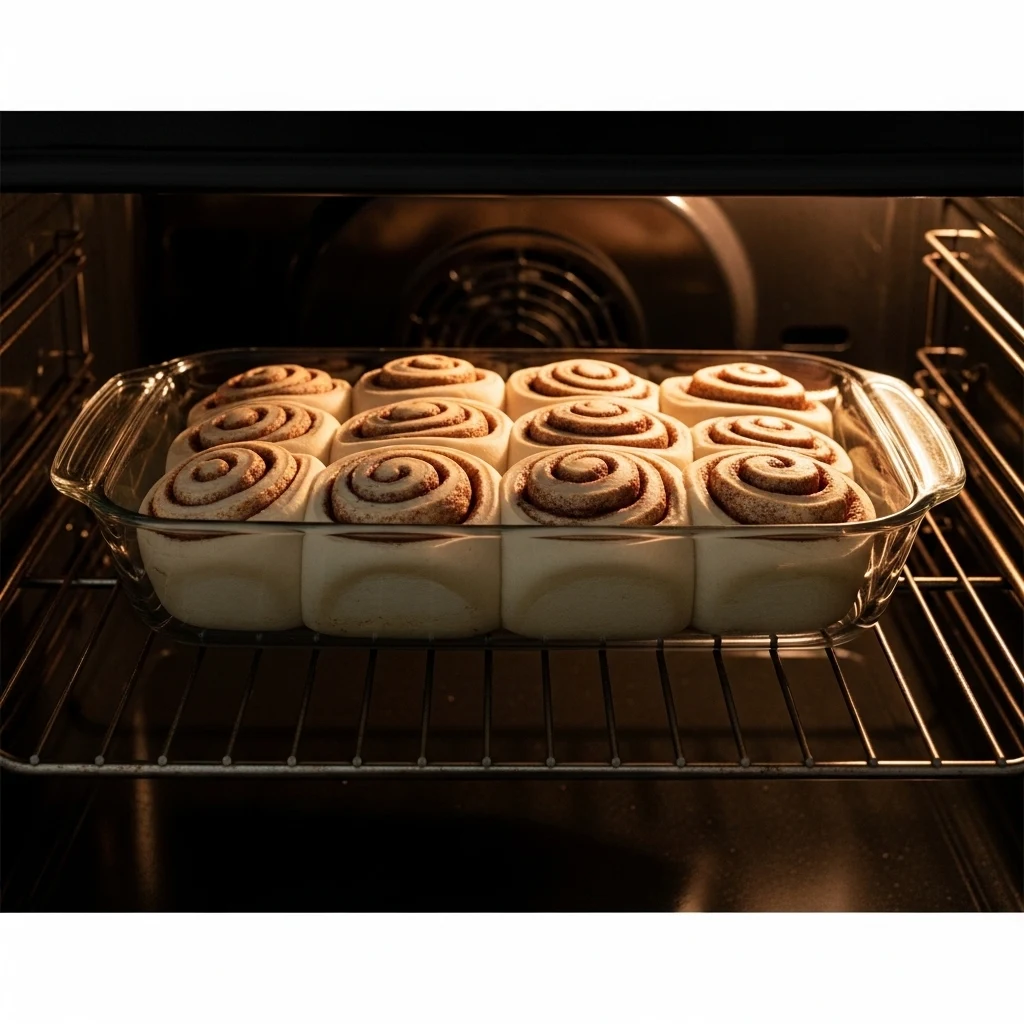
Arrange your cut rolls in a greased 9 by 13 inch baking dish, leaving a little space between each one.
Cover and let them proof again for 30 to 45 minutes. They should puff up and touch each other slightly.
This second proof is what separates fluffy rolls from dense ones. Do not skip it, and do not rush it by cranking up the oven. Good things take time.
Bake at 350 degrees Fahrenheit for 22 to 25 minutes. You want the tops to be golden brown but not dark. The moment the tops look set and lightly golden, pull them out.
Overbaking is the number one mistake people make, and it results in dry rolls rather than gooey ones.
Making the Cream Cheese Frosting
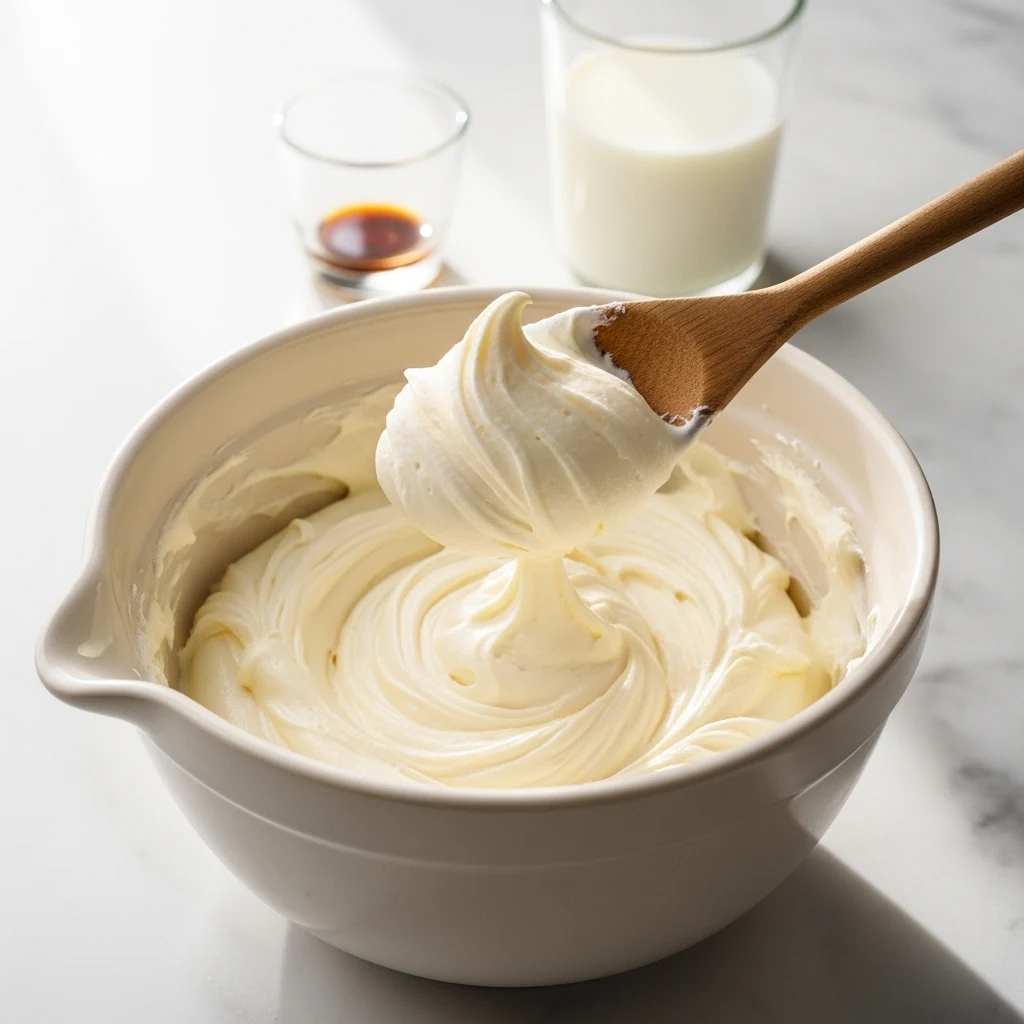
While the rolls bake, beat the softened cream cheese and butter together until completely smooth.
Add the sifted powdered sugar and vanilla extract and mix until fluffy. Add milk one tablespoon at a time until you reach your desired consistency.
Frost the rolls while they are still warm, not piping hot. If the rolls are too hot, the frosting will become completely liquid and run off.
If you wait until they cool completely, the frosting will sit on top rather than melting into the crevices. Warm is the sweet spot.
Find Pure Vanilla Extract And Quality Cream Cheese On Amazon
Tips for Getting That Perfect Gooey Center
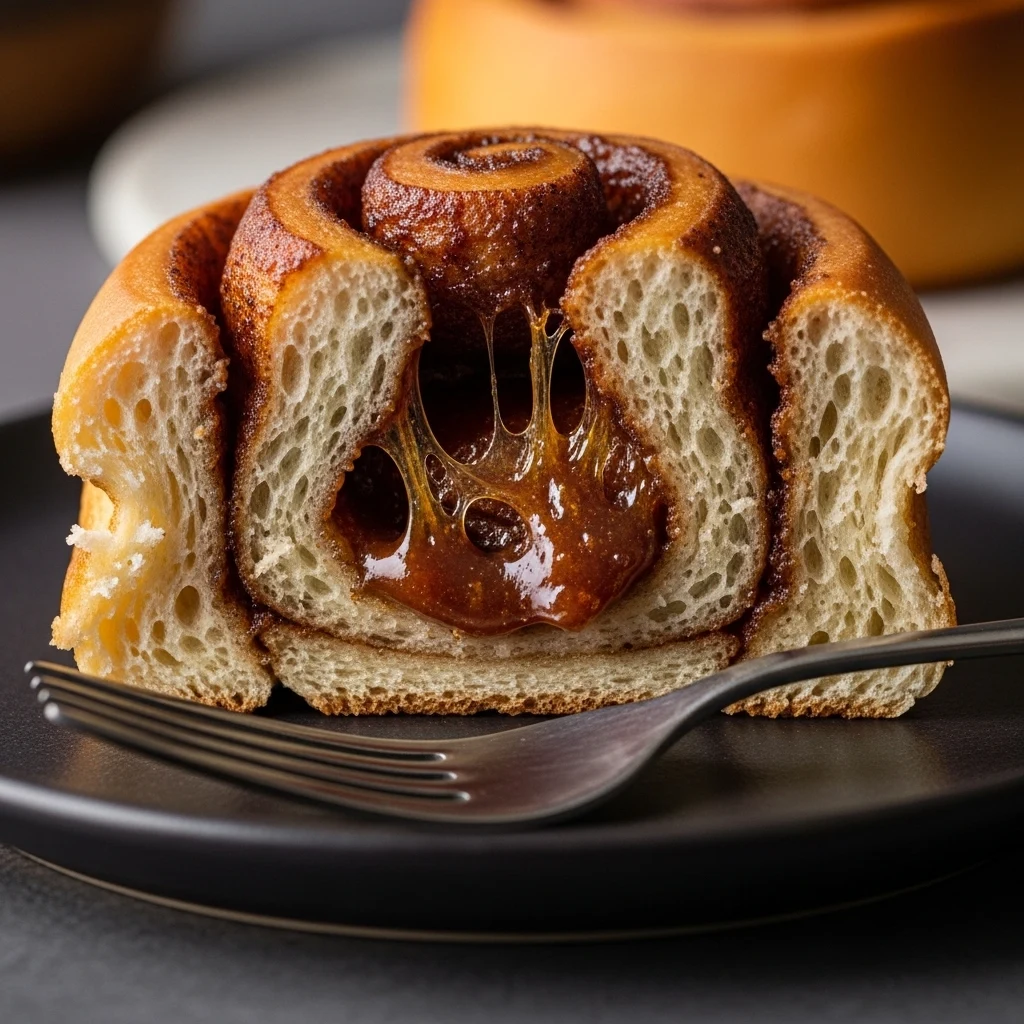
Everyone wants that bakery-style, pull-apart center. Here are the details that make the biggest difference:
- Do not overbake. Pull the rolls when the tops are just golden. The center will continue cooking from residual heat.
- Use enough filling. Generous butter and brown sugar is what creates that caramel-like gooey layer inside.
- Let them proof fully. Underproofed rolls bake dense and bready.
- Pack the rolls closely in the pan. When rolls bake touching each other, they steam slightly and stay softer.
- Use bread flour for chewier rolls or all-purpose flour for a softer, cakier texture. Both work beautifully, just differently.
Can You Make Cinnamon Rolls Ahead of Time?

Absolutely, and this is honestly one of the best things about this recipe. After you cut the rolls and arrange them in the pan, cover them tightly and refrigerate overnight.
The next morning, pull them out and let them come to room temperature and complete their second proof for about an hour before baking.
Overnight cinnamon rolls are actually more flavorful because the slow, cold proof allows the yeast to develop more complex flavors in the dough.
Saturday night prep means Sunday morning warm rolls with zero panic.
Shop Airtight Baking Covers And Storage Containers On Amazon
Conclusion
Soft and gooey cinnamon rolls with cream cheese frosting are one of those baked goods that feel genuinely special every single time you make them.
Once you nail the process, from properly activated yeast to that perfectly timed second proof, you will have a recipe you return to again and again.
The key takeaways are simple: use good ingredients, do not rush the proofing stages, pull the rolls from the oven a little earlier than you think, and frost them while warm.
Follow those four rules and you will produce cinnamon rolls that make people look at you differently in the best possible way.
Now go preheat that oven. Your future self, surrounded by the smell of warm cinnamon and fresh frosting, will thank you.
Why Are My Cinnamon Rolls Not Fluffy?
The main reason is underproofing. If you don’t let the dough rise enough during the first and second proofs, the rolls will be dense and bready, not light and pillowy.
Check that your yeast is active and foamy before starting. Always allow the rolls to finish their second proof completely before placing them in the oven.
Can I Use Instant Yeast Instead of Active Dry Yeast?
Yes, you can swap instant yeast for active dry yeast in equal amounts. The key difference is that instant yeast doesn’t need activation in warm milk.
You can mix it directly with the dry ingredients and still achieve great results. The rise time may be a bit shorter, so watch your dough closely.
What Is the Best Way to Store Leftover Cinnamon Rolls?
Store leftover cinnamon rolls in an airtight container at room temperature for two days. You can refrigerate them for up to five days.
To reheat, microwave individual rolls for 20 to 30 seconds. This will bring back their soft, gooey texture. You can also warm them in the oven at 300 degrees Fahrenheit for about ten minutes.
Can I Freeze Cinnamon Rolls Before or After Baking?
You can freeze them in two ways.
Before baking: Arrange the cut rolls on a baking sheet. Freeze until solid, then move them to a freezer bag. When ready to bake, thaw overnight in the refrigerator. Let them proof at room temperature, then bake as usual.
After baking: Cool the rolls completely. Wrap them tightly and freeze for up to three months. Thaw and reheat before serving.
Why Does My Cream Cheese Frosting Turn Runny on the Rolls?
Frosting the rolls while they are too hot causes problems. The heat melts the frosting, creating a liquid glaze instead of a creamy topping.
Wait about five to ten minutes after taking them out of the oven. When the rolls are warm but not steaming, spread the frosting. This way, it melts slightly into the rolls while keeping its creamy texture.